Table of Contents
Advertisement
Quick Links
A / V
D I S T R I B U T I O N
Instruction Manual
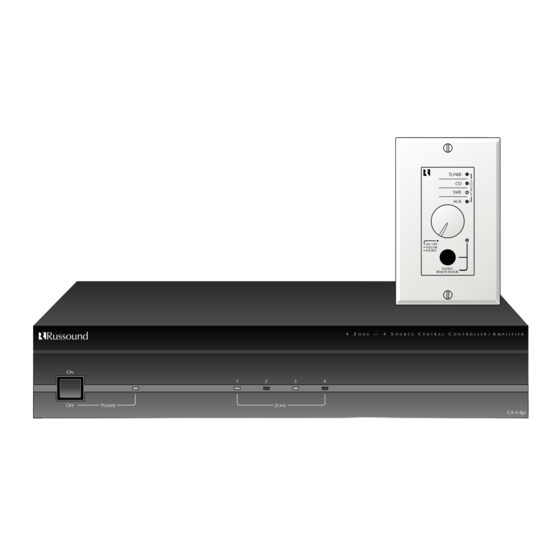
Central Controller/Amplifier
O
N
O
P
FF
OWER
CA4.4pi
4-Zone, 4-Source
1
&
C O N T R O L
4
Z
—
O N E
2
3
4
Z
ONE
S Y S T E M S
TUNER
S
CD
O
U
R
TAPE
C
E
AUX
• ON / OFF
• VOLUME
• SOURCE
SOURCE
REMOTE SENSOR
4
S
C
C
/ A
O U R C E
E N T R A L
O N T R O L L E R
M P L I F I E R
CA 4.4pi
Advertisement
Table of Contents

Summary of Contents for Russound 4-Zone
- Page 1 A / V D I S T R I B U T I O N CA4.4pi Instruction Manual 4-Zone, 4-Source Central Controller/Amplifier OWER & C O N T R O L — O N E S Y S T E M S...
-
Page 2: Table Of Contents
1. Safety Instructions “WARNING” “ TO REDUCE THE RISK OF FIRE OR ELECTRIC SHOCK, DO NOT EXPOSE THIS APPLI- ANCE TO RAIN OR MOISTURE.” “CAUTION” “ TO REDUCE THE RISK OF ELECTRIC SHOCK, DO NOT REMOVE COVER. NO USER - SERVICEABLE PARTS INSIDE. -
Page 3: Introduction
The CA4.4pi is UL listed and CSA approved for your pro- tection and peace of mind. Please take a moment to fill out the warranty card and return it to Russound. 3. Possible System Configurations... -
Page 4: Basic Planning And Layout Considerations
6. Basic Planning and Layout Considerations • Where will the speakers be located ? • How will the wiring be routed to each location ? • Where will the keypads be located ? • Where is the equipment located ? •... -
Page 5: Zone Pre-Amp Outputs
7.3 Zone Pre-Amp Outputs In applications where more power than the 20 watts per channel is desired, connect the CA4.4pi to an external amplifier. Using standard RCA connectors, wire from the pre-amp outputs of the CA4.4pi to the amplifier's inputs. A typical application for more power is when connecting an outside zone where the audio power requirements would be much greater than an inside zone. -
Page 6: Connecting The Ir Link
• Connect each 845 mini-emitter to the source IR output. Refer to the source number you had written down in figure 1. • Remove the adhesive back and locate the IR receiver on the product you wish to control. Stick the 845 emitter directly over the source components IR window. -
Page 7: Installing The Lrn Keypads
8.2 Installing the LRN Keypads • Connect the CA4.4 LRN’s Interface cable to the 16 pin header located on the CA4.4 KP. Note the location of the red stripe. • Mount the keypads into double gang box and attach the double gang Decora plate. 9. -
Page 8: Technical Information
Russound. Damage to or destruction of components due to improper use voids the warranty. In these cases the repair will be made at the owners expense. To return for repairs, the unit must be shipped to Russound at the owners expense, along with a note explaining the nature of the service required.


Need help?
Do you have a question about the 4-Zone and is the answer not in the manual?
Questions and answers