Table of Contents
Advertisement
Advertisement
Table of Contents

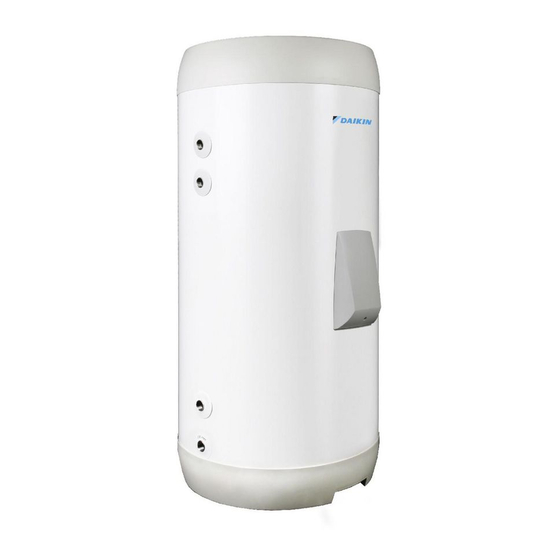
Summary of Contents for Daikin EKHWS150D3V3
- Page 1 Installation manual Domestic hot water tank with option kit for air to water heat pump system EKHWS150D3V3 EKHWS180D3V3 EKHWS200D3V3 Installation manual EKHWS250D3V3 Domestic hot water tank with option kit for air to water heat pump English EKHWS300D3V3 system...
- Page 2 3P509087-1...
-
Page 3: Table Of Contents
Table of contents Checklist for yearly maintenance of the domestic hot water Table of contents tank..................... 13 10 Troubleshooting 10.1 Overview: Troubleshooting............14 1 General safety precautions 10.2 Precautions when troubleshooting ..........14 10.3 Solving problems based on symptoms........14 About the documentation ............ -
Page 4: For The Installer
(on top of the ▪ In places where there is a risk of fire due to the leakage of instructions described in the Daikin documentation). flammable gases (example: thinner or gasoline), carbon fibre, ignitable dust. -
Page 5: About The Documentation
Daikin website (publicly accessible). it is compatible with the inverter (resistant to high frequency electric noise) to avoid unnecessary opening ▪ The full set of latest technical data is available on the Daikin of the earth leakage protector. extranet (authentication required). -
Page 6: To Unpack The Domestic Hot Water Tank
4 About the units and options Expansion vessel of 18 litres 3/4" Male BSP 3.2.1 To unpack the domestic hot water tank Instruction sheet About the units and options Identification 4.1.1 Identification label: Domestic hot water tank Location Model identification Example: EK HWS 150 D 3 V3 Code Description... -
Page 7: Preparing Water Piping
5 Preparation ▪ Connecting piping – Air, moisture, dust. If air, moisture or dust gets into the circuit, problems may occur. To prevent this: ▪ Only use clean pipes ▪ Hold the pipe end downwards when removing burrs. ▪ Cover the pipe end when inserting it through a wall, to prevent dust and/or particles entering the pipe. -
Page 8: Preparing Electrical Wiring
6 Installation Fuse Minimum circuit Recommended Power supply ampacity fuses F2B (field 13 A 20 A 1~ 50 Hz supply) 220-240 V Shower Installation DHW pump for recirculation (field supply) ▪ Domestic hot water tank – Discharge pipe. If a discharge pipe is connected to the pressure relief device it must be installed in a Overview: Installation continuously downward direction and in a frost-free environment. -
Page 9: Connecting The Water Piping
6 Installation 2 Connect the 3‑way valve body to the water inlet of the backup Connecting the water piping heater, in accordance with one of the following four configurations. Position the shaft in such a way that the motor 6.4.1 About connecting the water piping can be mounted and replaced. -
Page 10: Connecting The Electrical Wiring
6 Installation 6 Put the scale on the valve according to the applicable 7 Connect the upper terminals of X7M/1 and X7M/2 to the upper configuration. contactor terminals of K3M. E1+E2 E3+E4 8 Plug the connector of the contactor K3M in socket X13A (RED) of the main PCB. -
Page 11: To Connect The Electrical Wiring On The Outdoor Unit
6 Installation b+c+d Thermistor cable Booster heater power supply cable 3-way valve cable Booster heater cable 6.5.3 To connect the electrical wiring on the outdoor unit For EBLQ/EDLQ only: 1 Install the booster heater power supply sticker in the unit switch box on the location shown in the illustration below. -
Page 12: Finishing The Domestic Hot Water Tank Installation
7 Commissioning Fix the cable(s) using the cable clamp at the bottom of the tank to ensure strain relief. 10 Install the switch box cover In case of EKHWS200, For all other models, insert the Finishing the domestic hot water route the thermistor cable thermistor in the opening. -
Page 13: Checklist Before Commissioning
8 Hand-over to the user Checklist before commissioning Overview: Maintenance and service After the installation of the unit, first check the following items. Once all below checks are fulfilled, the unit MUST be closed, ONLY then This chapter contains information about: can the unit be powered up. -
Page 14: Troubleshooting
10 Troubleshooting To make sure this water originates from the tank, check after a tank WARNING heat up cycle. Prevent hazards due to inadvertent resetting of the thermal It is recommended to do this maintenance more frequently. cut-out: this appliance MUST NOT be supplied through an external switching device, such as a timer, or connected to Descaling a circuit that is regularly turned ON and OFF by the utility. -
Page 15: Disposal
11 Disposal Possible causes Corrective action The expansion relief valve is not Check for correct operation of the functioning properly. pressure relief valve by turning the red knob on the valve counter clockwise: ▪ If you do not hear a clacking sound, contact your... -
Page 16: Technical Data
12 Technical data Technical data A subset of the latest technical data is available on the regional Daikin website (publicly accessible). The full set of latest technical data is available on the Daikin extranet (authentication required). 12.1 Components: Domestic hot water 12.2... - Page 17 Optional equipment Equipment made or approved by Daikin that can be combined with the product according to the instructions in the accompanying documentation. Field supply Equipment NOT made by Daikin that can be combined with product according instructions accompanying documentation.
- Page 20 4P510672-1 B 0000000Z 4P510672-1B 2018.01...


Need help?
Do you have a question about the EKHWS150D3V3 and is the answer not in the manual?
Questions and answers