Table of Contents
Advertisement
GENUINE SAUNA & STEAM
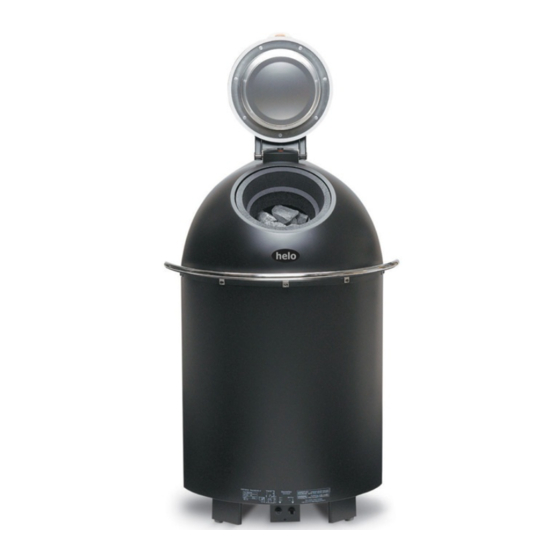
HEAT STORING ELECTRIC SAUNA HEATER
Saunatonttu 8, 6, 4 and 3
INSTRUCTIONS FOR
INSTALLATION AND USE
400V~ 3N
Model 2000780 8.0 kW
Model 2000764 6.4 kW
Model 2000748 4.8 kW
230V~ 1N
Model 2000734 3.4 kW
HEAT STORING SAUNA HEATERS ARE TECHNICALLY ADVANCED WITH SEVERAL OPTIONS FOR
USE. THEREFORE, PLEASE READ THIS MANUAL CAREFULLY.
THE PERSON INSTALLING THE SAUNA HEATER SHOULD LEAVE THESE INSTRUCTIONS TO THE
PREMISES FOR THE FUTURE USER.
CONTENTS
Table for selecting a sauna heater
Table for electrical connections and fuses
0 15 30 60
3.4 kW
ON
2.0 kW
4
OFF
2
2
2
3
3
4
4
4
4
5
5
6
7
7
8
9
10
11
7013977
314 SKLH 16D
Advertisement
Table of Contents

Related Manuals for Helo Saunatonttu 8 2000780


Summary of Contents for Helo Saunatonttu 8 2000780
-
Page 1: Table Of Contents
GENUINE SAUNA & STEAM HEAT STORING ELECTRIC SAUNA HEATER Saunatonttu 8, 6, 4 and 3 INSTRUCTIONS FOR INSTALLATION AND USE 400V~ 3N Model 2000780 8.0 kW 0 15 30 60 Model 2000764 6.4 kW Model 2000748 4.8 kW 3.4 kW 230V~ 1N Model 2000734 3.4 kW 2.0 kW... -
Page 2: General Information Before Use
Helo Oy group has its roots in 1919. We've been manufacturing electric sauna heaters for more than 50 years. Over the decades, several hundred work years have been used for developing sauna heaters. This experience and knowhow is known around the world: several testing institutes in the world's sauna countries have given their approval to Helo Oy's electric sauna heaters. -
Page 3: Sauna Room Ventilation
SAUNA ROOM VENTILATION Appropriately planned ventilation creates pleasing conditions for bathing and saves energy. Proper ventilation and smooth steam ensure enjoyable conditions for bathing. Always use a professional planner for a ventilation plan. The placement of air valves is critical for successful ventilation. Fresh air intake valve should be placed in zone A and at least 500mm above the sauna heater. -
Page 4: Mains Connection
MAINS CONNECTION Electrical installation must be carried out by a qualified electrician. The electrician must have qualifications for electrical installation or be supervised by a person with such qualifications. Sauna heater is connected with a semi-permanent connection. Use H07RN-F (VSN) (60245 IEC 66) cable or a corresponding type. -
Page 5: Connection Of Control Current
The heater takes about 100 kg of stones. They should have the qualities listed above. The stones supplied by the manufacturer have all the necessary qualities. They're prewashed, but we recommend rinsing off the excess dust before piling them in the heater. Pile the stones carefully without pushing them in. Follow the three following principles in piling the stones to make sure the sauna heater operates properly and to prolong the useful life of the heating elements. -
Page 6: Taking A Sauna Bath
When heating the sauna heater for the first time, the sauna room should be ventilated properly as a new heater releases some odour. Furthermore, when preheating the sauna with the full sauna bathing power on as indicated above, let the temperature settle for an hour (with 0.3 kW simmering mode on). -
Page 7: Saunatonttu
If the sauna room walls have uninsulated surfaces (tiling, brick, glass brick, timber etc.), they should be warm before having the sauna bath. Cold surfaces produce steam and significantly slow down heating of the sauna room. To warm up any heat storing surfaces, keep the full power on and the lid open before taking a sauna bath. The heating time depends on the surface area, the sauna room volume and the heater output. -
Page 8: Images
Installation of the sauna heater and the control panel min. mm from the corner Installation in a bay Installation of the control unit in the sauna room min. mm Installation of the control unit mount onto the wall... -
Page 9: Circuit Diagrams
Saunatonttu 3 230V 2,0 kW 230V 1N~ HetiValmis kiuas Ever Ready heater 1x10A Saunatonttu 8 Saunatonttu 8 F1 T400mA N L X X 1 HA 2 PU 3 KE Grey 4 VI Yellow 5 RU Green 6 VA Brown 3,4 kW White 230V 1N~ F1 T400mA... - Page 10 Instructions for using Saunatonttu heater's control panel Switch the power on by the O/I switch at the lower left of the heater. When the heater is switched on, the simmering level 1 turns on and its indicator LED lights up. (1st on the bottom row) Press the on - off switch once;...
-
Page 11: Using The Control Panel
If the power failure lasts longer than 30 minutes, the control panel functions will reset and it returns to its initial state. Once the power returns, the 100 W heating element turns on and the indicator light 1 lights up. All functions can be turned off by pressing the on-off key. Helo Choose lid control or Choose the time delete the chosen time. - Page 12 Ympäristönsuojeluun liittyviä ohjeita Anvisningar för miljöskydd Tämän tuotteen käyttöiän päätyttyä sitä ei Denna produkt får inte kastas med saa hävittää normaalin talousjätteen vanliga hushållssopor när den mukana, vaan se on toimitettava inte längre används. Istället ska den sähkö- ja elektroniikkalaitteiden kierrätykseen levereras till en återvinningsplats tarkoitettuun keräyspisteeseen.
Need help?
Do you have a question about the Saunatonttu 8 2000780 and is the answer not in the manual?
Questions and answers