Sign In
Upload
Download
Table of Contents
Contents
Add to my manuals
Delete from my manuals
Share
URL of this page:
HTML Link:
Bookmark this page
Add
Manual will be automatically added to "My Manuals"
Print this page
×
Bookmark added
×
Added to my manuals
Manuals
Brands
Roland Manuals
Cutter
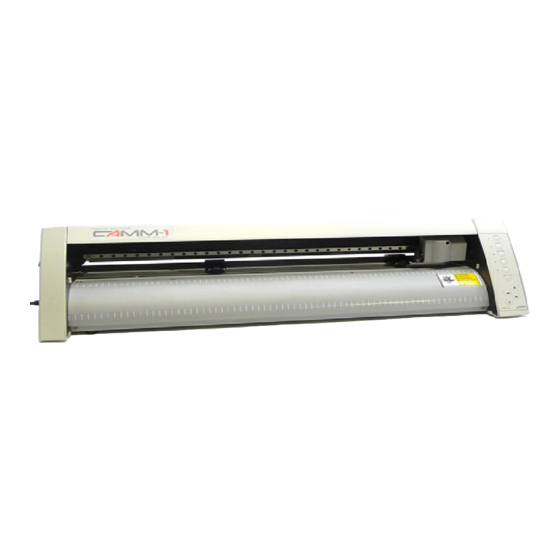
Camm-1 CX-24/12
User manual
Roland CAMM-1 User Manual
Desktop sign maker
Hide thumbs
Also See for CAMM-1
:
User manual
(58 pages)
,
Manual
(20 pages)
,
User manual
(33 pages)
1
2
Table Of Contents
3
4
5
6
7
8
9
10
11
12
13
14
15
16
17
18
19
20
21
22
23
24
25
26
27
28
29
page
of
29
Go
/
29
Contents
Table of Contents
Bookmarks
Table of Contents
Table of Contents
Typographic Conventions
To Ensure Safe Use
About the Labels Affixed to the Unit
To Ensure Correct Use
1 Checking Supplied Items
2 Part Names and Functions
Front View
Rear View
Operation Panel
3 Basic Operation
Setting up and Connection
DIP Switch Settings
Installing/Removing a Blade
Loading/Removing the Material
Setting the Origin Point - , , , , ORIGIN SET Keys
Cutting Test to Check Blade Force - , , , , and TEST Keys
Downloading Cutting Data
Applying the Completed Cutout
When Cutting Is Completed
4 Settings for each Function
Using a Material Effectively and Cutting Along the Vertical Dimension (Rotate Function) - ROTATE Key and ROTATE LED
Plotting on Paper Media - PEN MODE Key and PEN MODE LED
5 About the Blade
6 What to Do if
7 Instruction Support Chart
8 Character Sets
9 Specifications
Advertisement
Quick Links
1
Front View
2
Setting up and Connection
3
Dip Switch Settings
4
What to Do if
5
Specifications
Download this manual
See also:
User Manual
PNC-960
PNC-910
USER'S MANUAL
* This User's Manual is intended for PNC-960 and PNC-910.
Table of
Contents
Previous
Page
Next
Page
1
2
3
4
5
Advertisement
Table of Contents
Need help?
Do you have a question about the CAMM-1 and is the answer not in the manual?
Ask a question
Questions and answers
Related Manuals for Roland CAMM-1
Printer Roland GR-540 User Manual
(465 pages)
Plotter Roland Camm-1 CX-24/12 User Manual
(58 pages)
Plotter Roland CAMM-1 User Manual
Desktop sign maker (33 pages)
Recording Equipment Roland CAMM-1 Manual
(20 pages)
Cutter Roland Camm-1 CX-24/12 Manual
Vinyl cutter (12 pages)
Cutter Roland CM-500 User Manual
Camm-1 pro (50 pages)
Cutter Roland Camm-1 PNC-1850 User Manual
Sign maker (53 pages)
Cutter Roland Camm-1 PNC-1200 User Manual
Sign maker (53 pages)
Cutter Roland PNC-1860 User Manual
Sign maker vinyl cutter (41 pages)
Cutter Roland Camm-1 Pro GX-500 User Manual
Sign maker (84 pages)
Cutter Roland Camm-1 Pro GX-400 User Manual
Sign maker (84 pages)
Cutter Roland Camm-1 Pro GX-300 User Manual
Sign maker (84 pages)
Cutter Roland CAMM-1 Pro PNC- 1410 Service Notes
(61 pages)
Cutter Roland Camm-1 GR2-640 User Manual
(172 pages)
Cutter Roland Camm-1 GR2-640 Installation Manual
(34 pages)
Cutter Roland CX-24 Setup Instructions
(3 pages)
This manual is also suitable for:
Pnc-960
Pnc-910
Table of Contents
Save PDF
Print
Rename the bookmark
Delete bookmark?
Delete from my manuals?
Login
Sign In
OR
Sign in with Facebook
Sign in with Google
Upload manual
Upload from disk
Upload from URL


Need help?
Do you have a question about the CAMM-1 and is the answer not in the manual?
Questions and answers