Table of Contents
Advertisement
Quick Links
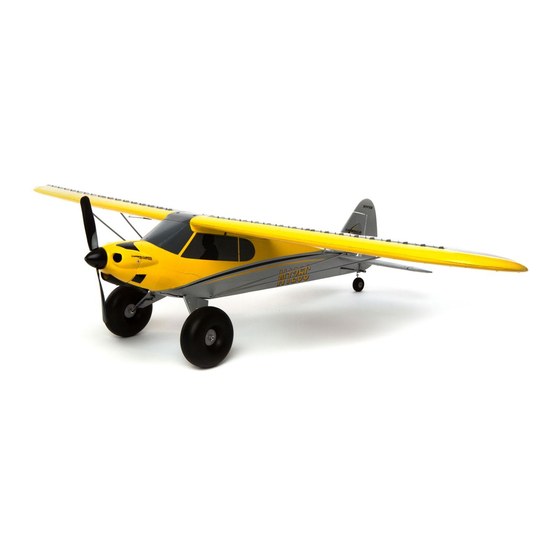
Carbon Cub S+
1
Charge your Flight Battery (~1 Hr)
1
OR
Flashing (Charging)
Solid (Charged)
CAUTION: All
instructions and warnings
must be followed exactly. Mishandling
of LiPo batteries can result in a fi re,
personal injury and/or property damage.
3
Assembly
Refer to the owner's manual for complete step-by-step instructions
to fully assemble your aircraft.
4
Power Up
Find a suitable outdoor fl ying area.
Power on the transmitter.
Install the fully charged fl ight battery in the aircraft.
Set a fl ight timer for 5-6 minutes.
6
The aircraft default virtual fence mode is Circle, Virtual Fence, Small
mode. The aircraft must be facing into the wind at the home location to
ensure that the AutoLand feature will function as expected. See the product
manual for information on how to change the virtual fence mode.
To Set the Home Location:
1. Power on the transmitter.
2. Power on the aircraft. The
elevator will move up and down
slowly and then center when
GPS lock is established.
3. Place the aircraft in the desired
home location and heading
pointed into the wind.
4. Press and hold the HP/AL
(bind) button to set the home
location.
5. All of the control surfaces will
wag, indicating the home location is set.
6. Release the HP/AL (bind) button.
For best performance, compass calibration should be performed before fi rst
fl ight and whenever the aircraft is fl own at a new location. Refer to the product
manual for complete compass calibration instructions.
2
Refer to the manual for complete
safety and charging instructions.
Home Position
Wind
Pilot
1000 ft (300 m) fl ying circle
Quickstart Guide
Install (4) AA Batteries
2
in the Transmitter
(RTF Aircraft)
BNF Aircraft
Your transmitter will need to be properly
programmed to work with the Carbon Cub S+
aircraft. Refer to the instruction manual for
transmitter setup instructions.
5
Flight Modes
Set the fl ight mode switch to
Beginner Mode (position 0)
for the initial fl ights.
Aircraft pitch is limited.
Aircraft roll is limited.
7
Flying and Throttle control
CAUTION: Keep the aircraft away from
magnetic sources such as cameras,
camera mounts, speakers etc. These may interfere
with the GPS system and loss of control may result.
Position the model to take off into the wind. Slowly
increase the throttle. Small rudder inputs may be
required for heading correction. When properly
trimmed, the aircraft will climb at full throttle without
the use of the elevator.
Full throttle
NOTICE: If you begin to lose control in beginner mode,
release the control sticks and the aircraft will self-level.
Pitch
Roll
50% throttle
Reduced throttle
EN
Advertisement
Table of Contents

Related Manuals for HobbyZone Carbon Cub S+


Summary of Contents for HobbyZone Carbon Cub S+
- Page 1 Carbon Cub S+ Quickstart Guide Install (4) AA Batteries Charge your Flight Battery (~1 Hr) in the Transmitter (RTF Aircraft) Flashing (Charging) Solid (Charged) BNF Aircraft CAUTION: All Your transmitter will need to be properly instructions and warnings programmed to work with the Carbon Cub S+ must be followed exactly.
- Page 2 Inspect the airframe for loose or damaged parts. ©2017 Horizon Hobby, LLC. HobbyZone and the HobbyZone logo are registered trademarks of Horizon Hobby, LLC. Cub Crafters, Carbon Cub, associated emblems and logos, and body designs of vehicles are either registered trademarks or trademarks of Cub Crafters, Inc. and are used with permission.
Need help?
Do you have a question about the Carbon Cub S+ and is the answer not in the manual?
Questions and answers