Table of Contents
Advertisement
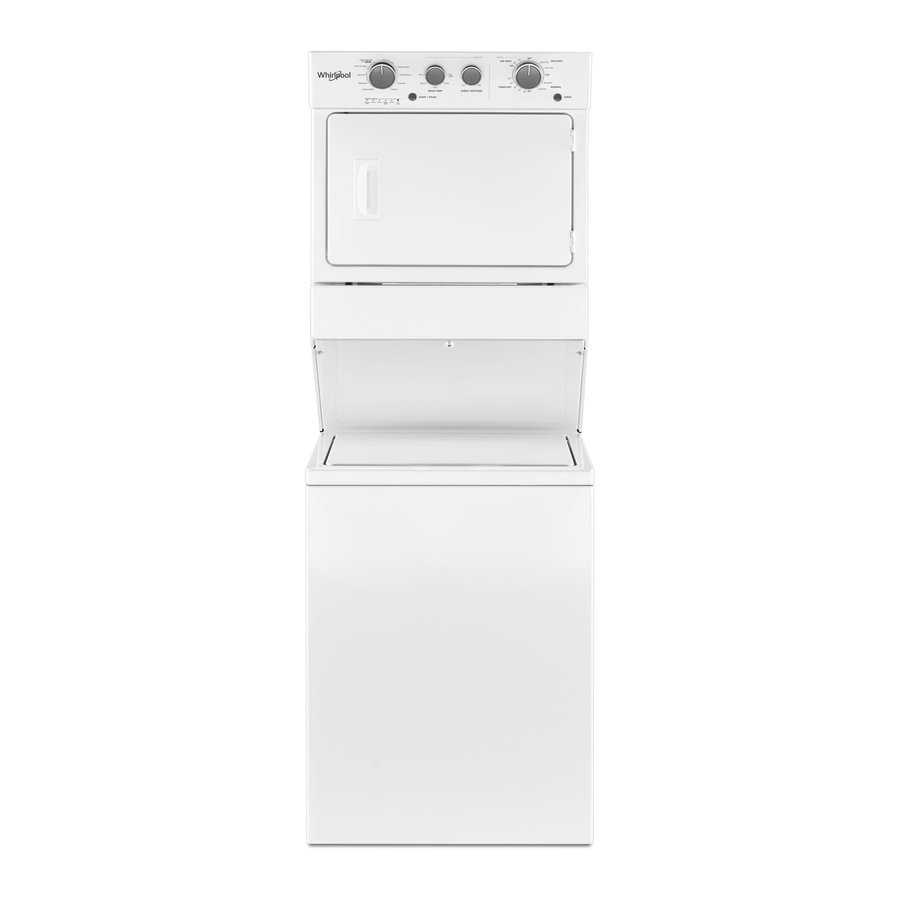
WASHER/DRYER
USE AND CARE GUIDE
Table of Contents
WASHER/DRYER SAFETY ...........................................2
WHAT'S NEW UNDER THE LID? .................................4
ACCESSORIES ..............................................................5
USING LESS WATER AND ENERGY ...........................5
FOR GOOD AIRFLOW .................................................6
CONTROL PANEL AND FEATURES ............................7
WASHER CYCLE GUIDE ..............................................8
DRYER CYCLE GUIDE ...............................................10
USING YOUR WASHER ..............................................11
USING YOUR DRYER .................................................14
ADDITIONAL FEATURES ............................................15
WASHER/DRYER MAINTENANCE ............................16
TROUBLESHOOTING .................................................20
WARRANTY .................................................................26
ASSISTANCE OR SERVICE ........................ Back Cover
LAVEUSE/SÉCHEUSE
GUIDE D'UTILISATION
ET D'ENTRETIEN
Table des matières
SÉCURITÉ DE LA LAVEUSE/SÉCHEUSE .................27
QUOI DE NEUF SOUS LE COUVERCLE? .................30
ACCESSOIRES ............................................................31
RÉDUCTION DE LA CONSOMMATION D'EAU
ET D'ÉNERGIE. ...........................................................31
VÉRIFICATION D'UNE CIRCULATION
D'AIR ADÉQUATE POUR LE SYSTÈME
D'ÉVACUATION ..........................................................32
TABLEAU DE COMMANDE
ET CARACTÉRISTIQUES ...........................................33
GUIDE DE PROGRAMMES DE LA LAVEUSE ...........35
GUIDE DE PROGRAMMES DE LA SÉCHEUSE ........37
UTILISATION DE LA LAVEUSE ..................................38
UTILISATION DE LA SÉCHEUSE ...............................41
CARACTÉRISTIQUES SUPPLÉMENTAIRES.............43
ENTRETIEN DE LA LAVEUSE/SÉCHEUSE ...............44
DÉPANNAGE ...............................................................48
GARANTIE ...................................................................59
ASSISTANCE OU SERVICE ............ Couverture arrière
Designed to use only HE High Efficiency detergents.
Conçue pour utiliser un détergent haute efficacité seulement.
W11028710A
W11105978A-SP
Advertisement
Table of Contents

Related Manuals for Whirlpool WGT4027HW


Summary of Contents for Whirlpool WGT4027HW
-
Page 1: Table Of Contents
LAVEUSE/SÉCHEUSE WASHER/DRYER GUIDE D’UTILISATION USE AND CARE GUIDE ET D’ENTRETIEN Table of Contents Table des matières SÉCURITÉ DE LA LAVEUSE/SÉCHEUSE ....27 WASHER/DRYER SAFETY ...........2 QUOI DE NEUF SOUS LE COUVERCLE? ....30 WHAT’S NEW UNDER THE LID? .........4 ACCESSORIES ..............5 ACCESSOIRES ............31 USING LESS WATER AND ENERGY ......5 RÉDUCTION DE LA CONSOMMATION D’EAU ET D’ÉNERGIE. -
Page 2: Washer/Dryer Safety
WASHER/DRYER SAFETY... - Page 3 WARNING: FIRE OR EXPLOSION HAZARD Failure to follow safety warnings exactly could result in serious injury, death, or property damage. – Do not store or use gasoline or other flammable vapors and liquids in the vicinity of this or any other appliance. –...
-
Page 4: What's New Under The Lid
WHAT’S NEW UNDER THE LID? Your new washer will operate differently than your past agitator-style washer. Lid Lock Choosing the Right Detergent To allow for higher spin speeds, the lid will lock and the Use only High Efficiency detergents. The package will be Lid Lock light will turn on. -
Page 5: Accessories
ACCESSORIES Enhance your new washer/dryer with the following genuine Whirlpool Accessories. For more information on options and ordering, call 1-800-901-2042 or visit us at: www.whirlpool.com/accessories. In Canada, call 1-800-807-6777 or visit us at www.whirlpoolparts.ca. Washer Dryer Fabric Softener Dispenser Accessories... -
Page 6: Check Your Vent System For Good Airflow
CHECK YOUR VENT SYSTEM FOR GOOD AIRFLOW Maintain good airflow: Clean your lint screen before each load. ■ Replace plastic or foil vent material with 4" (102 mm) ■ diameter heavy, rigid vent material. 4" (102 mm) Use the shortest length of vent possible. ■... -
Page 7: Control Panel And Features
CONTROL PANEL AND FEATURES STANDARD VENT MODELS LONG VENT MODELS Not all features and options are available on all models. Appearance may vary. WASHER WASH CYCLE KNOB WASH The washer will fill to the correct water level based on the load Use the Wash Cycle knob to select available cycles on your size. -
Page 8: Washer Cycle Guide
DRYER START BUTTON DRYER CYCLE KNOB The Start button is used to start the dryer. The end-of-cycle Use your Dryer Cycle knob to select available cycles on your signal produces an audible sound when the drying cycle is dryer. Turn the knob to select a cycle for your laundry load. finished. - Page 9 WASHER CYCLE GUIDE (CONT.) Load Wash/Spin Items to wash: Cycle: Size: Speed: Cycle Details: Sturdy fabrics, Heavy Duty High/High Use this cycle for heavily soiled or sturdy items, or when using colorfast items, bleach. towels, jeans Good Best Cleaning Gentleness Efficiency †...
-
Page 10: Dryer Cycle Guide
DRYER CYCLE GUIDE – AUTOMATIC DRY CYCLES Not all cycles and settings are available on all models. Both the Normal and Delicate cycles are automatic dry cycles. They give the best drying in the shortest time. They sense moisture in the load or air temperature and shut off when the load reaches the selected dryness level. -
Page 11: Using Your Washer
USING YOUR WASHER Sort and prepare your laundry Add laundry products Empty pockets. Loose change, buttons, or any small object ■ can pass under the agitator and become trapped, causing unexpected sounds. Sort items by recommended cycle, water temperature, ■ and colorfastness. - Page 12 Load laundry into washer Add fabric softener to dispenser Load garments in loose heaps evenly around basket wall. Pour a measured amount of liquid fabric For best results, do not pack the load tightly. Do not wrap large softener into dispenser; always follow items such as sheets around the agitator;...
-
Page 13: Wash Cycle
Select wash temperature Select fabric softener (if desired) Set this knob to Yes when adding fabric softener to the fabric Select the desired wash temperature by turning the Wash Temp softener dispenser. knob to the desired setting. All rinses are cold. NOTE: Always read and follow fabric care label instructions to avoid damage to your garments. -
Page 14: Using Your Dryer
USING YOUR DRYER WARNING: To reduce the risk of fire, electric shock, or injury to persons, read the Important Safety Instructions before operating this dryer. Before using your dryer, wipe the dryer drum with a damp cloth Select cycle to remove dust from storing and shipping. Clean the lint screen Clean the lint screen before each load. -
Page 15: Additional Features
ADDITIONAL FEATURES Press START button to begin cycle USING THE DRYING RACK To obtain a drying rack for your dryer, see the “Accessories” section. Remove and discard any packing material before use. Use the drying rack for items that you do not want to tumble dry, such as sweaters and tennis shoes. -
Page 16: Washer/Dryer Maintenance
WASHER/DRYER MAINTENANCE WASHER CARE (cont.) WATER INLET HOSES Chlorine Bleach Procedure (Alternative): Replace inlet hoses after 5 years of use to reduce the risk of hose failure. Periodically inspect and replace inlet hoses a. Open the washer lid and remove any clothing if bulges, kinks, cuts, wear, or leaks are found. -
Page 17: Cleaning The Lint Screen
CLEANING THE LINT SCREEN CLEANING THE WASHER/DRYER LOCATION Keep washer/dryer area clear and free from items that Every load cleaning would block the airflow for proper washer/dryer operation. A screen blocked by lint can increase drying time. This includes clearing piles of laundry in front of the washer/ The lint screen is located in the door opening of the dryer. - Page 18 CHANGING THE DRUM LIGHT (on some models) 1. Unplug dryer or disconnect power. 2. Open the dryer door. Locate the light bulb cover on the back wall of the dryer. Using a Phillips-head screwdriver, remove the screw located in the lower right-hand corner of the cover.
- Page 19 In the U.S.A. WINTER STORAGE CARE IMPORTANT: To avoid damage, install and store washer/dryer where it will not freeze. Because some water may stay in hoses, freezing can damage washer/dryer. If storing or moving during freezing weather, winterize your washer/dryer. To winterize washer/dryer: 1.
-
Page 20: Troubleshooting
TROUBLESHOOTING – WASHER First try the solutions suggested here or visit our website at www.whirlpool.com/product_help – In Canada www.whirlpool.ca for assistance and to possibly avoid a service call. If you experience Possible Causes Solution Vibration or Off-Balance Check the following for... - Page 21 TROUBLESHOOTING – WASHER (CONT.) In the U.S.A. In Canada First try the solutions suggested here or visit our website at www.whirlpool.com/product_help – In Canada www.whirlpool.ca for assistance and to possibly avoid a service call. If you experience Possible Causes Solution Washer not performing as expected (cont.)
- Page 22 TROUBLESHOOTING – WASHER (CONT.) First try the solutions suggested here or visit our website at www.whirlpool.com/product_help – In Canada www.whirlpool.ca for assistance and to possibly avoid a service call. If you experience Possible Causes Solution Washer not performing as expected (cont.)
- Page 23 TROUBLESHOOTING – WASHER (CONT.) First try the solutions suggested here or visit our website at www.whirlpool.com/product_help – In Canada www.whirlpool.ca for assistance and to possibly avoid a service call. If you experience Possible Causes Solution Washer not performing as expected (cont.)
- Page 24 TROUBLESHOOTING – DRYER First try the solutions suggested here or visit our website at www.whirlpool.com/product_help – In Canada www.whirlpool.ca for assistance and to possibly avoid a service call. If you experience Possible Causes Solution Dryer not performing as expected Clothes are not drying Lint screen clogged with lint.
- Page 25 TROUBLESHOOTING – DRYER (CONT.) First try the solutions suggested here or visit our website at www.whirlpool.com/product_help – In Canada www.whirlpool.ca for assistance and to possibly avoid a service call. If you experience Possible Causes Solution Dryer not performing as expected (cont.)
-
Page 26: Warranty
Please take a few minutes to review the Troubleshooting section of the Use and Care Guide or visit producthelp.whirlpool.com. 2. All warranty service is provided exclusively by our authorized Whirlpool Service Providers. In the U.S. and Canada, direct all requests for...
Need help?
Do you have a question about the WGT4027HW and is the answer not in the manual?
Questions and answers