Advertisement
Table of Contents
ELPIU03
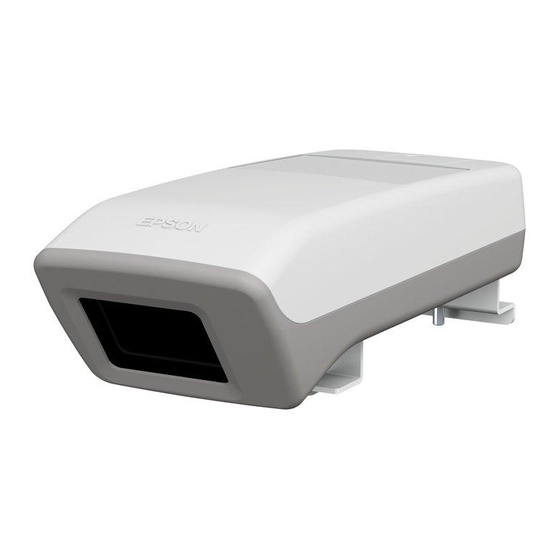
Interactive Unit
Quick Setup Guide
This product is an Interactive Unit for EB-435W/EB-430/EB-425W/EB-420/PowerLite 435W/PowerLite 430/
PowerLite 425W/PowerLite 420.
You can attach and use this product with a projector that has been mounted on a wall or hung from a ceiling.
This book explains how to mount the Interactive Unit when the projector is mounted on a wall using the wall
mount (ELPMB27). When hanging from a ceiling, see also the Installation Guide supplied with the Attachment
Plate (ELPPT04).
Included Items
Interactive Unit
M4 x 10 mm hexagon socket head cap bolt
with washer and spring washer
(x1)
M3 x 8 mm cross-head screw
Epson Projector Software for
(x1)
Quick Setup Guide (this guide)
Prepare other tools as necessary.
Installing the Interactive Unit
Before attaching the Interactive Unit to the projector, install the ELPMB27 wall mount. See the Installation
Manual supplied with ELPMB27, and complete all steps up to step 9.
Warning:
· Attachment to the projector should be performed by qualified technicians using only approved
mounting equipment.
· Follow the steps below to attach this product. Incomplete or incorrect installation could cause the
product to fall and cause personal injury or property damage.
USB cable
Easy Interactive Pen (x2)
M4 hexagonal wrench
AAA batteries (x4)
Pen tray
Easy Interactive Function CD
Document CD-ROM
a
Insert the Interactive Unit into the ELPMB27 attachment plate.
b
Use the M4 x 10 mm bolt with washer and spring washer to secure the Interactive Unit.
c
Remove the USB cover, and then connect the USB cable.
d
Attach the USB cover, and then secure it using the M3 x 8 mm cross-head screw.
e
Adjust the length of the USB cable.
Next, go to step 10 in the ELPMB27 Installation Manual and install the ELPMB27 covers and adjust the screen
position.
Advertisement
Table of Contents

Summary of Contents for Epson ELPIU03
- Page 1 Remove the USB cover, and then connect the USB cable. (x1) M3 x 8 mm cross-head screw Epson Projector Software for Pen tray (x1) Easy Interactive Function CD Attach the USB cover, and then secure it using the M3 x 8 mm cross-head screw.
- Page 2 · Check http://www.epson.com periodically as updates may be available for the Easy Interactive Driver. · You can use any interactive whiteboard software, or download Easy Interactive Tools from the Epson Launch the Easy Interactive Driver. website at http://www.epson.com. Before using any software applications with the Interactive Unit, be sure to read the software license agreement.


Need help?
Do you have a question about the ELPIU03 and is the answer not in the manual?
Questions and answers