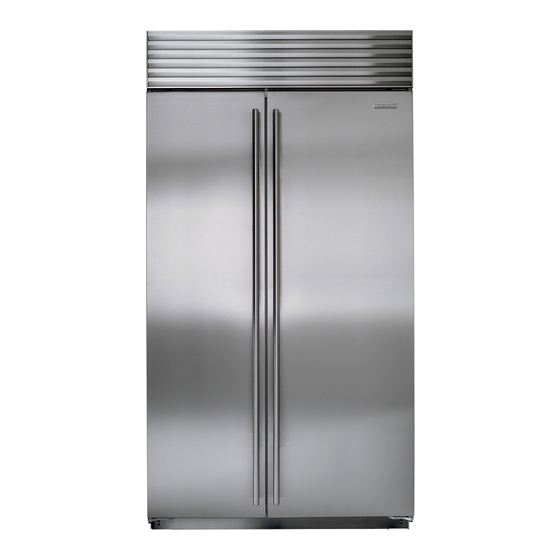
Sub-Zero Built-in Series Installation Manual
Dual installation kit
Hide thumbs
Also See for Built-in Series:
- Assembly (45 pages) ,
- Technical & service manual (15 pages) ,
- Quick start manual (3 pages)
Table of Contents
Advertisement
Quick Links
WARNING
Built-In units are heavy and can be unstable when
attempting to install them. When moving a Built-In unit,
keep the doors and drawers taped closed. The anti-tip
components supplied with Built-In units must be used as
specified in the installation guide. The front leveling legs of
a Built-In unit must be extended to the floor to complete
the installation. If a Built-In unit were to tip and fall, it could
cause serious injury or death!
CONTENTS
5
4
Bolt, Tensilock
/
-18 ×
16
5
1
Clip, cord plastic
/
×
16
1
6
Screw, #8-32 ×
/
pan head
2
5
4
Threaded insert,
/
-18 hx opn
16
1
Trim, dual install center long
1
Bracket, dual install bot
5
3
4
Screw,
/
×
/
thread-forming
16
4
1
Bracket, dual install top
3
Bracket assembly, dual trim
1
Threaded insert, install tool
1
Heater assembly, dual installation
1
Shim, assembly main frame
6
Nut, 10-24 hex flange lock
1
Machine screw, #10-24 × 2
1
Nut, #10-24 with nylon insert
1
Instructions, dual installation
INSTALL THE HEATER
Note : The heater assembly MUST be attached to the right
side of the left-hand unit.
Clear the foil from the mounting holes of the heater
1
assembly.
Place the heater against the right-hand side of the unit
2
with wires up and foil side in, positioning the heater 2"
(51 mm) from the top edge of the cabinet and 1" (25
mm) from the rear edge of the cabinet.
Using the heater as a template, mark the heater
3
mounting holes on the cabinet with a pencil, then
remove the heater.
7
Drill a
/
" (3 mm) hole at each marked location.
4
64
Note : To avoid drilling through the inner liner, use a
short drill bit inserted into the drill chuck so that no
1
more than
/
" (13 mm) to
2
protruding.
Attach the heater to the unit using the #8-32 ×
5
head screws into the drilled holes.
7004565 REV. E
06/2018
3
/
4
1
/
2
1
/
4
3
/
" (19 mm) of bit is
4
1
/
" pan
2
Built-In Series Dual Installation Kit
6
Remove the four-prong safety plug from the panel-
mounted four-prong receptacle at the rear side of
the power cord box.
Connect the heater's four-prong plug to the receptacle.
7
5
Attach the
/
" ×
8
16
location near the water filter.
Route the heater wires through the plastic cord clip and
9
any other available wire clips.
INSTALL THE CENTER TRIM
Note : Assemble the center trim piece and trim brackets
first, then attach the trim to the right-hand side of the left-
hand unit.
1
Attach the three L-shaped dual trim bracket assemblies
to the dual install center trim piece using the nuts
provided. Do not tighten the nuts at this time.
Page 1 of 4
subzero.com
800.222.7820
1
/
" plastic cord clip in a convenient
2
1"
2"
Power Cord Box and
4-Prong Heater Plug
Connection (Rear View)
*7004565$REV.$E*
Advertisement
Table of Contents

Summary of Contents for Sub-Zero Built-in Series
- Page 1 Built-In Series Dual Installation Kit subzero.com 800.222.7820 Remove the four-prong safety plug from the panel- WARNING mounted four-prong receptacle at the rear side of Built-In units are heavy and can be unstable when the power cord box. attempting to install them. When moving a Built-In unit, keep the doors and drawers taped closed.
- Page 2 Built-In Series Dual Installation Kit subzero.com 800.222.7820 With the trim brackets loosely attached, hold the center INSTALL THE MAIN FRAME SHIM trim piece at about a 75° angle against the right-hand Note : The shim assembly must be attached to the rear of side main frame.
- Page 3 Built-In Series Dual Installation Kit subzero.com 800.222.7820 INSTALL THE SECOND UNIT TO THE RIGHT OF THE FIRST INSTALL THE THREADED INSERTS AT THE TOP (FOR OVER/ UNDER MODELS) Install, level, and align the unit until its main frame bumps against the flange of the center trim piece, and...
- Page 4 Built-In Series Dual Installation Kit subzero.com 800.222.7820 JOIN THE UNITS TOGETHER AT THE TOP Working the dual-installation top bracket in from the side, line up the holes of the top bracket with the threaded inserts at the top adjoining corners of the appliances.


Need help?
Do you have a question about the Built-in Series and is the answer not in the manual?
Questions and answers