Advertisement
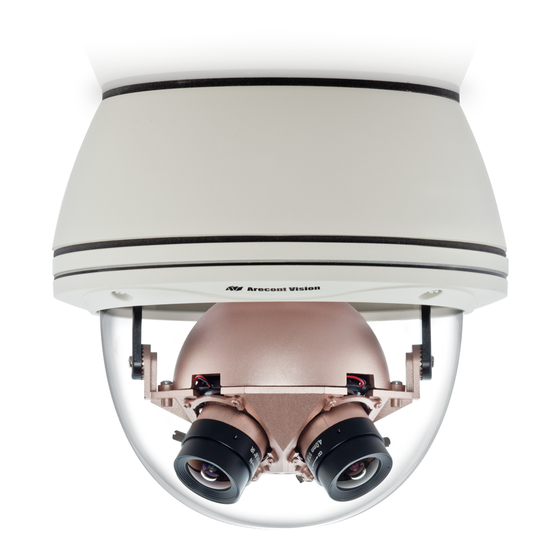
AV818X/AV836X Installation Manual
1. Prepare mounting area as shown on Pic. 1.
Note, you need either #10-32 threaded inserts or you can use thru holes in desired surface
and #10 washers and #10-32 nuts (not included)
2. Remove two #4-40 screws on the top of the camera.
3. Remove retaining ring and plastic dome. There are four #10 countersunk holes in front camera
base.
4. Using enclosed four #10-32 FH Phillips screws attach camera to the desired surface.
5. Place plastic dome into retaining ring so the flange of the dome rests inside of retaining ring.
6. Carefully rotate dome inside of the ring until holes in ring and dome will match
7. Place retaining ring and dome onto front camera base, matching holes in ring and dome with
two #4 threaded holes in base.
8. Secure retaining ring and dome to front camera base, using screws from step 2,
www.arecontvision.com avsales@arecontvision.com 818.937.0700 877.CAMERA.8
Arecont Vision reserves the right to change products or specifications without notice ©2008 Arecont Vision
BACK COVER WITH MOUNTING DIMENSIONS
PIC.1
Advertisement
Table of Contents

Subscribe to Our Youtube Channel
Summary of Contents for Arecont Vision AV818X
- Page 1 8. Secure retaining ring and dome to front camera base, using screws from step 2, PIC.1 BACK COVER WITH MOUNTING DIMENSIONS www.arecontvision.com avsales@arecontvision.com 818.937.0700 877.CAMERA.8 Arecont Vision reserves the right to change products or specifications without notice ©2008 Arecont Vision...
- Page 2 6. Cut the excess of fabric with the blade or scissors if necessary. 7. Do not discard holders as they may be used in future installation modifications. www.arecontvision.com avsales@arecontvision.com 818.937.0700 877.CAMERA.8 Arecont Vision reserves the right to change products or specifications without notice ©2008 Arecont Vision...
- Page 3 2C and using 1/16” hex L-key install 5 screws from step 2C. C. Install 2 screws from step 2B 11. Cut the excess of fabric with the blade or scissors. www.arecontvision.com avsales@arecontvision.com 818.937.0700 877.CAMERA.8 Arecont Vision reserves the right to change products or specifications without notice ©2008 Arecont Vision...


Need help?
Do you have a question about the AV818X and is the answer not in the manual?
Questions and answers