Table of Contents
Advertisement
Quick Links
Advertisement
Table of Contents

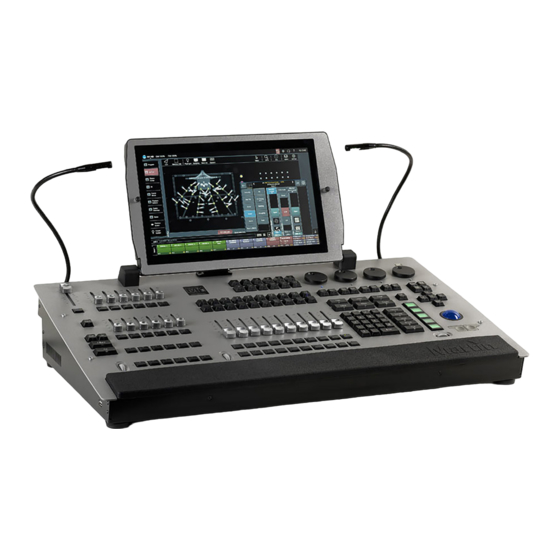
Summary of Contents for Martin M1 HD
- Page 1 SERVICE MANUAL M1 HD Revision A, 05-16-2017...
-
Page 2: Table Of Contents
Wiring diagrams ..............................6 Repair and maintenance ............................9 Opening the M1 HD controller ......................................9 Removing the screen cover of the M1 HD controller ..............................10 Updating software and OS ......................................... 12 Maintenance ................................12 Cleaning the product ....................................12... -
Page 3: General Information
Read this service manual Figure 1: Safety instructions before powering on or installing the M1 HD controller, follow the safety precautions listed below and observe all warnings in this manual and printed on the product. -
Page 4: Tools
Make sure that the tools below are available before you start working on the product: • Torx 10 • Torx 20 • Allen key 3 • ESD mat and wristband. Figure 2: Tools M1 HD - Revision A, 05-16-2017 4 of 13... -
Page 5: Spare Parts
• Disconnect all cables and the mains power cord from the controller. • Place the M1 HD controller on a soft, flat surface. • Use an ESD secure workstation and an ESD wristband. Figure 5: Disconnecting cables and mains power cord... -
Page 6: Wiring Diagrams
Service manual Wiring diagrams Hub Reserve Figure 6: Wiring diagram, M1 HD, page 1 of 3 M1 HD - Revision A, 05-16-2017 6 of 13 6 of 13... - Page 7 Service manual Figure 7: Wiring diagram, M1 HD, page 2 of 3 M1 HD - Revision A, 05-16-2017 7 of 13 7 of 13...
- Page 8 Service manual Figure 8: Wiring diagram, M1 HD, page 3 of 3 M1 HD - Revision A, 05-16-2017 8 of 13 8 of 13...
-
Page 9: Repair And Maintenance
Figure 10: Folding down the screen assembly Use an Allen key 3 to loosen the four grey HEX screws (3) on the top of the front plate. Figure 11: Loosening the HEX screws M1 HD - Revision A, 05-16-2017 9 of 13... -
Page 10: Removing The Screen Cover Of The M1 Hd Controller
In this way, all connectors from the front panel to the base assembly remain connected. Figure 13: Front panel Removing the screen cover of the M1 HD controller Remove the nine black screws (1) using the Torx 10 key. - Page 11 Figure 16: Separating right side of the cover Lift up the cover at the top right hand corner, away from the hinge. Remove it from the screen assembly. Figure 17: Removing cover top M1 HD - Revision A, 05-16-2017 11 of 13...
-
Page 12: Updating Software And Os
Updating software and OS Update the software and OS according to the separate installation procedures. You find the procedures on martin.com. You find the OS and M-Series software for your M1 HD controller on controllersupport.martin.com Maintenance Read the user manual before performing service or maintenance on the product. - Page 13 Martin™, Harman™ and all other trademarks in this document pertaining to services or products by Martin Professional™...


Need help?
Do you have a question about the M1 HD and is the answer not in the manual?
Questions and answers