
Related Manuals for ISCO 674


Summary of Contents for ISCO 674
- Page 1 674 Rain Gauge Installation and Operation Guide Part #60-3283-011 Copyright © 1992, 2004. All rights reserved, Isco, Inc. Revision H, March 2004...
- Page 3 Isco recommends that you read this manual completely before placing the equipment in service. Although Isco designs reliability into all equipment, there is always the possibility of a malfunction. This manual may help in diagnosing and repairing the malfunction.
-
Page 5: Table Of Contents
List of Tables 1-1 Technical Specifications for the 674 Rain Gauge ......1-5 List of Figures 1-1 Replacement Parts List Illustration . - Page 6 674 Rain Gauge Table of Contents...
-
Page 7: Description And Operation
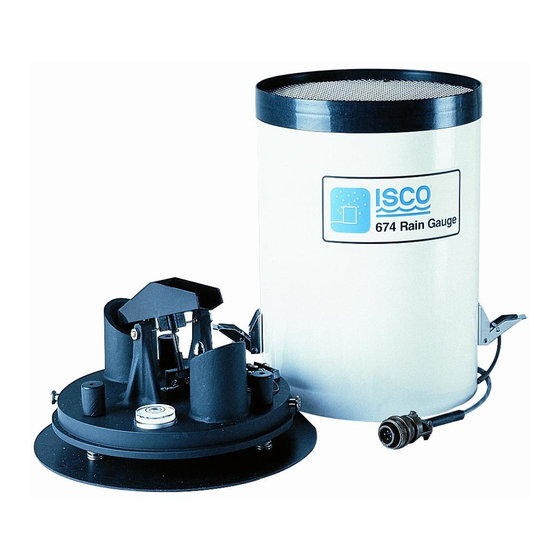
674 Rain Gauge Operation Instructions 1.1 Description and The Isco 674 Rain Gauge is a precision instrument for accurately measuring rainfall. The rain gauge is mounted inside a steel cyl- Operation inder and has an eight-inch opening on top to collect rain. Rain falls through a screen into a funnel. -
Page 8: Location Of The Rain Gauge
1. Unpack the rain gauge from the shipping box. Save the box and packing to return the rain gauge to Isco if that becomes necessary. Remove the outer tube (white cover with funnel) from the rain gauge by loosening the two thumb screws on either side. -
Page 9: Maintenance
Disconnect the Isco cable from the terminal block inside the rain gauge and splice the user-supplied cable to that end of the Isco cable. If the wiring and the splice will be exposed to the weather, use wire appropriate for outdoor use and insulate the splice properly. -
Page 10: Electrical Considerations
“dry contact” switch, with power supplied from whatever device it controls. When you connect the rain gauge to an Isco Flow Meter, the current through the switch contacts is very low and there is no problem with line losses or damage to the switch contacts. -
Page 11: Technical Specifications
-40° to 140° F (-40° to 60° C) 1.9 Replacement Parts The following pages contain a list of replacement parts for the Isco 674 rain gauge. The illustration shows the location of the List numbered parts, which are described in the accompanying table. -
Page 12: Replacement Parts List Illustration
674 Rain Gauge Operation Instructions Figure 1-1 Replacement Parts List Illustration... -
Page 13: Replacement Parts List
674 Rain Gauge Operation Instructions Figure 1-2 Replacement Parts List... - Page 14 674 Rain Gauge Operation Instructions...
- Page 15 Isco assumes no liability for any consequential damages. * This warranty applies to USA customers. Customers in other countries should contact their Isco dealer for warranty service. In the event of instrument problems, always contact the Isco Service Department, as problems can often be diagnosed and corrected without requiring an on-site visit.
Need help?
Do you have a question about the 674 and is the answer not in the manual?
Questions and answers