Advertisement
lNC104 lOrex PiNg series
quiCK sTarT guide
The Lorex Ping includes the following:
• 1 x Camera
• 1 x Camera power adapter and USB power cable
• 1 x Ethernet cable
• 1 x Mounting kit
• 1 x Quick Start Guide
• 1 x Software/documentation CD
It's all on the Web
www.lorextechnology.com
Information in this document is subject to change without notice.
As our products are subject to continuous improvement, Lorex
Technology Inc. and our subsidiaries reserve the right to modify
product design, specifications and prices, without notice and
without incurring any obligation.
E&OE © 2012 LOREX. All rights reserved.
www.lorextechnology.com
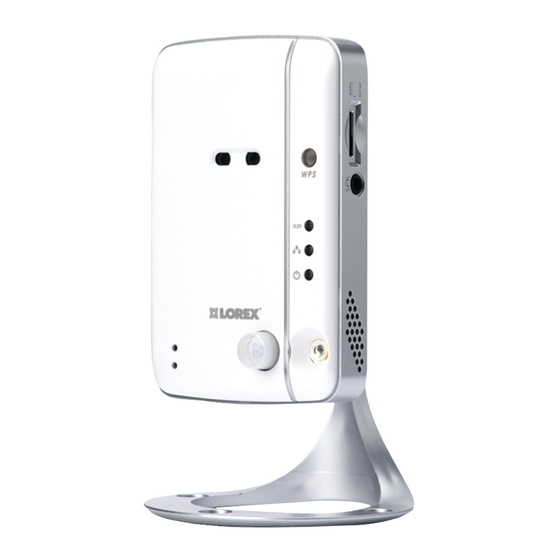
Wireless NeTWOrK Camera
Camera Overview
1
1
3
WPS
4
SD
5
2
6
7
1. Camera Lens: The camera has separate lenses for day/night use.
2. Microphone
3. WPS Button: Used to connect the camera to a wireless router (not
included) with a WPS button.
4. Indicator Lights:
• SD: Glows when a microSD card (not included) is inserted. Flashes
during recording.
•
/Network: Glows when connected to an ethernet or WiFi network.
Flashes when sending or receiving data.
•
/Status: Glows when camera is connected to the Internet. Flashes
when there is a connection problem.
5. PIR Motion Sensor: Allows the camera to detect motion by tracking body
heat.
6. Infrared LED: Allows the camera to see in the dark.
7. DC/IN: Connect the included power adapter.
8. NET: Connect an Ethernet cable and connect the other end to your router
(not included).
9
RESET
10
Camera Bottom
12
11
9. MicroSD Card Slot: Insert a microSD card (not included) to enable
recording on the camera. Camera supports microSD cards up to a
maximum size of 32GB.
10. Audio Out: Connect to an external speaker (not included) using a
3.5mm headphone jack to enable 2-way audio and alarms.
11. Mounting Stand
12. Reset Button: While the camera is powered on, press with a pin or small
object for at least 4 seconds to reset the camera to factory defaults.
This is useful if you have forgotten the password for the camera.
getting started
2
1. Connect the power adapter cable to the power
adapter using the USB connector. Plug the power
cable into the back of the camera.
WPS
8
SD
2: Connecting to your router.
one
Choose
of the following two steps.
a: Connect an Ethernet cable (included) to the NET port on
the camera and connect the other end to your router (not
included). The blue Network LED on the camera will glow
blue when the camera is connected to your network.
LAN
Ethernet Cable
B: If your router supports WPS press and hold the WPS
button on your router until the WPS light turns on.
WPS
Then, press the WPS button on the camera within
1 minute. The camera will automatically connect to
your WiFi network and the blue Network LED on the
camera will turn on.
WPS
SD
Internet
Connecting to your Camera
Once your camera is connected to your wired or
wireless network, you can connect to your camera
using your PC, Mac, iPhone, iPad, or Android
phone or tablet.
NOTe: For Mac software and instructions, please
visit www.lorextechnology.com
SIMPLY AWARE
™
LNC104 Quick Setup Guide - English - R1
Advertisement
Table of Contents

Related Manuals for Lorex LNC104


Summary of Contents for Lorex LNC104
-
Page 1: Camera Overview
PC, Mac, iPhone, iPad, or Android Information in this document is subject to change without notice. 11. Mounting Stand As our products are subject to continuous improvement, Lorex phone or tablet. Technology Inc. and our subsidiaries reserve the right to modify 12. -
Page 2: Connecting To Your Camera On Pc
©2012 Lorex Technology Inc. lorex Technology inc. As our product is subject to continuous improvement, Lorex Technology & 250 Royal Crest Court 901 Elkridge Landing Road, Suite 100 subsidiaries reserve the right to modify product design, specifications & prices...
Need help?
Do you have a question about the LNC104 and is the answer not in the manual?
Questions and answers