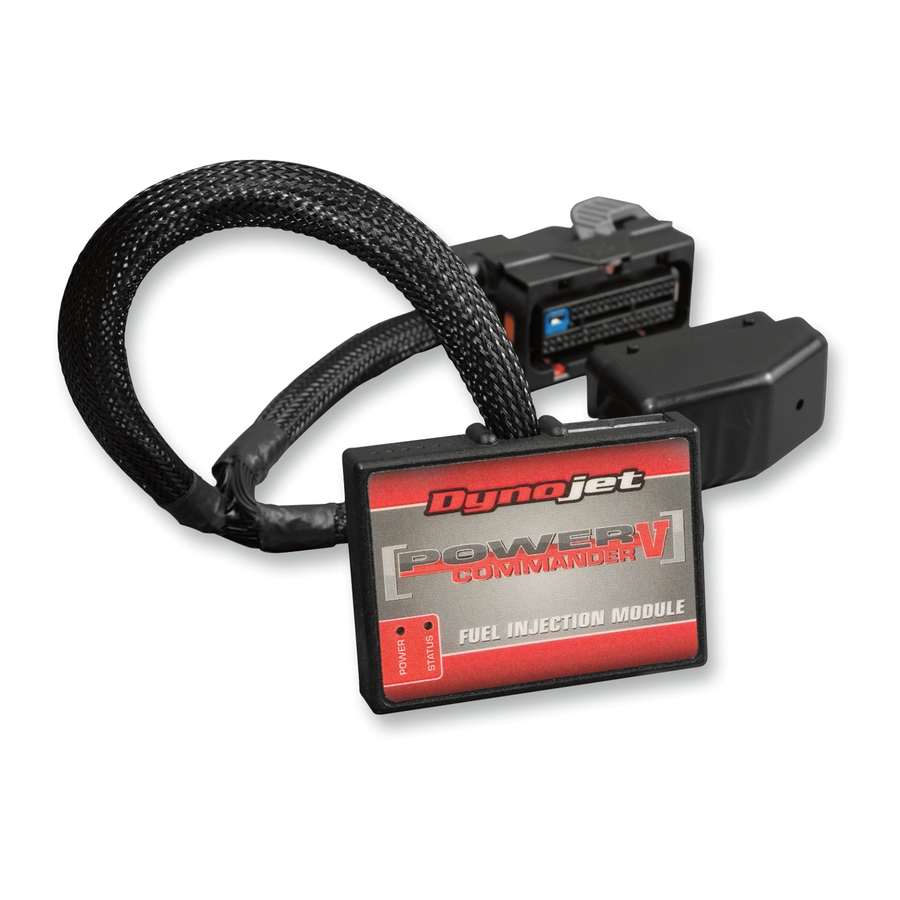
Dynojet Power Commander V Installation Instructions Manual
2010 mv agusta brutale 990
Hide thumbs
Also See for Power Commander V:
- Installation instructions and owner's manuals (9 pages) ,
- Installation instructions manual (9 pages) ,
- Installation manual (9 pages)
Table of Contents
Advertisement
Quick Links
2010 MV Agusta Brutale 990
I n s t a l l a t i o n I n s t r u c t i o n s
PLEASE READ ALL DIRECTIONS BEFORE STARTING INSTALLATION
24-004
www.powercommander.com
2191 Mendenhall Drive North Las Vegas, NV 89081 (800) 992-4993 www.powercommander.com
PARTS LIST
1
Power Commander
1
USB Cable
1
CD-ROM
1
Installation Guide
2
Power Commander Decals
2
Dynojet Decals
2
Velcro
1
Dual Velcro
1
Alcohol swab
1
O2 Optimizer
2
4" zip ties
THE IGNITION MUST BE TURNED
OFF BEFORE INSTALLATION!
YOU CAN ALSO DOWNLOAD THE
POWER COMMANDER SOFTWARE AND
LATEST MAPS FROM OUR WEB SITE AT:
www.powercommander.com
2010 Brutale 990 PCV - 1
Advertisement
Table of Contents

Summary of Contents for Dynojet Power Commander V
- Page 1 USB Cable CD-ROM 2010 MV Agusta Brutale 990 Installation Guide Power Commander Decals I n s t a l l a t i o n I n s t r u c t i o n s Dynojet Decals Velcro Dual Velcro Alcohol swab O2 Optimizer 4” zip ties THE IGNITION MUST BE TURNED...
- Page 2 POWER COMMANDER V INPUT ACCESSORY GUIDE ACCESSORY INPUTS Map - The PCV has the ability to hold 2 different base maps. You can switch on the fly between these two base maps when you hook up a switch to the MAP inputs. You can use USB CONNECTION any open/close type switch. The polarity of the wires is not important. When using the Autotune kit one position will hold a base map and the other position will let you activate the learning mode. When the switch is “CLOSED” Autotune will be activated. (Set to Input 1 by default) Shifter- These inputs are for use with the Dynojet quickshifter. Insert the wires from the Dynojet CRANK quickshifter into the SHIFTER inputs. The ANALOG polarity of the wires is not important. (Set to Input 2 by default) SPEED EXPANSION PORTS 1 & 2 INPUT 2 Speed-...
- Page 3 FIG.A Remove the seat. Remove the fuel tank and the lower right side panel. Secure the PCV in the tail section using the supplied velcro. Route the wiring harness from the PCV along the left side of the tail and go towards the engine. FIG.B PCV Ground Attach the ground wire from the PCV to the negative side of the battery (Fig. B). PCV harness Ground wire FIG.C Route the PCV harness along the left side of the frame. Use the stock wire ties to secure the PCV harness in place. 24-004 www.powercommander.com 2010 Brutale 990 PCV - 3...
- Page 4 FIG.D Unplug the stock wiring harness from each fuel injector (Fig. D). FIG.E Plug the PCV in-line of the stock fuel injectors and wiring harness (Fig. E). PCV harness: ORANGE - cylinder #1 YELLOW - cylinder #2 GREEN - cylinder #3 BLUE - cylinder #4 FIG.F Unplug Locate the bike throttle position sensor in between the 2nd and 3rd throttle bodies (Fig. F). 24-004 www.powercommander.com 2010 Brutale 990 PCV - 4...
- Page 5 FIG.G 10 Route the set of 3 pin TPS connectors of the PCV harness under the fuel rail and throttle body connecting bolt and up to the bike’s TPS (Fig. G). FIG.H 11 Plug the PCV connectors in line with the bike’s TPS. Use the 2 smaller zip ties to secure the wiring harness to the throttle bodies at the pointed locations (Fig. H). Check the throttle movement to ensure there isn’t any interference. FIG.I O2 discon 12 Unplug the stock O2 sensor from the wiring harness (Fig. I). This connection is under the fuel tank and can be found by tracing the wires coming out of the exhaust. 24-004 www.powercommander.com 2010 Brutale 990 PCV - 5...
- Page 6 FIG.J 13 Plug the O2 Optimizer in line with this connector and secure the ground wire Ground of the O2 optimizer to the engine case bolt. 14 Secure the Optimizer in place using the supplied Velcro. Optimizer Notes: FIG.K • The O2 Optimizer will control the closed loop area of the motorcycle. The closed loop area is 0-14% throttle and 0-6250rpm. The module is designed to achieve an AFR target of around 13.6:1. If you desire a different AFR call tech support at 1-800-992-4993 • Make sure to input a value of 8 in the GREY area of your map shown (except 0% throttle). If you are using an Auto tune module do NOT input target AFR values in this same area. • The light on the O2 Optimizer will blink while the O2 sensor is heating up. The unit is NOT working until the light goes solid GREEN. 24-004 www.powercommander.com 2010 Brutale 990 PCV - 6...


Need help?
Do you have a question about the Power Commander V and is the answer not in the manual?
Questions and answers