Sign In
Upload
Download
Table of Contents
Contents
Add to my manuals
Delete from my manuals
Share
URL of this page:
HTML Link:
Bookmark this page
Add
Manual will be automatically added to "My Manuals"
Print this page
×
Bookmark added
×
Added to my manuals
Manuals
Brands
Edge Manuals
Automobile Accessories
Juice
Installation instructions and manual
Edge Juice Installation Instructions And Manual
2001-2005 gm duramax 6.6l lb7 & lly
Hide thumbs
1
Table Of Contents
2
3
4
5
6
7
8
9
10
11
12
13
14
15
16
17
18
19
20
21
22
23
24
25
26
27
28
29
30
31
32
33
34
35
36
37
38
39
40
41
42
43
44
45
46
page
of
46
Go
/
46
Contents
Table of Contents
Bookmarks
Table of Contents
Table of Contents
Disclaimer of Liability
Limitation of Warranty
About the Chevy/Gm Juice
Chevy/Gm Juice Getting Connected
Supplied Items
Required Tools
Harness Connector
Mounting the Juice Module
Connecting the Harness
Final Inspection
Using the Juice
Adjusting Power Levels
Power Level Confirmation
Power Gains
Making Sense of It All
Egts: What They Mean and Why
The Juice Module and Your Transmission
Technical Support
Transmission Relearning
Edge Attitude Monitor
About the Attitude
Juice/Attitude Power Gains
Chevy/Gm Attitude Getting Connected
Changing the Display View
Two Function Bar Graph Display Sample
Two Function Digital Display Sample
Three Function Digital Display Sample
Four Function Digital Display Sample
Changing Variables on the Screen
Display
Adjusting the Backlight
Juice Configuration
Juice Configuration Options
Max EGT Set Point
Disabling Backdown at Set EGT
Low Boost Fueling / Low End Responsiveness Adjustment
Shift Defuel Setting
Transmission Setup Option Descriptions
Tire Size
Alerts
Records
Performance Tests
Hot Unlock Code
Adjusting Juice Power Levels
Power Gains
Technical Support
Advertisement
Quick Links
1
Adjusting Power Levels
2
Using the Juice
3
Hot Unlock Code
Download this manual
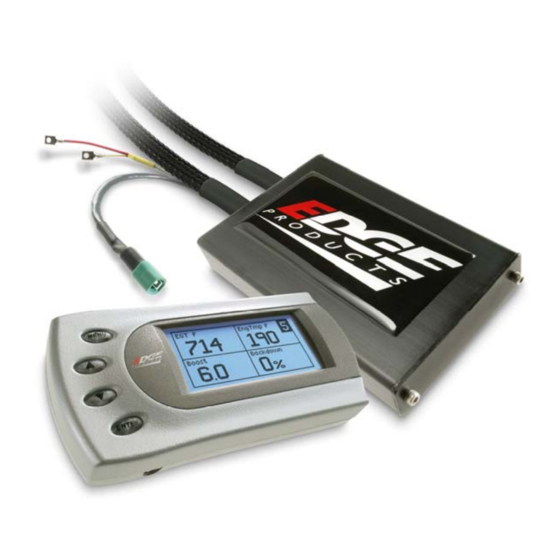
2001-2005 GM Duramax 6.6L LB7 & LLY
Edge Juice and Attitude
Installation Instructions and Manual
OLD P/N's: EJC1001WAM / EJC1000AWAM
NEW P/N's: 20100 / 20101
Table of
Contents
Previous
Page
Next
Page
1
2
3
4
5
Advertisement
Table of Contents
Need help?
Do you have a question about the Juice and is the answer not in the manual?
Ask a question
Questions and answers
Related Manuals for Edge Juice
Automobile Accessories Edge Juice/Attitude Installation Instructions Manual
System for the ford power stroke diesel (28 pages)
Automobile Accessories Edge Evolution 15051 Installation Instructions & Manual For Maintenance
2004-2008 ford f-series 5.4l & 4.6l triton v8 edge evolution programmer (44 pages)
Automobile Accessories Edge CS2 Quick Install Manual
(9 pages)
Automobile Accessories Edge EGT+Boost Manual
(5 pages)
Automobile Accessories Edge REVOLVER User Manual
(20 pages)
Automobile Accessories Edge ICLEDWP-3 Manual
Digital rgb led whip light (2 pages)
This manual is also suitable for:
Attitude
20100
20101
Ejc1000awam
Ejc1001wam
Table of Contents
Save PDF
Print
Rename the bookmark
Delete bookmark?
Delete from my manuals?
Login
Sign In
OR
Sign in with Facebook
Sign in with Google
Upload manual
Upload from disk
Upload from URL


Need help?
Do you have a question about the Juice and is the answer not in the manual?
Questions and answers