
Related Manuals for Strong SRT 32HY4002N


Summary of Contents for Strong SRT 32HY4002N
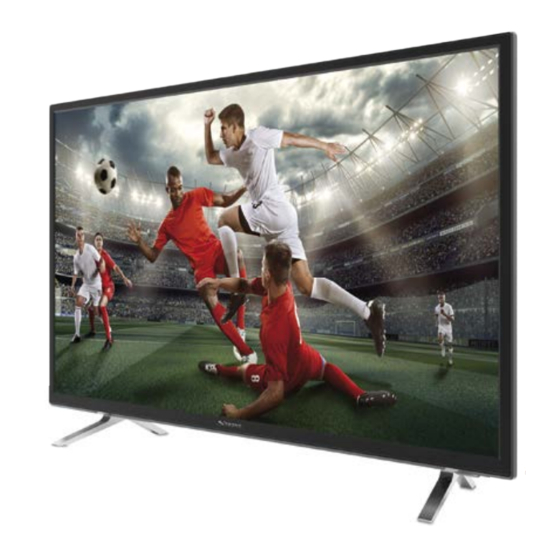
- Page 1 LED TV with DVB-T/T2/C SRT 32HY4002N SRT 40FY4002N SRT 49FY4002N SRT 55FY4002N User Manual Bruksanvisning Brukermanual Brugervejledning Ohjekirja...
- Page 4 Supplied by STRONG & Co, Japan Represented by STRONG Ges.m.b.H. Franz-Josefs-Kai 1 1010 Vienna Austria Email: support_at@strong.tv 13 Apr 2018 17:14...
-
Page 5: Table Of Contents
Dolby Laboratories. HDMI, the HDMI logo and High-Definition Multimedia Interface are trademarks or registered trademarks of HDMI Licensing LLC in the United States and other countries. All product names are trademarks or registered trademarks of their respective owners. © STRONG 2016. All rights reserved. -
Page 6: Important Information
Install the appliance away from any source of heat (fireplace, etc.) or appliances creating strong magnetic or electric fields. Moisture in rooms where the set is installed should not exceed 80% humidity. Moving the set from a cold place to a warm one can cause condensation on the screen (and on some components inside the TV set). -
Page 7: Eye Fatigue
the rest of the set. IMPORTANT: Using strong detergents, alcohol-based and abrasive products may damage the screen. Dust the vents at the back and sides regularly. Using solvents, abrasive or alcohol-based products could damage the TV set. If an object or liquid enters the appliance, unplug it immediately and have it checked by an authorized engineer. -
Page 8: Hanging The Tv Set On The Wall
PART 1 1.5 Hanging the TV set on the wall WARNING: This operation requires two people. To ensure a safe installation, observe the following safety notes: Check that the wall can support the weight of the TV set and wall mount ... -
Page 9: Connections
PART 1 should be handed over to the applicable collection points for the recycling of electrical and electronic equipment as well as batteries for proper treatment, recovery and recycling in accordance with your national legislation and the Directive 2012/19/EU, 2006/66/EC and 2008/12/EC. By disposing of these products correctly, you will help to conserve natural resources and will help to prevent potential negative effects on the environment and human health which could otherwise be caused by inappropriate waste handling of these products. -
Page 10: Blu-Ray Disc Player, Hd Game Console & Hd Camcorder
PART 1 NOTES: Before connecting a PC, set the PC monitor refresh rate to 60 Hz. The connectors of VGA (if available) and CMP (YPbPr) share the same audio input connector. Excessive sound pressure from earphones and headphones can cause ... -
Page 11: Getting Started
PART 1 3.0 GETTING STARTED 3.1 Remote control functions Most of your television’s functions are available via the menus that appear on the screen. The remote control supplied with your set can be used to navigate through the menus and to configure all the general settings. -
Page 12: Switching The Tv On And Off
PART 1 IMPORTANT: Batteries shall not be exposed to excessive heat such as sunshine, fire or the like. Remove batteries when the remote control is not to be used for a long time. Batteries left in equipment may cause damage through deterioration and corrosive leakage, invalidating the guarantee. -
Page 13: Installing Channels
PART 1 4.0 INSTALLING CHANNELS 4.1 Initial setup Initial setup involves selecting all the settings required to be able to search for and store all the analogue and digital channels you can receive. Make sure that the television is switched on and follow all the steps in turn specified hereafter. NOTE: If the channel search retrieved only the analogue channels it could be caused by poor broadcasting and therefore is not covered by... -
Page 14: Performing An Automatic Channel Search
PART 1 Before starting the scanning, you can also select Skip scan to skip the initial setup process. In this case, to search and store your channels you may do an automatic channel search by following the instructions in the next section Performing an automatic channel search. During the setup, you can follow the hints available at the bottom of the screen to return to the previous step by pressing t. -
Page 15: Using Your Tv
PART 1 After the automatic search, channels are arranged in a preset order. If you wish to skip channels, modify the preset order or rename channels, select Setup > Organiser and press OK/u to enter. 5.0 USING YOUR TV 5.1 Accessing channels Using the 0 ~9 buttons Press the corresponding 0 ~ 9 buttons on the remote control to access the channels. -
Page 16: Setting Up Your Favourite Channels
PART 1 Press Menu to display the main menu. Press p qt u to select Setup, then press OK to enter. Select Language and press OK/u to enter. Select Menu language and press t u to select your desired language to display the menus. Press Exit to close the menu. -
Page 17: Selecting Decoding Page Language In Teletext
PART 1 5.9.2 Enabling subtitle languages on digital TV channels Press Menu on the remote control and select Options > Subtitle > Digital subtitle language. Press t u to select a subtitle language as your preferred language. Press p q to select Digital subtitle language 2nd. Press t u to select a secondary subtitle language. -
Page 18: Common Interface
PART 1 5.12.1 Enabling or disabling T-Link Press Menu on the remote control, then select Options > T-Link. Press t u to select On or Off, if this function is turned on, T-Link option will be available in the Quick access menu which you can enter by pressing the Option button on the remote control. -
Page 19: Software Update
PART 1 NOTE: Do not remove the common interface module from the slot. Removing the module will deactivate the digital services. 5.13.2 Accessing common interface services After inserting and activating the common interface module, press Menu on the remote control and select Options >... -
Page 20: Viewing Photos, Playing Music And Watching Videos From A Usb Storage Device
PART 1 NOTE: For some models, MHEG and subtitles are mutually exclusive and cannot coexist on the same screen. If Subtitle is set to On, MHEG will not appear. Press the RED button or TEXT on the remote control. Press p q t u to select or highlight items. Press OK to confirm or activate. -
Page 21: Time Access
PART 1 5.17.2 Music Use this function to play back music, if available. Select Media center > Music, then press OK to enter the main file content browser. Use p q t u to select a song in either main or sub file content browser in the same way as in photo display function, press Menu to display the music menu in folder mode. -
Page 22: Customising The Input Settings
PART 1 Use the 0 ~ 9 buttons to enter the password. Press t u to select OK and press OK to confirm. The Initial setup menu appears. Follow the related instructions. 5.21 Customising the input settings You can configure your TV according to the equipment you connect to it. Press Menu on the remote control and select Setup >... -
Page 23: When Using Mhl
5.23.2 When using MHL Interoperability with MHL devices from other manufacturers is not guaranteed. STRONG does not provide any guarantee, therefore, against operational failure such as that described below when an MHL source is connected to the TV. No picture or sound ... -
Page 24: Television Specifications
Check the batteries of the remote control. Make sure the remote sensor window on the TV front is not under strong fluorescent lighting. Try to clean the remote sensor window on the TV front with a soft cloth. - Page 25 PART 1...
- Page 26 PART 1...
Need help?
Do you have a question about the SRT 32HY4002N and is the answer not in the manual?
Questions and answers