Table of Contents
Advertisement
Quick Links
Features
•
Selectable wireless panel and sensor compatibility
•
Translator or repeater operation
•
Rechargeable backup battery
•
Cover tamper
•
Certified to UL1023 and ULC1023
Quick Setup
1
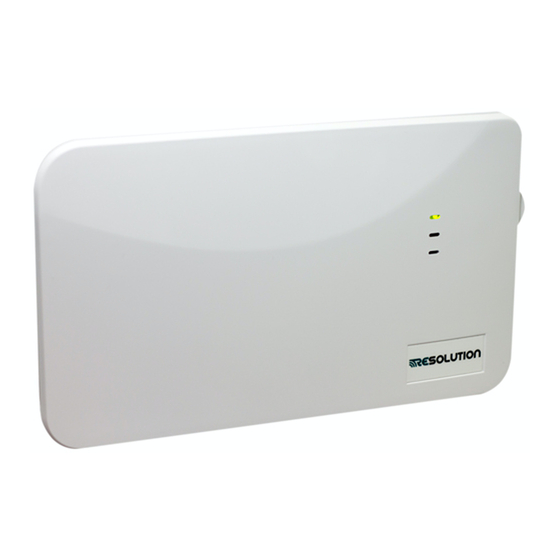
A Select a mounting position and location.
B Connect the power supply to the translator.
2
A Select the brand of panel that the translator must
talk to using the "PANEL SELECT" knob.
B Select the brand of sensors that the translator must
listen to using the "SENSOR SELECT" knob.
C Translator configuration
a) Press the "CONFIGURE" button to enter configuration mode.
b) Tamper or trip all sensors to be translated.
c) Press the "CONFIGURE" button to exit configuration mode.
3
PANEL ENROLLMENT
(For full sensor enrollment instructions, refer to Advanced Setup, step 3)
A Enroll Translator into Panel.
• Trip the translator tamper to enroll the translator into the panel (For Honeywell® and 2GIG® panels select loop 1).
-or-
• Enter ID into panel. The translator's ID is printed on the bar code label.
B Enroll Sensors into Panel
• With the translator cover open, trip each sensor to enroll it into to the panel.
• Finish setup of each sensor at the panel.
4
A With the translator cover open, perform a panel sensor test.
B Close the cover. Test and verify proper operation of the sensors at the panel.
C Cut the lock wire to lock the translator (For more information on locking, refer to Advanced Setup, step 4).
D Secure cover with screw.
INSTALLATION VIDEOS and PRODUCT INFORMATION:
Installation Guide: RE524X Wireless to Wireless Translator™
Wall mounting
screw locations
DIAGRAM
http://resolutionproducts.com/products/translators-repeaters/universal-translator/
(Mounting hardware not included. Use two
#4 or # 6 screws for mounting )
Advertisement
Table of Contents

Related Manuals for Resolution RE524X


Summary of Contents for Resolution RE524X
- Page 1 Installation Guide: RE524X Wireless to Wireless Translator™ Features • Selectable wireless panel and sensor compatibility • Translator or repeater operation • Rechargeable backup battery • Cover tamper • Certified to UL1023 and ULC1023 Quick Setup MOUNT AND WIRE A Select a mounting position and location.
- Page 2 Advanced Setup PANEL ENROLLMENT (continued) MOUNT AND WIRE B Enroll Sensors into panel: A Select a mounting position and location. • Tamper or trip each sensor to send an enrollable • Mount the translator at least 5 feet from the Control Panel’s transmission to the panel.
- Page 3 PANEL ENROLLMENT (continued) Notes DSC ® SENSORS • If the translator loses both 12VDC input power and battery back Translator enrollment: up power, sensor configuration data is retained. Enter Wireless Enrollment mode. • Low battery, tamper, and supervisory signals are reported by the Trip the translator cover tamper to enroll the translator.
-
Page 4: Specifications
Operating Temperature 32 to 120˚F (0 to 49˚C) WARRANTY Storage Temperature -4 to 86˚F (-20 to 30˚C), Long-Term RESOLUTION PRODUCTS, INC. WILL REPLACE PRODUCTS THAT ARE DEFECTIVE IN THEIR FIRST FIVE Maximum Humidity 85% relative humidity, non-condensing (5) YEARS. FCC NOTICE POWER THIS DEVICE COMPLIES WITH PART 15 OF THE FCC RULES.
Need help?
Do you have a question about the RE524X and is the answer not in the manual?
Questions and answers