Table of Contents
Advertisement
Advertisement
Table of Contents

Related Manuals for Mamiya 645E


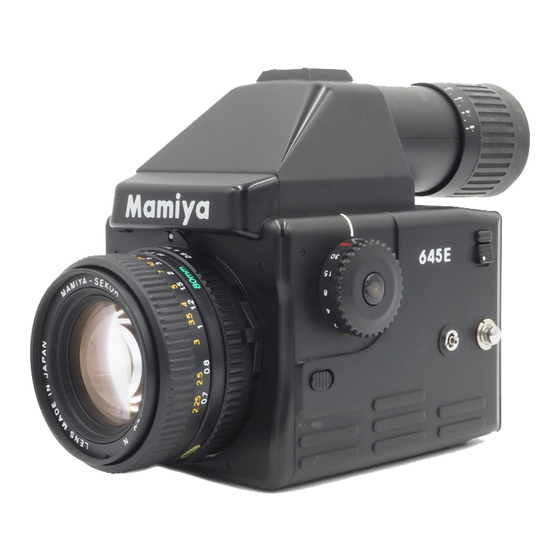
Summary of Contents for Mamiya 645E
-
Page 2: Table Of Contents
Contents Names of Parts, Part 1..……………………………..…..…. 1 Focusing………………………………………………………….…….. 11 Finder LED Indications……………………………..…..…. 1 Depth-of-Field………………………………………………….……. 13 Loading the Battery………………………………..…..…… 2 Film Advance and Unloading Exposed Film………….. 13 Battery Check…………………………………………..……..…. 3 Mirror Lock-up Photography……………………………..….. 11 Shutter Release Selector………………………..…………..3 Multiple Exposures…………………………………………………. 14 Attaching and Removing Lenses……………………………..4 Infrared Photography…………………………………..……….. -
Page 3: Names Of Parts, Part 1
Names of Parts, Part 1 Finder LED Indicators... -
Page 4: Loading The Battery
Caution Do not let the battery’s terminals contact any metal objects or carry or store the battery with any metal object. When storing and disposing of the battery, apply tape to the terminals so they cannot contact other objects. -
Page 5: Battery Check
Battery Check Press the Shutter Release Button down halfway and look through the Viewfinder. The finder’s LEDs illuminate, as follows: • Glowing LEDs indicate a strong battery • Blinking LEDs indicate a weak battery • No LED display indicates a depleted battery Important The battery supplied with this camera may have been subjected to storage conditions that could reduce its service life. -
Page 6: Attaching And Removing Lenses
Operating the Shutter Release Button Depressing the Shutter Release Button halfway illuminates the Viewfinder’s LEDs. Fully depressing the Shutter Release Button activates the shutter. If the film is not fully advanced, or the battery is depleted, the shutter will not operate. After releasing the shutter, the Film Advance Crank will unlock and be ready to advance the film to the next frame. -
Page 7: Attaching And Removing The Film Advance Crank
Removing the Film Advance Crank Push the Lock Lever (A) on the bottom of the Film Advance Crank forward as far as it will go. Turn the Film Advance Crank counterclockwise to remove it. Attaching the Film Advance Crank Align the white index mark (B) on the Film Advance Crank with the index mark on the Mounting Plate on the camera body. -
Page 8: Before Loading Film
Push and hold the Shutter Speed Dial’s Release Button (A) to unlock the dial, then set the dial to any setting other than ‘A’ or ‘AEL’, as show in the image on the left. Set the camera body’s Multiple Exposure Lever to its ‘MULTI’ position, as shown in the center image. Set the Shutter Release Selector to its White Circle Position (refer to the image on the right). -
Page 9: Advancing The Film To The First Frame
While pressing the Back Cover Opening Button (B) downward, press the Back Cover Release Button (A) in. The Back Cover will open. While squeezing both sides of the Film Insert’s Release Latch (C), pull the Film Insert out of the camera body. -
Page 10: Ae (Aperture Priority) Photography
Close the Back Cover by firmly pressing the top of the Cover against the camera body. 10. Set the camera’s Multiple Exposure Lever to its white dot (normal) position. 11. Wind the Film Advance Crank’s handle clockwise until it stops. The number ‘1’ will appear in the Film Counter Window and the shutter will be cocked. -
Page 11: Manual Photography
If two shutter speeds are illuminated, the camera will make an exposure at an intermediate speed. For example, if both 1/60 sec. and 1/125 sec. are illuminated, the shutter will fire at speed between 1/60 and 1/125. AE Lock (AEL) Photography AEL photography is used to make selective exposure measurements on areas of your subject that are not in the center of the frame. -
Page 12: Led Display In The Viewfinder
If two shutter speeds blink, the correct exposure cannot be determined for the selected aperture. The shutter speed set on the camera is illuminated. For a correct exposure, turn the Shutter Speed Dial, or change the aperture, until only one shutter speed is illuminated. LED Display in the Viewfinder... -
Page 13: Exposure Compensation
Exposure Compensation While pressing the center button on the Exposure Compensation Dial, turn the dial to select the desired compensation. The dial has a range of ±2 EV with click-stops at 1/3 EV intervals. Turning the dial in the + direction increases exposure. Turning the dial in the –... -
Page 14: Diopter Adjustment
Diopter Adjustment To assure correct focusing, set the Diopter Adjustment for your eyesight. Rotate the Diopter Adjustment Ring until you can clearly see the lines on the camera’s focusing screen. Next, turn the lens’ Focusing Ring until a selected object in the Viewfinder is sharp and clear. Make fine adjustments with the Diopter Adjustment Ring. -
Page 15: Depth-Of-Field
Depth-of-Field Depth-of-field is the zone of sharpness in front of and behind the plane of critical focus. The distance from the camera to the subject, the focal length of the lens, the lens aperture, and the distance the lens is focused at determines the depth-of-field. -
Page 16: Multiple Exposures
Seal the film with its included adhesive label. Move the empty spool from the Film Insert’s top compartment to its lower compartment. This will prepare the Film Insert for the next roll of film. Mirror Lock-up Photography Photographing with the mirror in the up position substantially reduces camera shake (vibrations) when the mirror returns to its down position. -
Page 17: Infrared Photography
Infrared Index Marks. Using a Tripod The Mamiya 645E Tripod Socket has a standard 1/4-20 thread and will accept all 1/4-20 tripods and accessories. To use tripods and accessories that have 3/8 threads, remove the center screw from the 1/4-20 tripod bushing with a 1.6mm... -
Page 18: Attaching And Removing The Neck Strap
For M bulb flash: Set the Shutter Speed Dial to 1/15 sec. or slower. • The fastest sync speed is 1/60 sec. Attaching and Removing the Neck Strap Attaching the strap: While pressing down on the Strap Fastener (A), pull out the Strap Fastener (A) from the Attaching Clip (B). Place the hole in the Strap Fastener (A) over the camera’s Strap Lug (center image) and pull the Attaching clip (B) in the direction of the arrow until the Strap Fastener (A) clicks and locks into place. -
Page 19: System Chart
Shooting without the Rapid Wind Grip: Hold the camera with its base resting on your left hand and your right hand supporting its top and right side, as shown in the image on the left. Shooting with the Rapid Wind Grip: Hold the grip in your right hand and support the lens with your left hand, as shown in the second and third images. -
Page 20: Specifications
Specifications... -
Page 21: Common Sense Camera Care And Operations
Common Sense Care and Practice... - Page 22 Specific Suggestions and the Importance of Proper Maintenance...
- Page 23 Battery Care...
-
Page 24: Names Of Parts, Part 2
Names of Parts, Part 2... -
Page 25: Troubleshooting
After-Sale Servicing Special Advice to Professional Photographers Troubleshooting...
Need help?
Do you have a question about the 645E and is the answer not in the manual?
Questions and answers