
Related Manuals for Sentiotec WELLFUN CORNER


Summary of Contents for Sentiotec WELLFUN CORNER
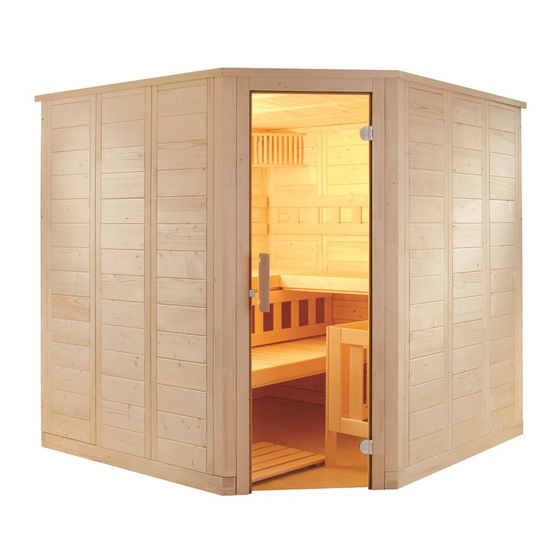
- Page 1 Montageanleitung Assembly instructions WELLFUN CORNER Massivsauna 206 x 206 x 204 cm Log board sauna WELLFUN CORNER Version 12/17...
- Page 2 Assembly instructions Log board sauna WELLFUN CORNER Dimension of the cabin: 204 x 204 x 202 cm incl. border edging: 206 x 206 x 204 cm Inside dimension: 196 x 196 x 198 cm Wall thickness: 40 mm Dear customer, Before starting to assemble the cabin, please check with the help of the parts list, if all elements have actually been supplied.
- Page 3 Parts list WELLFUN CORNER 4 floor frames massive battens 4 x 9 cm 1 inside light (2 pcs. 204 cm; 2 pcs. 148 cm - 1 x 45°) 1 lamp facing 52 x 24,5 x 3 cm 3 corner battens 90° 193 x 6 x 6 cm 1 floor grating 70 x 50 cm 2 corner battens 45°...
- Page 4 Assembly instructions fig. 1.1 srew 4 x 70 mm fig. 1.2...
- Page 5 srew 6 x 120 mm fig. 1.3 fig. 1.4 fig. 1.5...
- Page 6 Assembly instructions fig. 1.7 srew 4 x 70 mm fig. 1.6 fig. 1.8 Electrical element (left or right of the glass door) fig. 1.9...
- Page 7 fig. 1.10 fig. 1.11 fig. 1.12...
- Page 8 Assembly instructions Remove the transport batten from the door frame fig. 1.13 Abb 1.14 Abb 1.15...
- Page 9 Roof supporting battens – please start above the door srew 4 x 70 mm fig. 1.18 fig. 1.19 fig..1.20 fig. 1.21...
- Page 10 Assembly instructions Bench supporting battens srew 5 x 70 mm fig..1.22 fig..1.23 4 pcs. srews 3 x 40 mm fig. 1.24...
- Page 11 fig. 1.25 fig. 1.26 srew 4 x 60 mm fig. 1.27 fig. 1.28...
- Page 12 Assembly instructions Screw the bench from the bottom - srew 4 x 70 mm fig. 1.29 fig. 1.30 srew 3 x 40 mm fig. 1.31 fig. 1.29...
- Page 13 fig. 1.32 fig. 1.33 srew 3 x 40 mm fig. 1.34...
- Page 14 Assembly instructions Silicone ring for hinge plates on both sides of the glass door fig. 1.35 fig. 1.36 srew 4 x 30 mm fig. 1.37 fig. 1.38...
- Page 15 Door seal from the glass door fig. 1.39 fig. 1.40 fig. 1.41 Put the sheet metal on the glass door fig. 1.42...
- Page 16 Assembly instructions Ring of silicone for screw hole in the glass door fig. 1.43 Inside fig. 1.44 Assembly of the glass door on the left or on the right side fig. 1.45...
- Page 17 srew 3 x 40 mm fig. 1.46 fig. 1.47 srew 3 x 40 mm fig. 1.48...
- Page 18 Assembly instructions Start with the frontal border edge above the door fig. 1.49 srew 3 x 40 mm fig. 1.50 fig. 1.51...
- Page 19 Covering for the screw hole fig. 1.52 fig. 1.53...
- Page 20 Assembly instructions PLAN WELLFUN CORNER 206 x 206 x 204 cm A/B side walls Assembly of the cabin left or right...
- Page 21 GmbH | Division of Harvia Group | Oberregauer Straße 48, A-4844 Regau T +43 (0) 7672/277 20-567 | F -801 | info@sentiotec.com | www.sentiotec.com...
Need help?
Do you have a question about the WELLFUN CORNER and is the answer not in the manual?
Questions and answers