Advertisement
Quick Links
Advertisement

Related Manuals for Fillauer Formula


Summary of Contents for Fillauer Formula
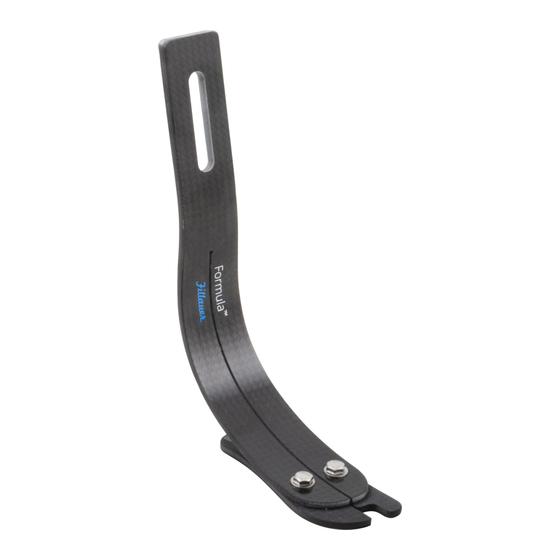
- Page 1 Formula ™ Product Manual...
- Page 2 • Please review the FAQ section of the manual on page 11 before use of the foot. These instructions should be read prior to fitting and followed to ensure the proper integration of the Formula foot into the patient’s prosthetic system.
- Page 3 Installation Attention: Deviating from the installation instructions or modifying the foot in any way other than as recommended in this manual will void any product warranty and could lead to product failure and injury to the patient. Pylon & Foot Plate Setup Lightly sand the plantar surface of both the heels and the plantar surface of the pylon from the point of the heel attachment holes to the toe to ensure a proper bond of the sole.
- Page 4 With the ⅛ in. spacer in place, glue 3 pieces of ⅜ in. cloud crepe to the topside of heels. All crepe gluing in this process must be done with heated material so it molds properly. Remove the heel and sand to the shape of the outer edge of the heel plates.
- Page 5 Reattach the heel section to the pylon using the bolts provided and torque to 18 – 20 N·m. Measure the desired length of the foot. Always cut back the length from the toe, never from the heel. Cut and sand the asymmetric shape of the toe of the foot (right or left).
- Page 6 Sand the shape of the foot so it fits in the desired shoe. The shape must have a medial arch carved to match the last of the shoe. It is important that the lateral edge matches the shape of the shoe so the foot does not shift or cause damage to the shoe over time.
- Page 7 Installation & Alignment An alignment plate and instructions are available from Fillauer (PN 180-10-2010); however, for the best cosmetic finish direct lamination of the foot to the socket can be easily accomplished. The foot should first be cut to length to allow attachment as proximal as can be allowed by the posterior trimline of the socket.
- Page 8 Bond the socket to the pylon using Fabtech PLUSeries Composite ® Adhesive as shown. Check the alignment and correct by rebonding the setup before proceeding to the next step. Apply adhesive in area shown Once the static alignment is complete, apply an outer layer of adhesive to hold the foot in place for dynamic alignment (for larger patients, fiberglass cast tape may be necessary for safety).
- Page 9 Add reference marks to aid alignment Repeat steps 4 – 6 until optimal alignment is achieved. As an alternative to the direct lamination attachment, the Fillauer alignment plate may be used to attach the foot but an additional ⅜ in. posterior offset is required.
- Page 10 Sand the exterior of the adhesive and the socket to just past the midline to allow for a solid bond of the lamination. Mask the socket anterior to trimline and distal and proximal to the adhesive. Apply carbon fiber braid, fully saturated with resin, to the sanded area and tightly wrap with PVA to seal as the lamination sets.
-
Page 11: Frequently Asked Questions
Can I get my Formula wet? The Formula is designed to be maintenance free. The foot is water proof; however, if the foot is submerged in salt water, the proximal foot bolts should be rinsed with fresh water and dried immediately. Also, if the crepe... - Page 12 Is there regular maintenance on the foot for which I should see my prosthetist? The Formula is a high performance foot and should be inspected every 6 months for signs of abnormal wear and that the attachment/alignment screws are secure. Any foreign materials or grit must be routinely cleaned away to prevent excessive wear.
Need help?
Do you have a question about the Formula and is the answer not in the manual?
Questions and answers