Table of Contents
Advertisement
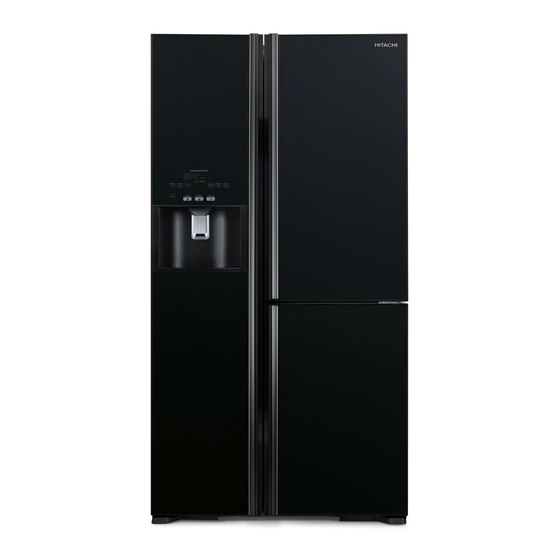
Instruction Manual
HITACHI Side by Side Refrigerator
No Frost
Model
R-M800GP2M
R-M810GP2MX
R-M700GP2MS
R-M700GP2MSX
R-M700GPG2
R-M700GPG2X
R-M700GPGS2
R-M700GPGS2X
R-M700GPND2
R-M700GPND2X
R-M700GPRS2
R-M700GPRS2X
R-M800P2M
R-M700P2MS
R-M700PG2
R-M700PGS2
R-M700PND2
R-M700PRS2
For household use only
R-S800GP2M
R-S700GP2MS
R-S700GPG2
R-S700GPGS2
R-S700GPND2
R-S700GPRS2
R-S800P2M
R-S700P2MS
R-S700PG2
R-S700PGS2
R-S700PND2
R-S700PRS2
R600a
Refrigerant
Advertisement
Table of Contents


Need help?
Do you have a question about the R-M800GP2M and is the answer not in the manual?
Questions and answers