
Related Manuals for Audiovox FRS 3000-PK


Summary of Contents for Audiovox FRS 3000-PK
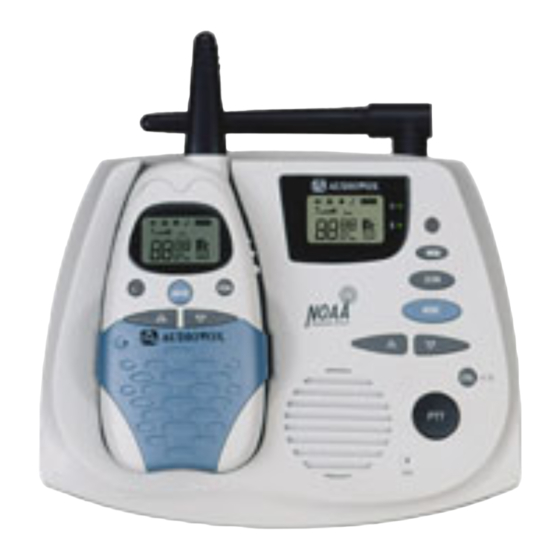
- Page 1 FRS 3000-PK SERVICE MANUAL 2-WAY RADIO, Base Station OCTOBER 19, 2001...
- Page 2 The frequency range is 462 ~ 467MHz, UHF operating Channels for international 2 way radio. Also it has a 38 CTCSS feature to get the clear communication without interference. FRS 3000-PK has 10 NOAA weather channel and weather alert feature. 1.2 CHARACTERISTIC a) All active device in this radio is composed of semiconductor and high density IC.
-
Page 3: General Specifications
2. SPECIFICATION 2.1 GENERAL SPECIFICATIONS a) Frequency range : 462.5625 ~ 467.7125 MHz b) Output Impedance : 50Ω Unbalanced c) Modulation Type : 9K0F3E d) Communication Mode : Half duplex e) Channel Capacity : 14 channel f) Channel Spacing : 12.5 Khz g) Power : 9.0V Adaptor h) Operating Temperature : -20°C ~ +60°C i) Dimension : 128(H) x 155(W) x 50(D) -
Page 4: Operation
3. OPERATION 3.1 ICONS on LCD 1) Monitor indicator : Appears when the CTCSS isn’t in use and squelch is open. 2) Key lock indicator : Indicates that the key lock function is in use. 3) Beep ON/OFF indicator : Appears while key tone is in use. 4) Roger On/Off indicator : Appears while Roger tone is in use. - Page 5 3.2 Key Function 1) PTT switch : Push and hold to transmit ; release to receive. 2) Monitor : Press and hold this key for over 2 seconds to enable the receive CTCSS feature. 3) Up/Down key : In the stand-by mode, Pressing this button will increment or decrement the listening volume.
- Page 6 4'th press – Dual Watch Channel, 5’th press – Roger On/Off, 6'th press – Beep On/Off, 7’th press – Out Of Range On/Off, 8’th press – ID, 9’th press – Alert On/Off, 10’th press – Call Long press mode : The radio goes to weather radio. 8) Speaker / Microphone 9) External DC power jack : 9V DC adaptor should be used for power supply and charging the battery...
- Page 7 3.3 Function display Monitor Indicator: Icon appears when the monitor button is pressed and the channel monitor function is activated. Key Lock Indicator: Icon appears when the keypad is locked. This function disables keys such as channel up/down and mode. Signal Strength Indicator: Icon appears when a signal is being received.
-
Page 8: Setting And Operation
In order to communicate with other FRS units, both you and the receiving party must be on the same channel. FRS 3000-PK has 14channels indicated by the large digits on the LCD display panel. Before trying to transmit on the selected channel, you should press the Monitor Button to check the activity on that channel. - Page 9 To select the channel * Turn the radio on. * Press MODE button once, [XX] digit will blink on the LCD. XX is a channel. * Press up[ù] or down[ü]button to choose the channel. * Press the PTT button or MODE button to confirm. To set the tone codes(CTCSS) * Press MODE button once more, [XX up to...
- Page 10 * Press the PTT button or MODE button to confirm. 5) Roger tone This feature will give the tone signal to other parties when transmitting finished (when PTT button is released.) To activate or disable the Roger tone * Press the Mode button until [rb on or oF] and the roger icon blink on the LCD.
- Page 11 9) Weather alert setting To set the Weather alert receiving mode * Press the MODE button until the [AL on or oF] blinks * Press the up[ù]button or down [ü]button to set the alert function. * While the alert is ON, weather icon will blink both in FRS and weather mode.
- Page 12 Important : Before transmitting or receiving to the other parties * Correct channel is selected (1 to 14) and * Correct code is set ( 00 to 38 ) 13) Channel Scanning This feature allows you to monitor all activated channels while scanning. To activate the Scan * Press the SCAN button * Radio will begin scanning.
- Page 13 To disable the monitor feature * Press and hold the “SCAN” button for over two seconds. * Keypad will unlock. (LOCK icon will disappear on the LCD)
Need help?
Do you have a question about the FRS 3000-PK and is the answer not in the manual?
Questions and answers