Advertisement
Quick Links
Advertisement

Related Manuals for OWC ThunderBlade V4


Summary of Contents for OWC ThunderBlade V4
- Page 1 T H U N D E R B L A D E User Guide...
- Page 2 1.5 Front View 1.6 Rear View ..............Mac & PC Setup 2.1 Mac Formatting & SoftRAID Information 2.2 PC Formatting Process ............... Support Resources 3.1 Troubleshooting 3.2 About Data Backup 3.3 Contacting Technical Support OWC ThunderBlade V4 Table of Contents...
- Page 3 • Power supply and cable 1.3 Getting Started • To use the ThunderBlade V4, connect it to your computer via the included Thunderbolt 3 cable. Device drivers are not required, however use of SoftRAID XT (macOS only at the time of this writing) requires the SoftRAID driver and application.
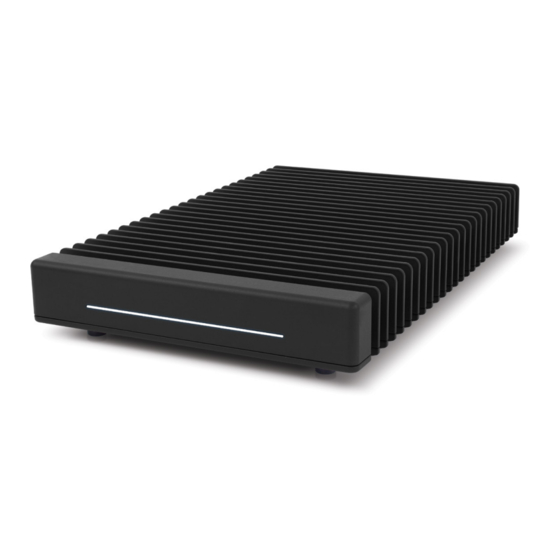
- Page 4 1.5 Front View 1. LED array (power and disk activity) 1.6 Rear View 2. Dual Thunderbolt 3 ports 3. Power input 4. Ambient light sensor (do not cover) OWC ThunderBlade V4 Introduction...
- Page 5 2.2 PC Formatting Process Note: all data on the ThunderBlade V4 will be lost when following the steps below. Back up all important data before proceeding. 1. Connect the ThunderBlade V4 to a Windows 10 host using the included Thunderbolt 3 cable, then connect the included power supply.
- Page 6 If you have connected SSDs before, skip ahead to the next page. After a short time the ‘Import Foreign Disks’ dialog will appear. Click OK. Next the ‘Foreign Disk Volumes’ dialog will appear. Click OK. OWC ThunderBlade V4 Mac & PC Setup...
- Page 7 ‘diskpart’ then press Enter. A new dialog box will appear; click ‘Yes’. Next, at the DISKPART > prompt type ‘list disk’ — you should see a screen similar to the one below. Note the numbering of the four identical capacity disks. OWC ThunderBlade V4 Mac & PC Setup...
- Page 8 7. Once you’ve repeated the clean command for all four disks, go back to the Disk Management window. Right-click on the first of the four disks listed in Disk Management and select ‘Initialize Disk’ from the context menu options. OWC ThunderBlade V4 Mac & PC Setup...
- Page 9 9. The ‘New Striped Volume’ wizard will appear. Click the ‘Next’ button. From the ‘Select Disks’ dialog, select all three of the disks in the ‘Available’ section..then click the ‘Add’ button, then click ‘Next’. OWC ThunderBlade V4 Mac & PC Setup...
- Page 10 System: NTFS; Allocation unit size: Default (unless you have a specific reason to use a different setting); Volume label: type a name here; and ‘Perform a quick format’ should be checked as well. Do not enable compression. Click the ‘Next’ button. OWC ThunderBlade V4 Mac & PC Setup...
- Page 11 12. The wizard’s summary screen will appear. Click the ‘Finish’ button. You will then be asked by Disk Management if you are sure you want to continue. Click ‘Yes’. Once the formatting process is complete, the ThunderBlade V4 will be visible in the Windows File Explorer. This concludes the PC formatting and RAID 0 setup process.
-
Page 12: Support Resources
© 2018 Other World Computing, Inc. All Rights Reserved. OWC and the OWC logo are trademarks of Other World Computing, Inc. registered in the U.S. Patent and Trademark Office and/or in Canada. ThunderBlade is a trademark of Other World Computing, Inc. SoftRAID and the SoftRAID logo are registered trademarks of OWC Holdings, Inc.
Need help?
Do you have a question about the ThunderBlade V4 and is the answer not in the manual?
Questions and answers