Sign In
Upload
Download
Table of Contents
Contents
Add to my manuals
Delete from my manuals
Share
URL of this page:
HTML Link:
Bookmark this page
Add
Manual will be automatically added to "My Manuals"
Print this page
×
Bookmark added
×
Added to my manuals
Manuals
Brands
Toshiba Manuals
Printer
B-FV4T-GS12-QM-R
Owner's manual
Toshiba B-FV4T-GS12-QM-R Owner's Manual
B-fv4t series
Hide thumbs
1
2
3
4
5
6
7
Table Of Contents
8
9
10
11
12
13
14
15
16
17
18
19
20
21
22
23
24
25
26
27
28
29
30
31
32
33
34
35
36
37
38
39
40
41
42
43
44
45
46
47
48
49
50
51
52
53
54
55
56
57
58
59
60
61
62
63
page
of
63
Go
/
63
Contents
Table of Contents
Troubleshooting
Bookmarks
Table of Contents
Table of Contents
1 Introduction
Features
Unpacking
Understanding Your Printer
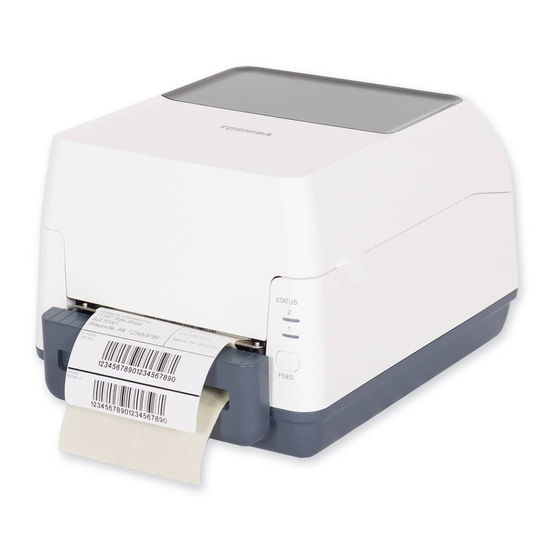
Front View
Rear View
Interior View I
Interior View II
Printer Lights
Status Lights
System Mode
Getting Started
Attaching Power
Turning On/Off the Printer
Turn on the Printer
Turn off the Printer
Loading Media
Preparing Media
Placing Media Roll
Testing Media Feed
Media Types
Loading Ribbon
Preparing Ribbon
Placing Ribbon Roll
3 Printer Operation
Media Sensor Calibration
Self Test and Dump Mode
Self Test
Dump Mode
Restore Your Printer to Factory Settings
Media Sensing
Transmissive Sensor
Reflective Sensor
4 Maintenance
Cleaning
Printhead
Media Housing
Sensor
Platen Roller
Replacing RTC Battery
5 Troubleshooting
Printer Problems
Media Problems
Ribbon Problems
Other Problems
6 Specifications
Printer
Media and Ribbon
Bar Code
Electrical and Operating Environment
Physical Dimension
Interfaces
Usb
Ethernet
Rs-232C
Centronics
Advertisement
Quick Links
1
Media Sensor Calibration
2
Printer Problems
3
Ethernet
Download this manual
B‐FV4T SERIES Printer
Owner's Manual
B-FV4T-GS12-QM-R / B-FV4T-GS14-QM-R
B-FV4T-TS12-QM-R / B-FV4T-TS14-QM-R
Table of
Contents
Previous
Page
Next
Page
1
2
3
4
5
Advertisement
Table of Contents
Need help?
Do you have a question about the B-FV4T-GS12-QM-R and is the answer not in the manual?
Ask a question
Questions and answers
Related Manuals for Toshiba B-FV4T-GS12-QM-R
Printer Toshiba B-FP3D SERIES Owner's Manual
(39 pages)
Printer Toshiba B-FP3D-GH30-QM-R Owner's Manual
(21 pages)
Printer Toshiba B-FP3D Series Maintenance Manual
Potable printer (46 pages)
Printer Toshiba B-FV4D-GS12-QM-R Owner's Manual
B-fv4d series (63 pages)
Printer Toshiba B-FV4T-GS14-QM-R Owner's Manual
B-fv4t series (63 pages)
Printer Toshiba B-FV4T-TS14-QM-R Owner's Manual
B-fv4t series (63 pages)
Printer Toshiba B-FP2D Series Maintenance Manual
Potable printer (25 pages)
Printer Toshiba B-FP2D Series Key Operation Specification
(127 pages)
Printer Toshiba B-FP2D-GH30-QM-S Owner's Manual
(38 pages)
Printer Toshiba B-FP2D-GH50-QM-S Owner's Manual
(38 pages)
Printer Toshiba B-FP3D-GH52-QM-R Owner's Manual
(25 pages)
Printer Toshiba B-FP3D-GH52-WM-R Owner's Manual
(28 pages)
Printer Toshiba B-SX6T SERIES Maintenance Manual
(24 pages)
Printer Toshiba B-SA4T Series Option Installation Manual
(58 pages)
Printer Toshiba B-EX4T1 Printer Setups
(7 pages)
Printer Toshiba B-852 Series Supply Loading Instructions
(9 pages)
This manual is also suitable for:
B-fv4t-gs14-qm-r
B-fv4t-ts12-qm-r
B-fv4t-ts14-qm-r
Table of Contents
Save PDF
Print
Rename the bookmark
Delete bookmark?
Delete from my manuals?
Login
Sign In
OR
Sign in with Facebook
Sign in with Google
Upload manual
Upload from disk
Upload from URL


Need help?
Do you have a question about the B-FV4T-GS12-QM-R and is the answer not in the manual?
Questions and answers