Toshiba B-EX4T1 Printer Setups
Hide thumbs
Also See for B-EX4T1:
- Owner's manual (124 pages) ,
- Product description (57 pages) ,
- Key operation specification (190 pages)
Table of Contents
Advertisement
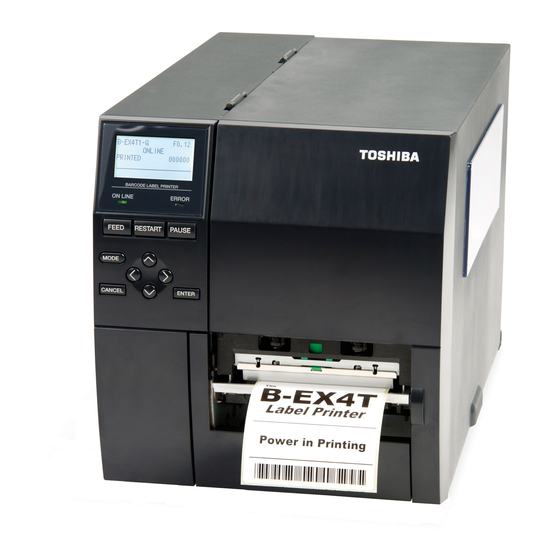
Toshiba - B-EX4T1 Printer Setup
Toshiba - B-EX4T1 Printer Setup
B-EX4T1 Printer Setup for Auto Labeling
Dif culty
Easy
Easy
Contents
Contents
Step 1 - Inner & Outer
Comments
Step 1 - Inner & Outer
The instructions for both the Inner & Outer wound labels are on the
inside of the open lid.
Duration
20 minute(s)
20
minute(s)
Page 1 / 6
Advertisement
Table of Contents

Related Manuals for Toshiba B-EX4T1


Summary of Contents for Toshiba B-EX4T1
- Page 1 Toshiba - B-EX4T1 Printer Setup Toshiba - B-EX4T1 Printer Setup B-EX4T1 Printer Setup for Auto Labeling Dif culty Easy Easy Duration 20 minute(s) minute(s) Contents Contents Step 1 - Inner & Outer Step 2 - Rewind Spool Step 3 - Printhead access...
- Page 2 Step 2 - Rewind Spool There will be no ribbon and as the settings will be for Peel Off a length of blank backing needs to be fed onto the Rewind spool Step 3 - Printhead access To gain access turn the green knob to FREE. You can then pull the front plate down and lift the printer head up.
- Page 3 Step 5 - Label Guides With the Printhead open ensure that the labels are under the small black sprung guides. Slide the green guide to the width of the label. Step 6 - Sensor Position Ensure that the sensor head is in the middle of the label Step 7 - Closing Label Head When loaded close the Printhead down, lift the front plate up and turn the green knob to LABEL.
- Page 4 Step 9 - Initial Power up If the labels have been tted properly on power up the calibration process will eject several labels. Take a note of the IP address given to the printer on the front panel. Step 10 - Using BCP to setup the printer When you start BCP you should see as picture Select USB if not Selected...
- Page 5 Max Label Length (for calibration) 200mm 200mm (this just saves on labels) Press the DOWNLOAD DOWNLOAD button and check that there are no errors. Now on the Toshiba side: Select Paraeter Settings Select Standard 2 (General 2 on BCP TOOL) Adjust Cut Adjust to -2.0 Press the submit button The screen shows the Web version.
- Page 6 Step 14 - Set the IP Address for the Customers network 1. Within BCP choose "Parameter Settings" 2. Select the LAN tab 3. Enable TCP/IP 4. Enable Wired LAN 5. Set IP Address and Sub Net Mask 6. Press the Set Parameter at the bottom. Page 6 / 6...
Need help?
Do you have a question about the B-EX4T1 and is the answer not in the manual?
Questions and answers