
Summary of Contents for GAS Car Audio COMPETITION 7000.1D
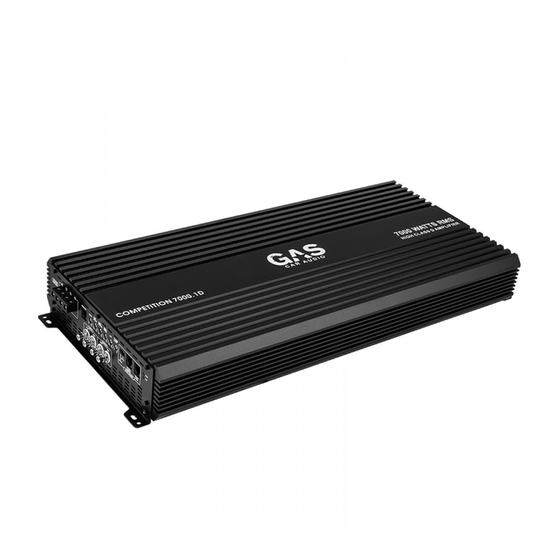
- Page 1 Owner’s Manual 7000 WATTS RMS COMPETITION 7000.1D HIGH CLASS D AMPLIFIER 12000 WATTS RMS COMPETITION 12000.1D HIGH CLASS D AMPLIFIER MADE IN KOREA Manual size : 150 x 210mm...
-
Page 3: Installation
Installation If you intend to install the amplifier yourself, please read the owner’s manual carefully. Before you start the installation, please take all the necessary precautions into consideration. Mounting Preparation Disconnect the negative (-) battery cable before mounting or making any connections. Check the battery and alternator ground (-) connections. -
Page 4: Panel Layout
Panel Layout (COMPETITION 7000.1D / 12000.1D) BASS BASS PHASE REMOTE SONIC BOOST FREQ. SHIFT GAIN SPEAKER OUTPUTS 0.2V 10Hz 70Hz 12dB 30Hz 90Hz 30Hz 250Hz SLAVE MASTER SLAVE INPUT OUTPUT MASTER OUTPUT INPUT DAISY-CHAIN 1) INPUT Connect preamp signal cables from head unit to RCA input of amplifier. - Page 5 +12V(B+), GND, REM (COMPETITION 7000.1D) +12V +12V POWER INPUT A POWER INPUT B PT LINK (COMPETITION 12000.1D) +12V +12V +12V +12V +12V +12V POWER POWER POWER POWER POWER POWER INPUT-B INPUT-B INPUT-A INPUT-A INPUT-C INPUT-C PT LINK PT LINK GND (GROUND CONNECTION) For connection to chassis ground.
-
Page 6: Single Connection
+12V ), GND, REM Connection (COMPETITION 7000.1D) GROUND SINGLE CONNECTION +12V +12V POWER INPUT A POWER INPUT B PT LINK BATTERY Remote turn on HEAD UNIT GROUND Recommended Fuse Rating (See page 10) DAISY CHAIN (LINKED) CONNECTION +12V +12V POWER INPUT A... - Page 7 +12V ), GND, REM Connection (COMPETITION 12000.1D) GROUND SINGLE CONNECTION +12V +12V +12V +12V +12V +12V POWER POWER POWER POWER POWER POWER INPUT-B INPUT-B INPUT-A INPUT-A INPUT-C INPUT-C PT LINK PT LINK BATTERY Remote turn on HEAD UNIT GROUND Recommended Fuse Rating (See page 10) DAISY CHAIN (LINKED) CONNECTION +12V...
-
Page 8: Speaker Connection
Speaker connection (COMPETITION 7000.1D / COMPETITION 12000.1D) SINGLE CONNECTION BASS BASS PHASE REMOTE SONIC BOOST FREQ. SHIFT GAIN SPEAKER OUTPUTS 0.2V 10Hz 70Hz 12dB 30Hz 90Hz 30Hz 250Hz SLAVE MASTER SLAVE INPUT OUTPUT MASTER OUTPUT INPUT DAISY-CHAIN Speaker Impedance 1~8 ohms... -
Page 9: Troubleshooting
Troubleshooting Assure that the Power LED is on, if so please proceed with step # 3, if not, continue with the steps below; 1. Check the in line fuse (s) on the battery’s positive cable, replace if needed. 2. Assure that the Ground is properly attached to the vehicle’s chassis on a clean metal point, tighten or grind the connection point once again. -
Page 10: Specifications
Specifications MODEL CODE COMPETITION 7000.1D COMPETITION 12000.1D Continuous power output @14.4V Input -RMS power, 4 ohms mono : 1800W x 1CH : 3150W x 1CH -RMS power, 2 ohms mono : 3800W x 1CH : 6200W x 1CH -RMS power, 1 ohm mono... - Page 11 NOTES...
- Page 12 MADE IN KOREA...