Advertisement
Advertisement

Summary of Contents for Hive SLT4A
- Page 1 Welcome to the Hive family! Install guide...
- Page 2 Installation order / what you need To remotely control your heating and cooling with Hive, the thermostat and Hub need to be installed at the same time. For quick and efficient setup, install Hive in the order shown below. Install the Hub Install the thermostat...
-
Page 3: Table Of Contents
Contents Installing your Hub Page 3 Installing your thermostat Page 6 Pairing your Hub and thermostat Page 12 Online account setup Page 15 Multizone installations Page 16... -
Page 4: Installing Your Hub
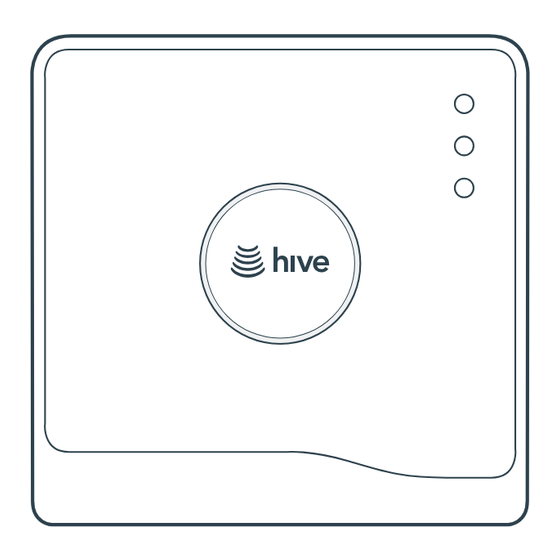
Installing your Hub If you have already installed your Hub, please skip this section. To install the Hub there must be an internet connection with a spare Ethernet port and a nearby electrical outlet. Install the Hub as follows:... - Page 5 Position your Hub on a shelf or table rather than on the floor to help it talk to your other Hive devices. Fit the power cable into the Hub and plug it into a power outlet. Wait for the middle light to flash yellow.
- Page 6 If no lights are displayed immediately after the Hub has been turned on, check all cables are connected, the power outlet works and that you have connection. If the problem still persists, contact Hive Technical Support.
-
Page 7: Installing Your Thermostat
Installing your thermostat Turn off power to your equipment Before installing, switch the power off to the central heating and cooling system at your electrical breaker box. Confirm it is powered off and secured in the OFF position for the duration of the installation. - Page 8 Remove your existing thermostat from the wall Be sure to take a picture of how the wires are connected to your existing thermostat before removing the wires. You can use the labels provided to label which wire is connected to which terminal. Hot tip: Taking a photo of the wires can be a handy reminder.
- Page 9 Optional decoration plate Put the backplate on the wall, if there are holes and marks that aren't being covered by your new Hive thermostat, use the optional decoration plate provided. Fix the decoration plate to the wall then attach the thermostat...
- Page 10 Disconnect wires from the old thermostat backplate and remove it from the wall Screw on the Hive thermostat backplate using the screws provided Use the spirit level on the backplate when installing the thermostat to help you get your thermostat straight on the wall.
- Page 11 Connect wires into the correct terminals using the labels you placed on the wires To ensure the wires are inserted all the way, the lever on the terminals will be pushed down. The Acc terminal can be used to connect an accessory such as a humidifier or a dehumidifier. W3/AUX...
- Page 12 Attach the thermostat body to the thermostat backplate W3/AUX If you are installing Hive Multizone only connect one thermostat at a time.
-
Page 13: Pairing Your Hub And Thermostat
The thermostat display will show ‘Search’ – meaning it’s searching for the Hub. A timer will show how long the thermostat has been searching. If this lasts for longer than five minutes, contact Hive Technical Support and they will diagnose any problems. - Page 14 Press check if this is correct. If not, remove the thermostat body and check the wires are pushed into the terminal blocks on the thermostat back plate. You will then see “Welcome to Hive” and the tour of the thermostat will begin Welcome to Hive.
- Page 15 The thermostat will then go onto the ‘Welcome’ pages and a solid green light will appear on the Hub. You can now set up your schedules on the thermostat or you can do this through the app or online dashboard.
-
Page 16: Online Account Setup
Online account setup Go to hivehome.com or download the Hive app. Log in using the account details supplied in the Hive order confirmation email. Enter the Hub ID – this is the ABC-123 formatted number on the underside of the Hub. -
Page 17: Multizone Installations
Multizone installation Hive Multizone can support up to five zones for heating and cooling. When installing each thermostat, repeat steps 1-7 from the Installing your thermostat sections on pages 6-11. Log in online at hivehome.com or through your Hive app. - Page 18 Stand-alone mode To remotely control your heating and cooling with Hive the thermostat and Hub need to be installed at the same time. When this service isn't available, the thermostat can also be installed without a Hub. This is known as ‘stand-alone’ mode. In ‘stand- alone’...
-
Page 19: Troubleshooting
If your thermostat displays “Please check your Hive Hub connection”, please check that the Hub hasn’t been disconnected from the internet or power outlet. If the connection issue persists, you may need to contact Hive or go to hivehome.com to get a Signal Booster to improve your connection. - Page 20 We’re here to help You can view our handy how-to-use videos along with hints hivehome.com/support and tips at FCC Statement This equipment has been tested and found to comply with the limits for a Class B digital device, pursuant to Part 15 of the FCC Rules.


Need help?
Do you have a question about the SLT4A and is the answer not in the manual?
Questions and answers