Makita DSP600 Instruction Manual
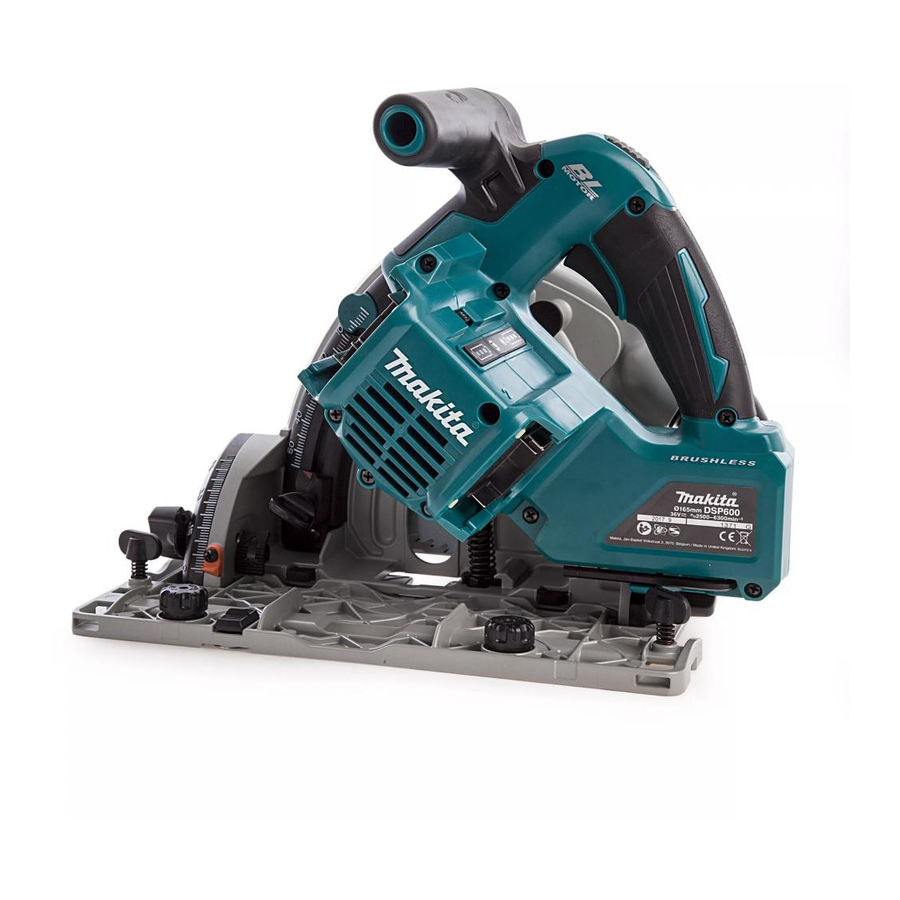
Cordless plunge cut saw
Hide thumbs
Also See for DSP600:
- Instruction manual (148 pages) ,
- Instruction manual (25 pages) ,
- Instruction manual (116 pages)
Table of Contents
Advertisement
Advertisement
Table of Contents

Related Manuals for Makita DSP600


Summary of Contents for Makita DSP600
- Page 1 INSTRUCTION MANUAL Cordless Plunge Cut Saw DSP600 DSP601 Read before use.
-
Page 2: Specifications
WARNING: Wear ear protection. Vibration The following show the symbols used for the equipment. Be sure that you understand their meaning before use. The vibration total value (tri-axial vector sum) deter- Read instruction manual. mined according to EN62841: Model DSP600 Work mode: cutting wood Only for EU countries Ni-MH Vibration emission (a ) : 2.5 m/s or less Li-ion Do not dispose of electric equipment or battery pack together with household waste Uncertainty (K) : 1.5 m/s... -
Page 3: Ec Declaration Of Conformity
Power tools can produce electromagnetic EC Declaration of Conformity fields (EMF) that are not harmful to the user. However, users of pacemakers and other similar For European countries only medical devices should contact the maker of their The EC declaration of conformity is included as Annex A device and/or doctor for advice before operating to this instruction manual. this power tool. - Page 4 It is an employer's responsibility to enforce Do not use a battery pack or tool that is dam- the use of appropriate safety protective equip- aged or modified. Damaged or modified batteries ments by the tool operators and by other per- may exhibit unpredictable behaviour resulting in sons in the immediate working area.
- Page 5 When ripping, always use a rip fence or straight edge guide. This improves the accuracy of cut and reduces the chance of blade binding. Always use blades with correct size and shape (diamond versus round) of arbour holes. Blades that do not match the mounting hardware of the saw will run off-centre, causing loss of control.
- Page 6 Assure that the base plate of the saw will not Some material contains chemicals which may shift while performing a “plunge cut”. Blade be toxic. Take caution to prevent dust inhala- shifting sideways will cause binding and likely kick tion and skin contact. Follow material supplier back.
- Page 7 17. Do not remove the sticker on the wireless unit. also void the Makita warranty for the Makita tool and 18. Do not put any sticker on the wireless unit. charger. 19. Do not leave the wireless unit in a place where...
-
Page 8: Functional Description
Tool / battery protection system FUNCTIONAL DESCRIPTION The tool is equipped with a tool/battery protection sys- tem. This system automatically cuts off power to the motor to extend tool and battery life. The tool will auto- CAUTION: matically stop during operation if the tool or battery is Always be sure that the tool is placed under one of the following conditions. switched off and the battery cartridge is removed before adjusting or checking function on the tool. -
Page 9: Adjusting Depth Of Cut
NOTE: Depending on the conditions of use and the Battery indicator status Remaining battery ambient temperature, the indication may differ slightly capacity from the actual capacity. Blinking Automatic speed change function 50% to 100% NOTE: Automatic speed change function is only available when the speed adjusting dial is in 5. 20% to 50% This tool has "high speed mode" and "high torque mode". The tool automatically changes the operation mode 0% to 20% depending on the work load. -
Page 10: Bevel Cutting
Bevel cutting Loosen the clamping screws. Set for the desired angle by tilting accordingly, then tighten the clamping screws securely. ► 1 . Blade lower limit stopper 2. Clamping screw Quick stop button for 2 to 3 mm depth of cut when using guide rail (optional accessory) ► 1 . -
Page 11: Switch Action
To perform -1°-bevel cutting, loosen the clamping ing the lock-off button. A switch in need of repair screws and press the levers toward the direction of the may result in unintentional operation and serious arrow in the figure. Then set the bevel angle to -1° and personal injury. Return tool to a Makita service center tighten the clamping screws. for proper repairs BEFORE further usage. To prevent the switch trigger from being accidentally pulled, a lock-off button is provided. To start the tool, depress the lock-off button and pull the switch trigger. -
Page 12: Electronic Function
6,300 min CAUTION: Use only the Makita wrench to CAUTION: The speed adjusting dial is not install or remove the circular saw blade. for using low speed rated saw blades but for... - Page 13 ► 1 . Hex bolt 2. Outer flange 3. Inner flange 4. Circular saw blade WARNING: If the inner flange is removed, be sure to install it on the spindle. When installing, ► 1 . Lock-off button 2. Locking lever 3. Lock pin choose a correct side on which protrusion fits 4.
-
Page 14: Operation
Set the base on the workpiece When you wish to perform clean cutting operation, to be cut without the circular saw blade making any connect a Makita vacuum cleaner to your tool. Connect contact. Then push in the lock-off button and pull the a hose of the vacuum cleaner to the dust nozzle using switch trigger. - Page 15 ► 1 . Slide lever Sub base (Guide rule) Optional accessory ► 1 . Clamping screw 2. Sub base By using the sub base as a guide rule, you can perform extra-accurate straight cuts. Loosen the clamping Plunge cutting (Cutting-out) screws and slide the sub base out from the tool then insert it upside down.
- Page 16 Installing the wireless unit Tool registration for the vacuum cleaner Starting the wireless activation function Installing the wireless unit Optional accessory CAUTION: Place the tool on a flat and stable surface when installing the wireless unit. NOTICE: Clean the dust and dirt on the tool before installing the wireless unit.
- Page 17 If the hooks do not catch the wireless unit, close the lid completely and open it slowly again. Tool registration for the vacuum cleaner NOTE: A Makita vacuum cleaner supporting the wireless activation function is required for the tool registration. NOTE: Finish installing the wireless unit to the tool before starting the tool registration.
- Page 18 Push the wireless activation button on the tool NOTE: The wireless activation lamps finish blinking briefly. The wireless activation lamp will blink in blue. in green after 20 seconds elapsed. Press the wireless activation button on the tool while the wireless acti- vation lamp on the cleaner is blinking. If the wireless activation lamp does not blink in green, push the wire- less activation button briefly and hold it down again.
- Page 19 Description of the wireless activation lamp status ► 1 . Wireless activation lamp The wireless activation lamp shows the status of the wireless activation function. Refer to the table below for the meaning of the lamp status. Status Wireless activation lamp Description Color Duration Blinking Standby Blue 2 hours The wireless activation of the vacuum cleaner is available. The lamp will automatically turn off when no operation is performed for 2 hours.
- Page 20 If the cancellation is performed successfully, the wire- Cancelling tool registration for the less activation lamps will light up in red for 2 seconds vacuum cleaner and start blinking in blue. NOTE: The wireless activation lamps finish blinking in Perform the following procedure when cancelling the red after 20 seconds elapsed. Press the wireless acti- tool registration for the vacuum cleaner.
- Page 21 Troubleshooting for wireless activation function Before asking for repairs, conduct your own inspection first. If you find a problem that is not explained in the manual, do not attempt to dismantle the tool. Instead, ask Makita Authorized Service Centers, always using Makita replace- ment parts for repairs. State of abnormality Probable cause (malfunction) Remedy The wireless activation lamp does The wireless unit is not installed into Install the wireless unit correctly. not light/blink. the tool. The wireless unit is improperly installed into the tool. The terminal of the wireless unit and/or Gently wipe off dust and dirt on the terminal of the the slot is dirty.
-
Page 22: Maintenance
State of abnormality Probable cause (malfunction) Remedy The vacuum cleaner does not run The wireless unit is not installed into Install the wireless unit correctly. along with the switch operation of the tool. the tool. The wireless unit is improperly installed into the tool. The terminal of the wireless unit and/or Gently wipe off dust and dirt on the terminal of the the slot is dirty. -
Page 23: Optional Accessories
OPTIONAL 0° ACCESSORIES CAUTION: These accessories or attachments are recommended for use with your Makita tool specified in this manual. The use of any other accessories or attachments might present a risk of 45° injury to persons. Only use accessory or attachment for its stated purpose. If you need any assistance for more details regard- ing these accessories, ask your local Makita Service Center. - Page 24 Makita Europe N.V. Jan-Baptist Vinkstraat 2, 3070 Kortenberg, Belgium Makita Corporation 3-11-8, Sumiyoshi-cho, Anjo, Aichi 446-8502 Japan 885610B228 www.makita.com 20170804...
Need help?
Do you have a question about the DSP600 and is the answer not in the manual?
Questions and answers