
Related Manuals for Makita SK209GD


Summary of Contents for Makita SK209GD
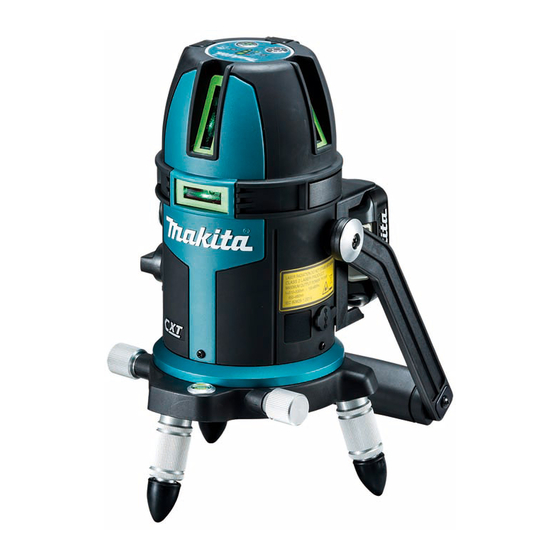
- Page 1 INSTRUCTION MANUAL Rechargeable Green Multi Line Laser SK312GD SK209GD Read before use.
-
Page 2: Table Of Contents
CONTENTS SPECIFICATIONS ----------------------------------------------------- 3 Symbols --------------------------------------------------------------------- 4 Intended use ---------------------------------------------------------------- 4 Laser Beam Related Safety Standards ------------------------------ 4 Safety Declaration -------------------------------------------------------- 5 Noise Related Safety Standards -------------------------------------- 6 Safety Warnings ----------------------------------------------------------- 7 NAMES OF PARTS -------------------------------------------------- 13 Optional Accessories --------------------------------------------------- 13 Installing or removing battery cartridge ---------------------------- 14 Battery Protection System -------------------------------------------- 15 Using the USB adapter (optional accessory) -------------------- 16... -
Page 3: Specifications
Emitted laser ±1 mm / 10 m *(Before shipment from factory) 2-vertical line 90°±0.01° Power supply Makita battery cartridge / USB adapter Rated Voltage D.C.10.8V - 12Vmax, D.C. in 5V Operating time At 3-vertical line/horizontal line At 2-vertical line/horizontal line (when BL1015 or BL1016 Bright mode: Approx. -
Page 4: Symbols
* The weight may differ depending on the battery cartridge. The lightest and heaviest combination, according to EPTA-Procedure 01/2014, are shown in the table. NOTE: When used at 0°C or lower temperatures, the laser lines are weak just after turning the power on. -
Page 5: Safety Declaration
CAUTION Use of controls or adjustments or performance of procedures other than those specified herein may result in hazardous radiation exposure. Safety Declaration This product complies with the following standards: • EN61326-1: Electrical equipment for measurement, control and laboratory use – EMC requirements •... -
Page 6: Noise Related Safety Standards
Noise Related Safety Standards • FCC Part15 SubpartB/ICES 003 CAUTION Changes or modifications not expressly approved by the party responsible for compliance could void the user’s authority to operate the equipment. NOTE: This equipment has been tested and found to comply with the limits for a Class B digital device, pursuant to part 15 of the FCC Rules. -
Page 7: Safety Warnings
Safety Warnings WARNING Read all safety warnings, instructions, illustrations and specifications provided with the product. Failure to follow all instructions listed below may result in electric shock, fire and/or serious injury. Save all warnings and instructions for future reference. WARNING - Laser safety ■... - Page 8 Charging improperly or at temperatures outside the specified range may damage the battery and increase the risk of fire. 8. Use Makita battery cartridge only with products specified by Makita. 8 ENGLISH...
- Page 9 WARNING - Additional safety Use the correct accessories. Use only accessories recommended in this User's Manual and in Makita catalogs. Do not use other accessories since this might result in malfunction, accident or injury. 9 ENGLISH...
- Page 10 If the laser is not emitted even after shaking this product lightly a few times, immediately stop work, and contact the store of purchase or the nearest Makita sales office. 6. When the power is turned ON, the product emits the laser beam in the same mode that was turned OFF last time.
- Page 11 15. Never modify or retrofit this product. Disassembly, modification or retrofitting this product may cause malfunction or an electric shock. 16. When this product is not used for a long time, remove the battery. 17. With regards to safety education, the user must fully understand the nature and danger of laser beams.
- Page 12 Use of non-genuine Makita batteries, or batteries that have been altered, may result in the battery bursting causing fires, personal injury and damage. It will also void the Makita warranty for the Makita tool and charger. Tips for maintaining maximum battery life 1.
-
Page 13: Names Of Parts
Makita sales office. CAUTION: These accessories or attachments are recommended for use with your Makita tool specified in this manual. The use of any other accessories or attachments might present a risk of injury to persons. Only use accessory or attachment for its stated purpose. -
Page 14: Installing Or Removing Battery Cartridge
NOTE: Some items in the list may be included in the tool package as standard accessories. They may differ from country to country. Installing or removing battery cartridge CAUTION • Always be sure that the tool is switched off and the battery cartridge is removed before adjusting or checking function on the tool. -
Page 15: Battery Protection System
CAUTION • Always install the battery cartridge fully until the red indicator cannot be seen. If not, it may accidentally fall out of the tool, causing injury to you or someone around you. • Do not install the battery cartridge forcibly. If the cartridge does not slide in easily, it is not being inserted correctly. -
Page 16: Using The Usb Adapter (Optional Accessory)
Using the USB adapter (optional accessory) 1: DC jack 1: DC jack cover 2: DC jack plug Make sure that the product is turned OFF and remove the DC jack cover. Then, connect the DC jack plug of the power supply cable to the DC jack. Connect the battery to the USB adapter. -
Page 17: Using The Multi Line Laser
Using the Multi Line Laser 1. Installing the Multi Line Laser Set this product on a level surface. Turn the adjustment screw leg so that the bubble in the circular level comes to the center of the red circle. Circular level When using the tripod, first set down the tripod. -
Page 18: Operating The Power Switch
2. Operating the power switch 1. Power switch [Power ON] Turn the power switch to the "I/ON" side. The laser beam is emitted. The laser beam is emitted in the mode that was active when the product was turned OFF last time. [Power OFF] Turn the power switch to the "O/OFF"... -
Page 19: Line Beam Mode Selection
Bright: The line beam is brighter in this mode. Normal: Brightness is between the Eco and Bright modes. This is the optimum mode when using the receiver. Eco: Battery life lasts longer in this mode. [Loopback switch system] 1: Brightness indicator Bright Mode Bright... - Page 20 SK209GD [Loopback switch system] Lower dot beam Lower dot beam NOTE: The height of the horizontal line beam can be easily adjusted by using the tripod (optional accessory). 1: Fine-adjustment knob Fine-adjustment mechanism It can be fine-adjusted from either side by turning the fine-adjustment knob.
-
Page 21: Checking The Accuracy
CHECKING THE ACCURACY ■ Should the line laser exceed the permissible difference during the checking, contact the store of purchase or a Makita authorized service center. 1. Checking the horizontal line 1. Place the line laser near the center of a room with approx. 5 m walls. -
Page 22: Checking The Plumbing Point And Vertical Line
2. Checking the plumbing point and vertical line 1. Set the "plumb" on the wall approx. 3 m above the floor. 2. Place the line laser 3 to 5 m away from the wall. 3. Adjust the attitude so that the bubble in the level comes to the center of the red circle. -
Page 23: Checking The 180°Vertical Line
3. Checking the 180°vertical line 1. Make a mark on the floor near the center of a room with 4 to 6 m walls. 2. Emit the vertical line beam. 3. Mark A near the center of the vertical laser line on the right wall, and mark B near the center of the "90°vertical laser line"... -
Page 24: Checking The 90°Vertical Line
4. Checking the 90°vertical line 1. Make a mark on the floor near the center of a room with 4 to 6 m walls. 2. Emit all vertical line beams. 3. Mark A near the center of the vertical line on the right wall, and mark B near the center of the "90°vertical line"... - Page 25 [SK209GD] 1. Make a mark on the floor near the center of a room with 4 to 6 m walls. 2. Emit all vertical line beams. 3. Mark B and C near the center of the vertical line on the front and left wall.
-
Page 26: Maintenance
Always be sure that the tool is switched off and the battery cartridge is removed before attempting to perform inspection or maintenance. To maintain product SAFETY and RELIABILITY, repairs, any maintenance or adjustment should be performed by Makita Authorized or Factory Service Centers, always using Makita replacement parts. 26 ENGLISH... - Page 27 Makita Europe N.V. Jan-Baptist Vinkstraat 2, 3070 Kortenberg, Belgium Makita Corporation 3-11-8, Sumiyoshi-cho, Anjo, Aichi 446-8502 Japan www.makita.com...
Need help?
Do you have a question about the SK209GD and is the answer not in the manual?
Questions and answers