Table of Contents
Advertisement
Quick Links
Advertisement
Table of Contents

Subscribe to Our Youtube Channel
Summary of Contents for Besantek BST-SL2
-
Page 1: Sound Level Meter
BST-SL2 SOUND LEVEL METER INSTRUCTION MANUAL... -
Page 2: Table Of Contents
Index Page 1. Introduction ......... 2. Specifications........3. Instrument Layout........ 4. Operation..........5. Frequency Weighting......6. Battery Replacement......7. Cleaning and Storage...... -
Page 3: Introduction
1. Introduction NOTE This meter has been designed and tested according to IEC651 TYPE2, ANSI S1.4 TYEP2 for noise measurement. ● A and C frequency weighting selection. ● Fast and Slow detector-indicator charateristics. ● Max and Min hold indicator. ● Over range indicator. ●... -
Page 4: Specifications
2. Specifications ● Standard : IEC651 TYPE2, ANSI S1.4 TYPE2. ● Accuracy : 1.5dB (@94dB of 1kHz, @straight direction). ● Frequency response : Refer to page 7. ● 3 Ranges : 30dB ~ 80dB 50dB ~ 100dB 80dB ~ 130dB ※... - Page 5 ● Battery life : about 70 hours. ● Temperature & Humidity : 0°C ~ 40°C, 90% RH Max. for using. -10°C ~ 60°C, 75% RH Max. for storage. ● Dimensions : 240mm(L) x 62mm(W) x 39mm(D). ● Weight : Approx. 224g (battery included). ●...
-
Page 6: Instrument Layout
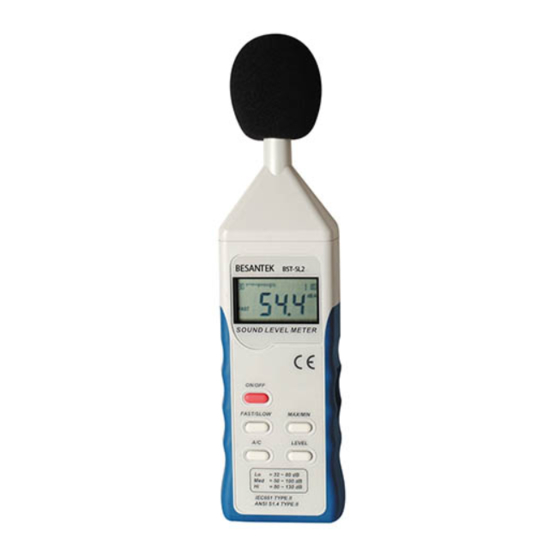
3. Instrument Layout (1) Wind Shied : Reduce the noise from wind blow. (2) LCD (3) ON / OFF Button : Press ON or OFF power. (4) MAX / MIN Button : Press once for MAX to read the MAX value, then Press again for MIN to read the MIN value. - Page 7 (11) (10) (8) Output : AC output 1 Vrms for full scale (50dB). (9) Calibration Hole : Use screw driver and Sound generator to calibrate at 94dB, 1kHz on 50 ~ 100dB range. (10) Battery cover. (11) Clip.
-
Page 8: Operation
4. Operation (1) Press ON / OFF button to turn on power. (2) Press LEVEL to select the range you want. (3) Read the value directly from the LCD display. (4) If under range, the ◄ symbol is blinking; and the ►... -
Page 9: Frequency Weighting
5. Frequency Weighting According to IEC 651, the meter should meet the requirement as below : Nominal Tolerance Frequency A Weighting C Weighting (IEC 651 (Hz) Type 2) 31.5 -39.4dB -3.0dB ±2dB -30.2dB -1.3dB ±2dB -22.5dB -0.5dB ±2dB -16.1dB -0.2dB ±1.5dB -10.9dB ±1.5dB... -
Page 10: Battery Replacement
6. Battery Replacement When low battery indicator is showed. Use a screwdriver to remove the battery cover. Replace the old battery with one 9V 006P or equivalent, then reinstate the battery cover. 7. Cleaning and Storage Periodically, wipe the case with a damp cloth and detergent;...


Need help?
Do you have a question about the BST-SL2 and is the answer not in the manual?
Questions and answers