Advertisement
Quick Links
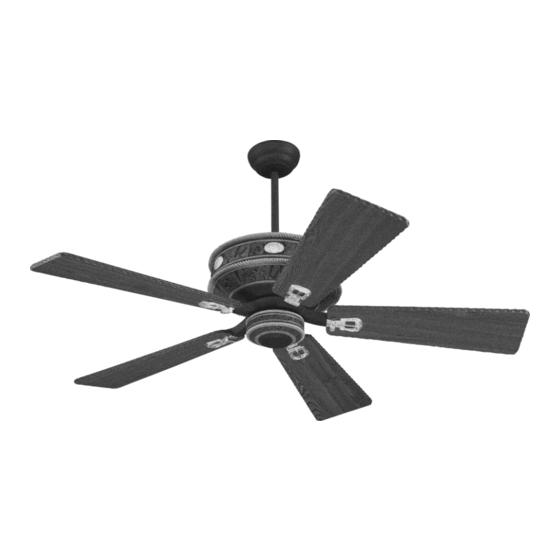
Owner's Guide and Installation Manual
5DOR52XX Series Fan
UL Model No. : AC-552
Attach sales receipt to this card and retain as your proof of purchase
RETAILER NAME:
DATE OF PURCHASE:
MODEL NUMBER:
To register your fixture, please visit our website www.montecarlofans.com
17.5 kgs
38.5 lbs
Total fan weight
Advertisement

Subscribe to Our Youtube Channel
Related Manuals for Monte Carlo Fan Company 5DOR52 Series AC-552


Summary of Contents for Monte Carlo Fan Company 5DOR52 Series AC-552
- Page 1 Owner’s Guide and Installation Manual 5DOR52XX Series Fan UL Model No. : AC-552 Attach sales receipt to this card and retain as your proof of purchase RETAILER NAME: DATE OF PURCHASE: MODEL NUMBER: To register your fixture, please visit our website www.montecarlofans.com 17.5 kgs 38.5 lbs Total fan weight...
- Page 2 All set screws must be checked and tightened where necessary before installation. Tools Required for Assembly (not included): Electrical Tape, Phillips Screwdriver, Pliers, Safety Glasses, Stepladder and Wire Strippers. Customer Service 800-969-3347 Customer Service Center 7400 Linder Ave. Skokie, IL 60077 www.montecarlofans.com © 2011 Monte Carlo Fan Company 4/25/2012...
- Page 3 Loosen two set screws holding half ball, slide Lift mounting neck to mounting Plate and align with 6 screws to become a complete mount- down ball and remove pin. Remove the ball. screws. ing bracket. © 2011 Monte Carlo Fan Company 4/25/2012...
- Page 4 Downrod Ball. This must be done to ires. prevent the fan body from rotating when the Note: If installing it in the U.S., Do Not Remove blades are in motion. Knockouts In The Outlet Box. © 2011 Monte Carlo Fan Company 4/25/2012...
- Page 5 Take plate and ble sided tape from capacitor and stick capaci- screws securely. place over the 2 screws with k ey slots and tor to plate. twist to hold in place. © 2011 Monte Carlo Fan Company 4/25/2012...
- Page 6 Place remote over 2 pins on front screws provided. Snap battery cover cover. Attach cover of remote by placing over 4 Install wall control unit to outlet box in place. pins and snapping into place. using machine screws provided. © 2011 Monte Carlo Fan Company 4/25/2012...
- Page 7 “light dimmer”. The light will cycle from bright to dim to bright until button is released. Light will maintain last setting if turned off. FORWARD/REVERSE Depress rev button allow a few seconds for remote to change rotation direction with fan running. © 2011 Monte Carlo Fan Company 4/25/2012...
-
Page 8: Troubleshooting
2.Check for loose or disconnected wires in fan switch housing. 3.Check for loose or disconnected wires in light kit. 4.Check for faulty light bulbs. CAUTION: Make sure main power is turned off before entering switch housing. © 2011 Monte Carlo Fan Company 4/25/2012... - Page 9 Apr.2012 New format Jul.2013 Update for CUL regulation...
Need help?
Do you have a question about the 5DOR52 Series AC-552 and is the answer not in the manual?
Questions and answers