Table of Contents
Advertisement
Quick Links
1. If your router supports WPS, please refer to 1a. For others (including wireless connection without WPS),
please refer to 1b and connect Ethernet cable to the camera.
a. Wireless connection (WPS)
b. Wired Connection
Note: If your router supports wireless connection but does not have WPS function, use an Ethernet
cable to connect camera to router first. When you run myGVcloud CamWizard, set camera using
wireless connection, and then you can unplug the Ethernet cable after setup is complete (tutorial on
step 4).
2. Locate myGVcloud_CamWizard installer on the CD provided. File will be located in either
myGVcloud_CamWizard\For Windows for windows OS or myGVcloud_CamWizard\For MAC for MAC
OS.
Double click on myGVcloudCamWizard to launch the wizard.
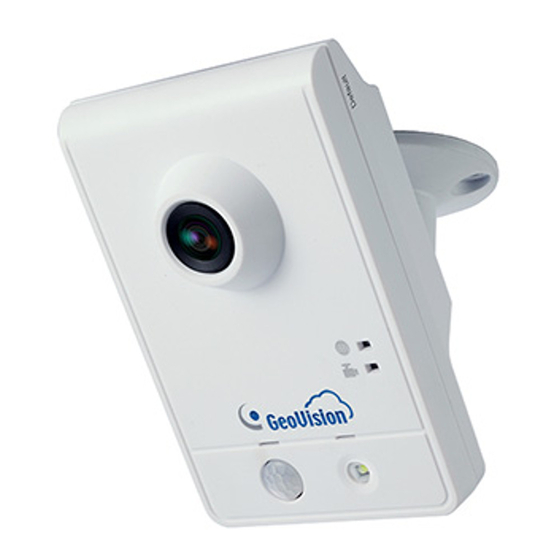
myGVcloud HCW120 Quick Installation Guide
Advertisement
Table of Contents

Related Manuals for GeoVision myGVcloud HCW120


Summary of Contents for GeoVision myGVcloud HCW120
- Page 1 HCW120 Quick Installation Guide 1. If your router supports WPS, please refer to 1a. For others (including wireless connection without WPS), please refer to 1b and connect Ethernet cable to the camera. a. Wireless connection (WPS) b. Wired Connection Note: If your router supports wireless connection but does not have WPS function, use an Ethernet cable to connect camera to router first.
- Page 2 3. Select the camera on the network and click on Next. 4. For wired connection or WPS connection, click on Yes and advance to step 6. For wireless connection, click on No and go to step 5 for further setup.
- Page 3 5. Select Wireless (Wifi) and search for your wifi network under SSID. Choose the authentication mode configured in the router. 6. Choose DHCP and click on Next. 7. Create an account for camera. This username/password will be needed for future camera setting change. Click on Next after completion.
- Page 4 9. Enter the required information and click on Next. 10. Click on OK to proceed 11. Email confirmation will be sent to your inbox. If you have wireless connection, you may disconnect the Ethernet cable from camera. You may now open browser to access the cloud portal at http://www.mygvcloud.com/login.php Questions? Contact us at 949-583-1519 x 2 or send us an email at...
Need help?
Do you have a question about the myGVcloud HCW120 and is the answer not in the manual?
Questions and answers