Advertisement
Quick Links
Advertisement

Related Manuals for ENERMAX LIQMAX l20X ELC-LT120X


Summary of Contents for ENERMAX LIQMAX l20X ELC-LT120X
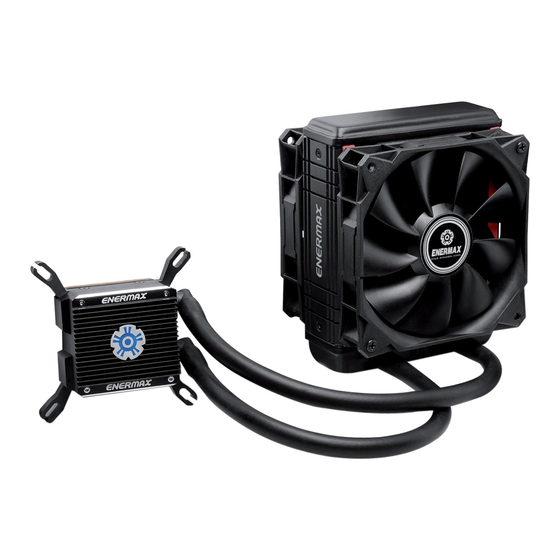
- Page 1 A l l - I N - O N E L I Q U I D C P U C O O L E R ELC-LT120X 2 Years Warranty...
- Page 2 Index Limited Warranty Specification Part list Intel Installation AMD Installation A l l - I N - O N E L I Q U I D C P U C O O L E R...
-
Page 3: Limited Warranty
This ENERMAX Technology Corporation product is warranted to be free from defects in material and workmanship for a period of two (2) years from the date of purchase. ENERMAX Technology Corporation agrees to repair or replace the product, at its own option and at no... -
Page 4: Specification
Specification Model ELC-LT120X-HP Material Copper Cold Plate Bearing Ceramic Bearing MTBF 50,000 hrs Motor Speed 2500 rpm Pump Rated Voltage Rated Current 0.3A Dimension 153 x 120 x 43 mm Radiator Material Aluminium Material Polyamide (PA) rubber Tube Length 310 mm Weight (w/o fan) 955 g Intel... -
Page 5: Part List
Part list Cooler x 1 Fan x 2 Back Plate x 1 Square Spacer x 1 Stand-off x 4 Fan Screw x 8 Case Screw x 8 Spring Screw x 4 Intel Clip x 2 AMD Clip x 2 Intel LGA 2011 Position Screw x 4 Screw x 4 Insulating sheet x 4... - Page 6 Intel Installation - 4 -...
- Page 7 Step – Silent mode: 600~1300 rpm – Performance mode: 600~2000 rpm – OverClock mode: 600~2500 rpm Choose your desired max. fan speed by adjusting the speed control at the fan hub. - 5 -...
- Page 8 Step Attach the fan and the radiator to the chassis - 6 -...
- Page 9 Step *LGA775/1150/1155/1156/1366 LGA1366 LGA1150/1155/1156 LGA775 *Aligning Insert the position screw into the appropriate hole on the back plate for your CPU socket. - 7 -...
- Page 10 Step *LGA775 Notice: For LGA775, please place the square spacer on the central hole of the back plate. - 8 -...
- Page 11 Step *LGA775/1150/1155/1156/1366 Install the Intel back plate on to the back of motherboard; fix the back plate with the stand-off - 9 -...
- Page 12 Step *LGA2011 Tighten the Intel LGA 2011 screw to the motherboard - 10 -...
- Page 13 Step Apply the thermal grease evenly on the CPU surface - 11 -...
- Page 14 Step Remove the protect film from the cold-plate - 12 -...
- Page 15 Step Place the pump on the CPU and tighten the spring screws until all four corners are secured - 13 -...
- Page 16 Step Pump Pump 3 pin 4 pin Connect the pump power connector to the motherboard - 14 -...
- Page 17 Step PWM Y cable 4 pin Connect the fan connector to the motherboard - 15 -...
- Page 18 AMD Installation - 16 -...
- Page 19 Step – Silent mode: 600~1300 rpm – Performance mode: 600~2000 rpm – OverClock mode: 600~2500 rpm Choose your desired max. fan speed by adjusting the speed control at the fan hub. - 17 -...
- Page 20 Step Attach the fan and the radiator to the chassis - 18 -...
- Page 21 Step Remove the preinstalled Intel clip and install the AMD clip to the pump - 19 -...
- Page 22 Step Stick the insulating sheet on the appropriate position. - 20 -...
- Page 23 Step *Aligning Place the square spacer on the central hole of the back plate. Insert the position screw into the appropriate hole on the back plate for your CPU socket. - 21 -...
- Page 24 Step Install the AMD back plate on to the back of motherboard; fix the back plate with the stand-off - 22 -...
- Page 25 Step Apply the thermal grease evenly on the CPU surface - 23 -...
- Page 26 Step Remove the protect film from the cold-plateы - 24 -...
- Page 27 Step Place the pump on the CPU and tighten the spring screws until all four corners are secured - 25 -...
- Page 28 Step Pump Pump 3 pin 4 pin Connect the pump power connector to the motherboard - 26 -...
- Page 29 Step PWM Y cable 4 pin Connect the fan connector to the motherboard - 27 -...
Need help?
Do you have a question about the LIQMAX l20X ELC-LT120X and is the answer not in the manual?
Questions and answers