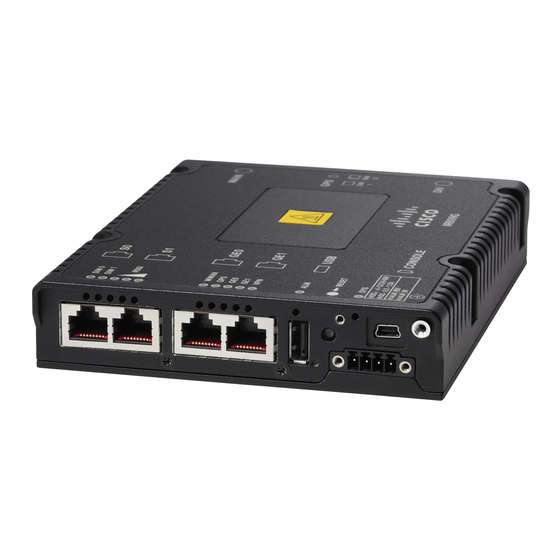
Cisco IR809 Installation Instructions Manual
Hide thumbs
Also See for IR809:
- Product manual (16 pages) ,
- Getting started and product document of compliance (20 pages) ,
- Product overview (18 pages)
Advertisement
Installing the Router
This chapter describes the equipment and the procedures for successfully installing the Cisco IR809.
Caution
Do not place anything on top of the router that weighs more than 10 pounds (4.5 kilograms), and do not
stack routers on a desktop. Excessive weight on top of the router could damage the chassis.
Caution
Do not install the router or power supplies next to a heat source of any kind, including heating vents.
Read the installation instructions before connecting the system to the power source. Statement 1004
Warning
Only trained and qualified personnel should be allowed to install, replace, or service this equipment.
Warning
Statement 1030
No user-serviceable parts inside. Do not open. Statement 1073
Warning
Ultimate disposal of this product should be handled according to all national laws and regulations. Statement
Warning
1040
Do not locate the antenna near overhead power lines or other electric light or power circuits, or where it
Warning
can come into contact with such circuits. When installing the antenna, take extreme care not to come into
contact with such circuits, because they may cause serious injury or death. For proper installation and
grounding of the antenna, please refer to national and local codes (for example, U.S.:NFPA 70, National
Electrical Code, Article 810, Canada: Canadian Electrical Code, Section 54). Statement 1052
Cisco 809 Industrial Integrated Services Router Hardware Installation Guide
1
Advertisement

Related Manuals for Cisco IR809


Summary of Contents for Cisco IR809
- Page 1 Installing the Router This chapter describes the equipment and the procedures for successfully installing the Cisco IR809. Caution Do not place anything on top of the router that weighs more than 10 pounds (4.5 kilograms), and do not stack routers on a desktop. Excessive weight on top of the router could damage the chassis.
-
Page 2: Table Of Contents
This section describes the equipment, tools, and connections necessary for installing your Cisco 809 ISR. Items Shipped with your Router Unpack the box and verify that all items listed on the invoice were shipped with the Cisco 809 ISR. The following items are shipped with your router: •... -
Page 3: Installing The Router
(NIC) for connecting to Ethernet ports. Installing the Router This section describes how to install the Cisco 809 ISR. This router can be installed on a table top or other flat horizontal surface, mounted on a wall, or DIN rail. -
Page 4: Modems
Warning covers installed. Statement 1077 Hot surface. Statement 1079 Warning To access the SIM card in the Cisco IR809, follow these steps: Step 1 Power off the router and disconnect the power cable from the power source. Step 2 Place the router on its bottom and ensure that any installed antennas are carefully oriented or disconnected to be out of the way. -
Page 5: Installing Antennas
To attach the radio antennas to your wireless router, follow these steps: Before You Begin Before you install the Cisco 809 Integrated Services Router on a table, wall, or DIN rail, install the antennas on the back panel. It is difficult to install the antennas after the router is installed. -
Page 6: Mounting On A Wall, Table, Or Other Flat Surface
To mount the router on a wall, follow these steps: Before You Begin The Cisco 809 ISR has mounting holes on the bottom of the chassis for mounting the unit on a wall or other vertical surface. When choosing a location for wall-mounting the router, consider cable limitations and wall structure. - Page 7 The screws must be long enough to penetrate at least 1.0 inch (25.4 mm) into the supporting wood or metal wall stud. For hollow-wall mounting, each bracket requires two wall anchors with washers. Wall anchors and washers Note must be size number 10. Cisco 809 Industrial Integrated Services Router Hardware Installation Guide...
-
Page 8: Installing A Din Rail
The DIN Rail bracket can be mounted on the front or the back of the router. Note The IR809 meets IP30 rating when mounted vertically. To attach the Cisco IR809 to a DIN rail, follow these steps: Before You Begin The DIN Rail kit is ordered separately. -
Page 9: Installing The Router Ground Connection
To install the ground connection, follow these steps: Before You Begin The router must be connected to a reliable earth ground. Install the ground wire in accordance with local electrical safety standards. Cisco 809 Industrial Integrated Services Router Hardware Installation Guide... - Page 10 Insert the ground wire into the ring terminal lug, and using a crimping tool, crimp the terminal to the wire. Step 4 Slide the ground screw through the ground lug. Step 5 Insert the ground screw into the grounding point shown in the graphic. Cisco 809 Industrial Integrated Services Router Hardware Installation Guide...
- Page 11 Attach the other end of the ground wire(#1 in the graphic above) to a grounded bare metal surface, such as a ground bus, a grounded DIN rail, or a grounded bare rack. Cisco 809 Industrial Integrated Services Router Hardware Installation Guide...
- Page 12 Installing the Router Installing the Router Ground Connection Cisco 809 Industrial Integrated Services Router Hardware Installation Guide...
Need help?
Do you have a question about the IR809 and is the answer not in the manual?
Questions and answers