Table of Contents
Advertisement
Installation Instructions for
Gauge-Type UEGO Controller
AEM Gauge-Type UEGO Controller Parts
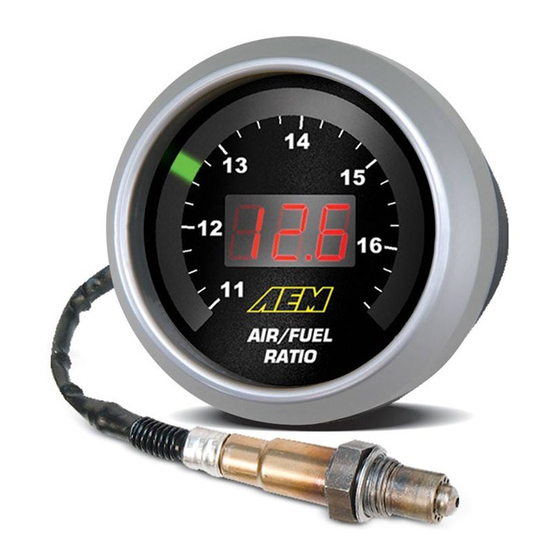
1 x UEGO Gauge Assembly
1 x UEGO Sensor
1 x O2 Sensor Bung
4 x Butt Connectors
1 x Installation Instruction
Replacement O2 Sensor Components
30-2001
UEGO Sensor
35-4005
Mild Steel Oxygen Sensor Bung (welding required)
30-4100
Advertisement
Table of Contents

Subscribe to Our Youtube Channel
Related Manuals for AEM 30-4100


Summary of Contents for AEM 30-4100
- Page 1 Installation Instructions for 30-4100 Gauge-Type UEGO Controller AEM Gauge-Type UEGO Controller Parts 1 x UEGO Gauge Assembly 1 x UEGO Sensor 1 x O2 Sensor Bung 4 x Butt Connectors 1 x Installation Instruction Replacement O2 Sensor Components 30-2001 UEGO Sensor...
- Page 2 (14.64:1 for gasoline), and for performance tuning they are useless. The heart of the AEM gauge is the Bosch LSU4.2 Universal Exhaust Gas Oxygen (UEGO) sensor. This type of sensor is commonly referred to as “laboratory grade” and...
- Page 3 UEGO Sensor laser etched calibration resistor INSTALLATION Disconnect the negative (-) battery cable. There are four flying leads from the AEM UEGO Gauge. Connection for two of the wires is mandatory and optional for the other two, as shown below.
- Page 4 *optional (see below) Analog Output If the AEM UEGO gauge is to be connected to an AEM EMS, the UEGO gauge’s WHITE Analog Output wire shall be connected to an EMS Lambda input. Locating a suitable Lambda input channel can be done using the Application Notes provided with the EMS.
- Page 5 AEMPro software: Setup | Sensors | Oxygen Sensor | Oxygen Sensor #1(#2) When connecting to AEM’s EMS, make sure to verify that the O2 #1 Gain option is set so the voltage from the O2 #1 Volts parameter matches the voltage input at the EMS from the O2 sensor.
- Page 6 Wire View of RS-232 (DB-9) Male Plug Two wires need to be connected to a RS-232 serial port. The BLUE wire from the AEM UEGO Gauge shall be connected to Pin #2 (RX) on the serial port for receiving data.
- Page 7 Data logging with HyperTerminal UEGO Sensor If attempting to route the UEGO Sensor through a tight space, AEM recommends temporally removing the light grey latch from the Bosch connector, as shown below. Gently pull the latch out away from the UEGO Sensor connector UEGO Sensor connector without latch If the UEGO sensor is to be put through a conduit or firewall, a 1.05in (26.7mm) drill is...
- Page 8 Minimum mounting angle for the UEGO Sensor Configuring Calibration Outputs If a different O2 sensor calibration is desired, the AEM calibration can be changed to one of three available. The AEM default position is (P0) if an AFR Gauge was purchased and (P1) if a Lambda Gauge was purchased.
- Page 9 Because the Lambda gauge faceplate is calibrated for ( ) and all other calibration positions are for AFR (Gasoline), AEM does not recommended changing the controller calibration, as instructed above. Below is the multiplier for calculating the Air Fuel Ratio (AFR) of common fuels from the Lambda value.
- Page 10 AEM that the product failed due to defects in material or workmanship. This warranty is limited to the repair or replacement of the AEM part. In no event shall this warranty exceed the original purchase price of the AEM part nor shall AEM be responsible for special, incidental or consequential damages or cost incurred due to the failure of this product.
Need help?
Do you have a question about the 30-4100 and is the answer not in the manual?
Questions and answers