Sign In
Upload
Download
Table of Contents
Contents
Add to my manuals
Delete from my manuals
Share
URL of this page:
HTML Link:
Bookmark this page
Add
Manual will be automatically added to "My Manuals"
Print this page
×
Bookmark added
×
Added to my manuals
Manuals
Brands
GEONAUTE Manuals
Watch
KEYMAZE 500
Documentation
GEONAUTE KEYMAZE 500 Documentation
Hide thumbs
1
2
3
4
5
6
7
8
9
10
11
12
13
14
15
16
17
18
19
20
21
22
23
24
25
26
27
28
29
30
31
32
33
34
35
36
37
38
39
40
41
42
43
44
45
46
47
48
49
50
51
52
53
page
of
53
Go
/
53
Contents
Table of Contents
Bookmarks
Table of Contents
First Use
Using the Product
Navigating through the Menus
Major Functions
Training Files
Transfer Data
Save Waypoint
Activity Setting
Display Setting
Heart Rate Setting
Gps Setting
Setup Time
Firmware Upgrade
Further Information
Limited Warranty
Precautions for Use
Technical Specifications
Main Functions
Altitude Measurement
Advertisement
Quick Links
1
First Use
2
Transfer Data
3
Firmware Upgrade
4
Gps Setting
5
Technical Specifications
Download this manual
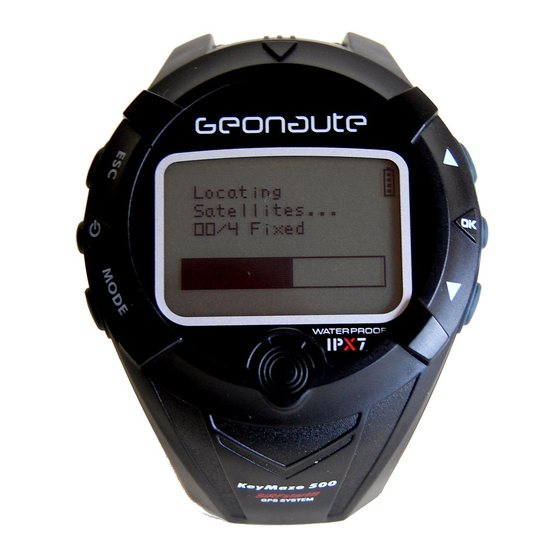
KEYMAZE 500
KEYMAZE 700
D
OCUMENTATION
1 / Getting started
1.1.Product description
Table of
Contents
Previous
Page
Next
Page
1
2
3
4
5
Advertisement
Table of Contents
Need help?
Do you have a question about the KEYMAZE 500 and is the answer not in the manual?
Ask a question
Questions and answers
Related Manuals for GEONAUTE KEYMAZE 500
Watch GEONAUTE KRONYS 300 Manual
Sport watch (1 page)
Watch GEONAUTE KEYMAZE 700 Documentation
(53 pages)
Watch GEONAUTE WATCH KRONYS 200Y Manual
Sport watch (1 page)
Watch GEONAUTE WATCH KRONYS 500A Manual
Sport watch (1 page)
Watch GEONAUTE W 700XC M Swip User Manual
(2 pages)
Watch GEONAUTE W900 ? SWIP User Manual
(2 pages)
Watch GEONAUTE W 500 S Swip Manual
(2 pages)
Watch GEONAUTE oxylane ONgo’ up 600 Manual
(11 pages)
Watch GEONAUTE MW600 Manual
(13 pages)
Watch GEONAUTE ONMOVE 100 User Manual
(22 pages)
Watch GEONAUTE WATCH CHRONO 300 Manual
(8 pages)
Watch GEONAUTE WATCH CHRONO 700 Manual
(9 pages)
Watch GEONAUTE WATCH SYNKRON 300W Manual
Sport watch (1 page)
Watch GEONAUTE ONmove 120 GPS User Manual
(20 pages)
Watch GEONAUTE ONstart 310 User Manual
(7 pages)
Watch GEONAUTE MW500 Manual
(24 pages)
This manual is also suitable for:
Keymaze 700
Table of Contents
Print
Rename the bookmark
Delete bookmark?
Delete from my manuals?
Login
Sign In
OR
Sign in with Facebook
Sign in with Google
Upload manual
Upload from disk
Upload from URL


Need help?
Do you have a question about the KEYMAZE 500 and is the answer not in the manual?
Questions and answers