Advertisement
Advertisement
Table of Contents

Subscribe to Our Youtube Channel
Summary of Contents for Piega Owners Manual Loudspeaker
- Page 1 PIEGA User Manual PIEGA User Manual...
- Page 2 By purchasing a loudspeaker from PIEGA you have expressed your trust in our company, for which we thank you very much. At the same time we assure you that you have purchased a product that is based on twenty years of R &...
-
Page 3: Table Of Contents
Contents This user manual describes how to optimally install and connect the PIEGA loudspeakers for a wide range of uses and contains some useful information on operating, caring for and maintaining your loudspeakers. It also contains instructions for unpacking and setting up the loudspeakers. -
Page 4: Precautions
CERTIFIED TO CAN/CSA STD. E60065 PIEGA User Manual Safety Precautions: Ensure without fail that your new PIEGA loudspeak- ers are mounted, positioned and connected exactly according to these instructions. PIEGA loudspeakers were only designed for use in dry residential environments within a temperature range of 10...40°C. -
Page 5: Unpacking The Loudspeakers
Unpacking the Loudspeakers Special care was taken in the packaging of your new PIEGA quality products in order to ensure that your loudspeakers reach your living room safely and undamaged. In order to avoid any damage when unpacking the loudspeakers, follow closely the instructions below without fail. -
Page 6: Uses
All loudspeakers of the same series are based on the same technology, either dome tweeter or PIEGA ribbon tweeter. All loudspeakers of the same technology can always be com- bined and arranged into a cohesive home cinema system and also ideal for stereo systems, sound systems in bars and restaurants, fi... -
Page 7: Positioning
The distances between the loudspeakers and the point of listening form an isosce- les triangle (Ratio 1 : 1.5). Recommended wall distance approx. 10 - 50 cm, depending on the model Note: For best results align the tweeter at ear level. PIEGA User Manual... -
Page 8: On-Wall Installation
- Do not move the loudspeaker any more Note: For mounting the wall brackets consult a specialist such as your authorized PIEGA dealer if necessary. PIEGA User Manual Wall bracket for satellites 2 41 mm... -
Page 9: Connecting The Loudspeakers
The terminal for single wiring applications is provided at the back of the loudspeaker. This is used for connect- ing standard loudspeaker cables with banana plugs or with a lead. Ideally, PIEGA loudspeakers should be con- nected with the OPUS 3 or OPUS 1 loudspeaker cable which is available as an accessory. -
Page 10: Running In The Loudspeakers
If the loudspeaker chassis become damaged after a long period of overload, this can be detected beyond any doubt by PIEGA service technicians. In these cases, PIEGA is not liable for any warranty claims. Note: Excessively loud music can damage your health. -
Page 11: Daily Use
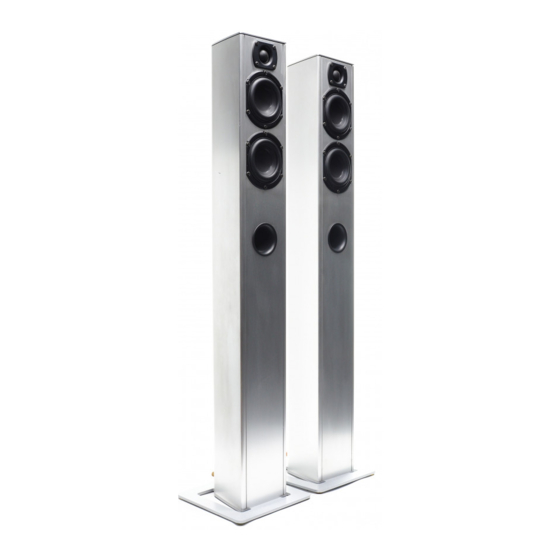
From development to production, right down to quality testing, PIEGA only uses materials and components of the highest quality. Your new PIEGA loudspeakers are provided with a polished aluminum surface. Al- though this material is not very sensitive, it should be treated with due care. -
Page 12: Warranty Conditions
Piega. 5. If it is necessary for a device or part of it to be sent to Piega or an approved Piega workshop, the sender is responsible for paying all transport costs in advance. The original packaging must be used for sending the complete device. - Page 13 PIEGA SA Bahnhofstrasse 29 CH-8810 Horgen Telephone +41 44 725 90 42 Fax +41 44 725 91 92 mail@piega.ch www.piega.ch Information for Exports PIEGA SA Bahnhofstrasse 29 CH-8810 Horgen Telephone +41 44 725 90 02 Fax +41 44 725 91 92 mail@piega.ch...


Need help?
Do you have a question about the Owners Manual Loudspeaker and is the answer not in the manual?
Questions and answers