Azden 330UPR Instruction Manual
330 dual-channel camera-mount uhf
Hide thumbs
Also See for 330UPR:
- Instruction manual (12 pages) ,
- User manual (6 pages) ,
- User manual (12 pages)
Advertisement
Quick Links
Download this manual
See also:
User Manual
330 DUAL-CHANNEL CAMERA-MOUNT
UHF WIRELESS MICROPHONE SYSTEM
330UPR - 35BT - 35HT - 35XT
INSTRUCTION MANUAL
Advertisement

Subscribe to Our Youtube Channel
Related Manuals for Azden 330UPR


Summary of Contents for Azden 330UPR
- Page 1 330 DUAL-CHANNEL CAMERA-MOUNT UHF WIRELESS MICROPHONE SYSTEM 330UPR - 35BT - 35HT - 35XT INSTRUCTION MANUAL...
- Page 3 Thank you for purchasing the Azden 330 Dual-Channel Wireless Microphone system. The components included with your system will vary depending on the system configuration you purchased. Below are the possible system configurations available with the 330UPR Dual-Channel Receiver. 330LT 1 x 330UPR Dual-Channel Receiver...
- Page 4 Your 330 kit is supplied with both a mini-to-mini and a mini-to-dual XLR cable. For mini-jack microphone inputs: Use the supplied mini-to-mini cable. Plug one end of the cable into the 330UPR Receiver and the other end into the microphone input of the video camera. Note: by...
- Page 5 For 3-pin XLR inputs: Use the supplied mini-to-dual XLR cable. Plug the mini-plug end of the cable into the 330UPR Receiver (use the screw-down sleeve to secure it to the receiver) and plug the XLR ends into the microphone inputs on the video camera. Ch. 1 is on the “Tip” and Ch. 2 on the “Ring”.
- Page 6 15. MIC Input Jack Plug the supplied EX-503L Lavalier Microphone into the MIC input jack. In addition to the EX-503L, other lapel and/or headset microphones with 3.5mm mini plug may also be used with the 35BT. 16. AUDIO Switch It is best to set the AUDIO switch to “STBY” (standby) prior to first turning the POWER switch “ON”. When you are ready to begin transmitting, turn the AUDIO switch ON.
- Page 7 23. Phantom Power Switch Flip this switch to “48V” to turn on phantom power. Use only for microphones that require phantom power. 24. LCD Display Multifunctional display shows battery life, audio level and frequency selection. Refer to “LCD Display Readouts” in this manual for further details. 25.
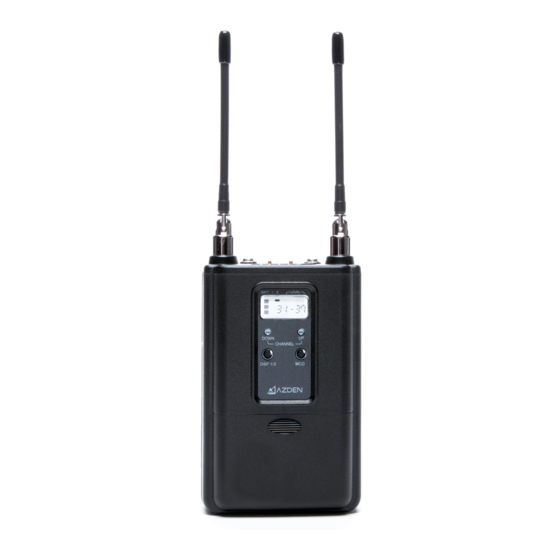
- Page 8 LEVEL 30- 02 579. 375 330UPR (RECEIVER) A. Battery level indicator: 3 bars = high, 1 bar = low B. Channel view indicator: bar under #1 or #2 indicates which channel you are viewing C. Reception level indicator: 4 bars = high, 1 bar = low D.
-
Page 9: Detailed Set Up Instructions
The frequency of each unit may be changed by pressing the Up and Down channel buttons located under the LCD in the case of the 35BT, 35XT and 330UPR, or inside the battery compartment in the case of the 35HT. - Page 10 Avoiding Interference and Drop Outs • Interference from other electro-magnetic sources in the environment is always a risk with any wireless radio technology. When using the system in a new location, always listen with headphones and observe the quality of the audio for a few minutes before you start filming.
-
Page 12: Specifications
2 “AA” Rechargeable Ni-MH (2 x 1.2V) Dimensions: ɸ1 7/8” x 9 9/16”L (48 x 234.5mm) Weight: Azden Corp., 200 Valley Road, Suite 101, Mt. Arlington, NJ 07856 Tel : + 1.973.810.3070 Fax: +1.973.810.3076 E-Mail: sales@azden.com Web: www.azden.com © 2017 Azden Corp.
Need help?
Do you have a question about the 330UPR and is the answer not in the manual?
Questions and answers