Advertisement
Advertisement
Table of Contents

Related Manuals for Billi Sahara


Summary of Contents for Billi Sahara
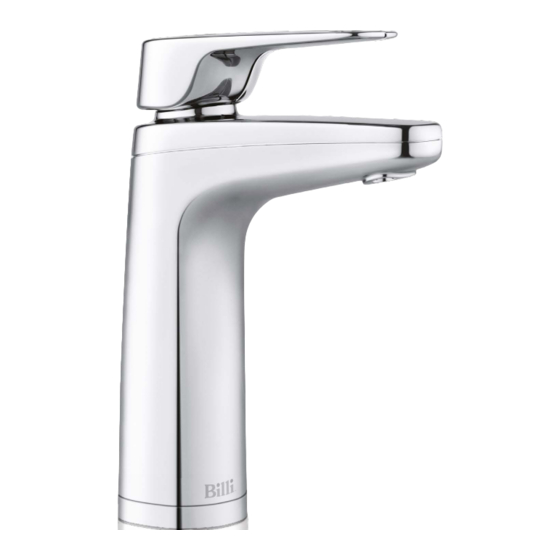
- Page 1 Installation guide Sahara & Sahara Plus Tap options XL, XT, XR...
-
Page 2: Installation Requirements
Sa hara 310, 320, 320 Plus, 360 and 360 Plus 2. Dispenser upper with tubing require a 10 amp rating. 3. Dispenser base & mount Sahara 3120 and 3120 Plus require a 15 amp Tubing 4. Barb locking bush Power removed rating. - Page 3 Installing the dispenser. XL, XT, XR. IMPORTANT: This Billi appliance is to be installed by a licensed trades person in accordance with AS/NZS 3500.1 and AS/NZ 3500.2 and in compliance with applicable state regulatory requirements. For correct operation of this appliance, it is essential to observe the manufacturer’s instructions. 1.
- Page 4 Additional installation – XR. Flush mount remote panel. Determine Remote Panel Location Plaster and Paint 70mm Dimensions and layout are shown in Start plastering as required. BRACKET diagram 9. Panel can be installed on a Wait for the plaster to dry before cleaning PANEL wall, benchtop or even inside a cupboard the bracket.
- Page 5 (blue) (red) (blue) cord water water 310 and Diagram 17b & 18b for the Sahara & cord supply supply Sahara Plus 320, 360, 3120 models. Ensure correct orientation of dispenser power plug before insertion. Trim tubes to boiling...
- Page 6 PVC water. tube fitted. 1. O-ring (large) Hot water will not be available until Sahara Note correct 2. Tap base ring boiling water tank has filled and heated. position 3. Mount clamp plate of spring Bubbling in the hot water flow indicates clamp.
- Page 7 Commissioning. Turn On the Water Supply Turn on water supply and ensure that there are no leaks. Remove front panel of unit and remove packing foam from under filter canister. Ensure filter canister is securely locked back into place. Replace front panel. Power On When power is applied the system checks the water level in the hot tank and if empty...
- Page 8 – Refer to Sahara User Guide. by a person responsible for their safety. Unit heating and cooling (after initial — Children should be supervised to ensure fill).
Need help?
Do you have a question about the Sahara and is the answer not in the manual?
Questions and answers