
Related Manuals for Alecto DBX-88


Summary of Contents for Alecto DBX-88
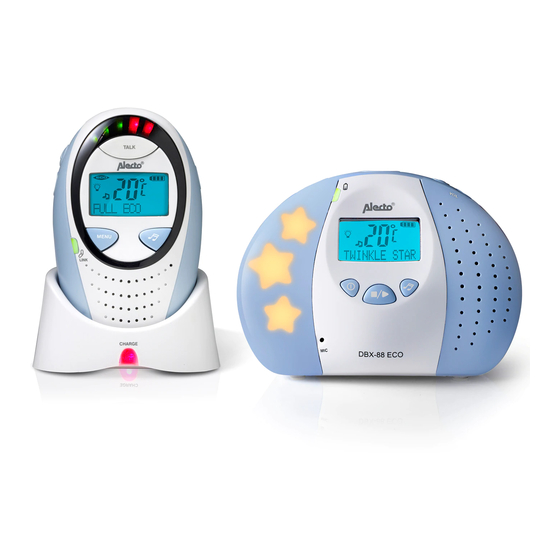
- Page 1 Owner’s Manual DBX-88 (DRAFT) 1.8GHz DECT Baby Monitor, Talk Back, Nightlight, Temperature, with Lullabies...
-
Page 2: Table Of Contents
TABLE OF CONTENTS Setting the Temperature Alert Sound Alert Safety Information Lullaby Getting Started Playing the Lullaby Unpacking Temporarily Stopping the Lullaby Play Baby Unit Stopping the Lullaby Playing Parent Unit Out of Range Charger Basic Steps to Install Low Battery Belt clip Charging the Battery LCD Display... -
Page 3: Safety Information
Safety Information Baby Unit • Front View Avoid exposure of the units to moisture or liquid. • Clean the units with a damp cloth. • Do not expose the units to extreme heat or direct sunlight. Link light • To prevent electric shock, do not open the cabinets of the baby unit, parent unit and charger. -
Page 4: Charger
Parent Unit Basic Steps to Install Sound Sensitivity LEDs 1. Connect the output plug of the mains adapter to the DC socket on Talk Key the side of the baby unit and the mains adapter to the wall mains supply. Volume Up 2. -
Page 5: Lcd Display
CAUTION Use only the mains adaptor and charger adaptor supplied with baby monitor. Incorrect adaptor type can cause damage to the unit. Icon Function Input: 230 VAC 50 Hz Indicates current battery level (display on Parent Unit Output: 9 VDC 300 mA and when Baby Unit is on battery) •... -
Page 6: Monitoring
• Sensitivity All LEDs will turn on for about 2 seconds and then turn off, except the LED for the nightlight button. • You can adjust the sensitivity of the Baby Unit’s microphone from the The LCD will turn on. LED for the nightlight button will turn on. •... -
Page 7: Paging
Parent Unit • Press and hold on the parent unit. • Press • The green link LED on both Units will flash. • If the nightlight on the baby unit is off, • The LCD on the Parent Unit will display TALK. •... -
Page 8: Setting The Temperature Alert
• to select the minimum temperature. Sound Alert • Press to confirm. Saved is displayed for 2 seconds. • The maximum temperature setting is displayed. Sound alerts are played only on the Parent Unit. You can turn on/off • button to scroll and select the maximum the sound alerts through the menu. -
Page 9: Temporarily Stopping The Lullaby Play
Parent Unit • Press will resume the lullaby play. • • Press . Use button to scroll until Lullaby is If lullaby play is not resumed within 60 seconds, lullaby will stop displayed. automatically. • Press . Play? is displayed. Press . -
Page 10: Low Battery
There is only visual alert shown on the Baby Unit. Note: If the volume down button( for Baby Unit, for Parent Unit) is not pressed within 4 seconds, the unit returns to idle mode. Low Battery If you want to restore the factory default settings on the baby monitor, you will need to restore factory default setting on the Baby Unit Baby Unit or on the Parent Unit individually. -
Page 11: Appendix: Default Settings
Appendix: Default Settings Baby Unit Speaker Volume: Level 3 Lullaby: Lullaby 1 Temperature alert range: Min 14°C, Max 23°C Parent Unit Speaker Volume: Level 1 Speaker Sensitivity: Level 5 Sound alert: On Temperature alert: Off Conformance To Regulation This product complies with the essential requirements for Radio and Telecommunications Terminal Equipment.
Need help?
Do you have a question about the DBX-88 and is the answer not in the manual?
Questions and answers