Table of Contents
Advertisement
Quick Links
Advertisement
Table of Contents

Subscribe to Our Youtube Channel
Related Manuals for Pixio PX325c


Summary of Contents for Pixio PX325c
-
Page 2: Table Of Contents
Table of Contents Safety Warning --------------------------------------------------------- Notice --------------------------------------------------------- Important Information --------------------------------------------------------- Front and Back View --------------------------------------------------------- Connections --------------------------------------------------------- --------------------------------------------------------- Color --------------------------------------------------------- OSD Setting --------------------------------------------------------- Setup --------------------------------------------------------- Others --------------------------------------------------------- Gaming Features ---------------------------------------------------------... -
Page 3: Safety Warning
Safety warning Please refer to the following safety precautions prior to operating the device for best usage practices and maintenance. Please take note of the warnings and illustrated guides. Do not remove the rear cover and try to repair the device as it may void the warranty. -
Page 4: Notice
NOTICE When determining placement for the monitor, make sure to find a cool, dry area that avoids direct sunlight, high temperatures, dust, and gases. Do not place the product near heat sources like a radiator or stove. If considering wall mounting, make sure the wall and/or mount is capable of maintaining the monitor’s weight as it can injure if dropped on an individual. -
Page 5: Important Information
Important Information Always maintain the mindset that the product is connected to a source of electricity and may run the risk of injury or property damage. This product has been engineered and manufactured with the highest priority on safety. However, improper handling of the product may still result in electric shock and/or fire. -
Page 6: Package Contents
Protect the power cord from any exposure or damage as a result of improper disconnection, significant pinching, and exposing lacerations. Only use the recommended peripherals and accessories specified by the manufacturer. When using the provided stand, make sure to handle with care as the product is subject to tipping over unless firmly planted on a flat surface. -
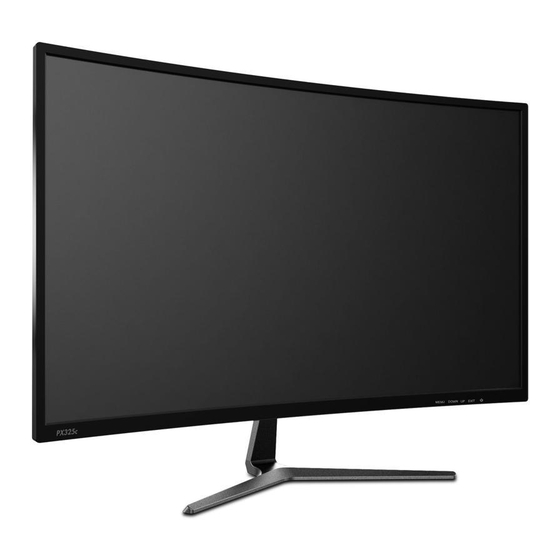
Page 7: Front And Back View
Front and Back View OSD Control Buttons 1. The MENU button activates the On Screen Display (OSD) menu. While the OSD menu is open, this button will act as the select button to open up options for adjustment. 2. The UP button navigates up in the OSD menu. This button will increase the value of the selected option. -
Page 8: Connections
Connections 1. HDMI –High Definition Multimedia Interface Version 1.4 2. DP – DisplayPort Version 1.2 3. DVI – Digital Video Interface Dual Link 4. Audio In – 3.5 mm Mini-jack 5. Power Cable... -
Page 9: Osd
On Screen Display (OSD) Press the MENU button and the OSD screen will appear. Browse through the different functions with the UP and DOWN buttons and select the highlighted item with the MENU button. Adjust the value of the selected item with the UP or DOWN button. When you want to go back to the main OSD menu, press EXIT. -
Page 10: Color
COLOR This function adjusts the color temperature. 1. To access this menu, press MENU and highlight “Color” using the UP and DOWN buttons. 2. Once highlighted, press MENU to access the sub-menu. 3. Use the UP and DOWN buttons to toggle through the options and press MENU to select the option. -
Page 11: Osd Setting
OSD Setting This function adjusts OSD options. 1. To access this menu, press MENU and highlight “OSD Setting” using the UP and DOWN buttons. 2. Once highlighted, press MENU to access the sub-menu. 3. Use the UP and DOWN buttons to toggle through the options and press MENU to select the option. -
Page 12: Setup
SETUP This function allows you to change the signal source, volume, and reset the monitor settings. 1. To access this menu, press MENU and highlight “Setup” using the UP and DOWN buttons. 2. Once highlighted, press MENU to access the sub-menu. 3. -
Page 13: Others
OTHERS This function includes additional features. 1. To access this menu, press MENU and highlight “Others” using the UP and DOWN buttons. 2. Once highlighted, press MENU to access the sub-menu. 3. Use the UP and DOWN buttons to toggle through the options and press MENU to select the option. -
Page 14: Gaming Features
GAMING FEATURES Press the DOWN button and the GAME MENU will appear. 1. Use the UP and DOWN keys to toggle between the “GAME CURSOR” feature (left) and the “GAME TIME” feature (right). 2. Press MENU to select the option. 3. - Page 15 144hz refresh rate only works with DP (Display Port) cable or DVI-D(Dual Link) Cable.
Need help?
Do you have a question about the PX325c and is the answer not in the manual?
Questions and answers