
Subscribe to Our Youtube Channel
Related Manuals for REED C-322


Summary of Contents for REED C-322
- Page 1 C-322 Model Datalogging Sound Level Meter Instruction Manual Tripod sold separately (Model BS-6) reedinstruments...
-
Page 2: Table Of Contents
Datalogger Clock & Interval Setup ..........12-13 Calibration Procedures .................13 Operating Precautions ................14 Setup of TestLink RS232 Interface Software......14-18 Tutorial/Quick Start ..............18-20 Frequently Asked Questions ............20 For service on this or any other REED product or information on other REED products, contact REED Instruments at info@reedinstruments.com. reedinstruments... -
Page 3: Safety
Safety symbol Complies with EMC standards *When servicing this meter, use only specified replacement parts. For service (repairs or calibration) on this or any other REED product or information on other REED products, contact REED Instruments at info@ reedinstruments.com. reedinstruments... -
Page 4: Features
“REC” button again to stop recording, there will be a data set in the memory, you can store as many data sets as you want until the memory is full. The C-322 uses RS232 interface to perform bi-directional communication with PC. -
Page 5: Specifications
Specifications: Standards: IEC651 Type2, ANSI S1.4 Type2 Frequency Range: 31.5Hz to 8KHz Measuring Level Range: 30 ~ 130dB Frequency Weighting: Microphone: 1/2” electret condenser microphone Display: Digital Display: 4 digits Resolution: 0.1dB Display Update: 0.5 seconds Analog Display: 50 segment bargraph Resolution: Display Update: 50 mS... - Page 6 DC output: 10mV/dB, output impedance approx. 1KΩ Power Supply: 1 x 9V battery, 006P or IEC 6F22 or NEDA 1604 Battery Life: About 50 hours with alkaline battery AC Adapter: Voltage 9 Vc.c. (8-10Vc.c. Max) Supply Current: > 30mAc.c. Socket : pin Ground Casing Positive...
-
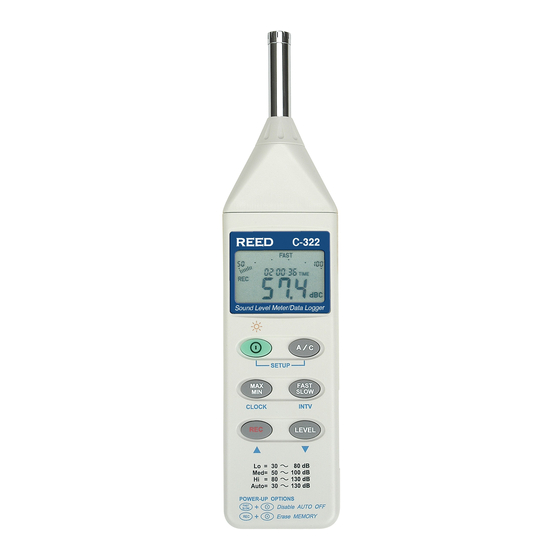
Page 7: Instrument Description
Instrument Description 1- Windscreen When taking outdoor measurements in windy weather or when measuring air conditioning equipment, and such, the wind noise in the microphone can cause measurement errors. Simply use the windscreen to reduce the wind and therefore reduce it’s effects on your measurement. continued ... - Page 8 2- Display Symbol Function 4 digits Maximum indication Minimum indication Over range Under range FAST Fast response SLOW Slow response A-Weighting C-Weighting Range indication Low battery Under range 20dB AUTO Auto level range selective Recording datalogger FULL Memory is full Auto Power OFF is active continued ...
- Page 9 3- Power & Backlight Button The power button turns the sound level meter ON and OFF, it also turns the backlight ON and OFF. Press it once to turn the sound level meter on. Press it again for moment to turn the backlight ON and OFF. Press and hold the power button for 3 seconds to turn the power OFF.
-
Page 10: Rs232 Interface
7- Time Weighting Select Button FAST is for normal measurements. SLOW is for checking the average level of fluctuating noise. 8- Level Range Control Button LEVEL Each time the button is pressed, the level range will change between “Lo” level, “Med” level, “Hi” level and “Auto” level. 9- Microphone 1/2”... -
Page 11: Operating Instructions
Operating Instructions Getting Started Measurement Preparation 1) Battery Loading Remove the battery cover on the back and insert the 9V Battery. 2) Battery Replacement When the battery voltage drops below the operating voltage, this symbol will appear . Remove the old battery and replace with a new 9 Volt battery. -
Page 12: Datalogger Clock & Interval Setup
Datalogger Clock & Interval Setup Datalogger When the “REC” button is pressed, the meter will start recording. Pressing the “REC” button again will stop recording. If you want to clear the memory: 1) Turn off the meter 2) Press and hold “REC” button 3) Press power button and hold for at least 5 seconds The LCD will then show “CLR”... -
Page 13: Calibration Procedures
For service (repairs or calibration) on this or any other REED product or information on other REED products, contact REED Instruments at info@reedinstruments.com. -
Page 14: Operating Precautions
Operating Precautions 1) When taking outdoor measurements in windy weather or when measur- ing air conditioning equipment, and such, the wind noise in the micro- phone can cause measurement errors. Simply use the windscreen to reduce the wind and therefore reduce it’s effects on your measurement. 2) Calibrate the instrument before operation if the instrument was not in use for a long time or it was operated in a bad environment. -
Page 15: Main Menu
Main Menu File/Open Retrieves files from the disk. Saves the active window (when the caption bar Save is highlighted) data to the hard drive. Print Prints the data of the active window (graph or list). Printer Setup Selects printer. File/Exit Terminates TestLink program. - Page 16 Graph You can choose a rect- angle area on the graph to zoom in for detail. There are two vertical lines (Cursor A and Cur- sor B) in the graph. Time and value are displayed on the top and right side of each cursor.
- Page 17 Tool Bar Display or hide Statistic 1 Display or hide Statistic 2 Normal cursor When selected, the mouse cursor will become a cross sign when moving to the graph, click on the graph to mark a cross sign on the graph. When selected, the mouse cursor will become a “I”...
-
Page 18: Tutorial/Quick Start
After the data has been loaded, the left hand side of the computer screen will show how many data sets were loaded as well as the detail information for each data set: Start Date, Start Time, Recording Rate and Record Numbers. Here is an example: The data set will be transfered to the graph on the right hand side of the screen, each time after you load your... - Page 19 How to save the recorded real time data to a file? 1) Click the graph window you want to save and the graph window will become active, then choose File/Save from main menu or click from the tool bar. an active window a non active window 2.
-
Page 20: Frequently Asked Questions
How to load the recorded data from the memory of the meter and save it to a file? 1) Turn the meter on. 2) Press the “REC” button of the meter to start recording data. 3) After a while, press “REC” button again to stop recording data. 4) Connect the meter to a PC 5) Start the SE322 program.
Need help?
Do you have a question about the C-322 and is the answer not in the manual?
Questions and answers