Table of Contents
Advertisement
Advertisement
Table of Contents

Related Manuals for Varytec LED PAR 64


Summary of Contents for Varytec LED PAR 64
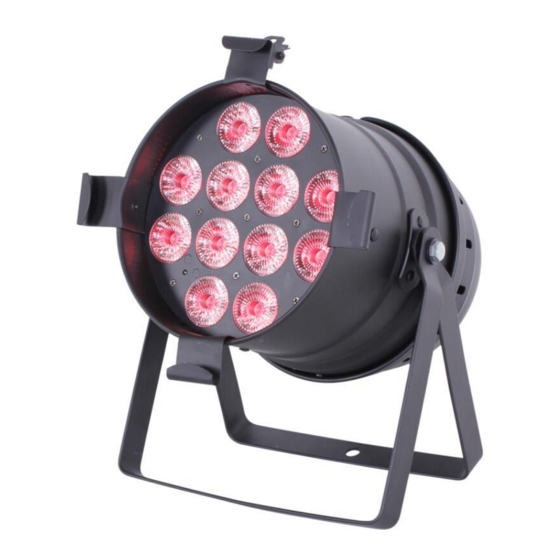
- Page 1 Manual LED PAR 64 floor 12x8W RGBWAUV incl. remote...
-
Page 2: Table Of Contents
Table of contents Safety instructions ..........................3 1.1. For safe and efficient operation ....................3 Designated use ..........................4 2.1. Overhead installation ....................... 5 Introduction ............................7 Connections ............................. 7 4.1. Electrical connections ......................7 4.2. DMX connections ........................7 4.3. -
Page 3: Safety Instructions
1. Safety instructions This device is suitable for indoor use (not outdoors) only. All modifications to the device will void the warranty. Repairs are to carry out by skilled personnel only. Use only fuses of the same type and original parts as spare parts. ... -
Page 4: Designated Use
2. Designated use This device was developed for professional use on stages, in discos, theatres etc. The device is only approved for a connection up to 230V 50/60 Hz AC voltage and only for indoor use. Regular breaks during operation increase the lifetime of your device. Avoid convulsions or any form of forceful impact during the installation or the start-up of the device. -
Page 5: Overhead Installation
2.1. Overhead installation Danger of life! You have to observe the regulations of BGV C1 (formerly VBG 70) and EN60598-2-17 Installations are to carry out by skilled personnel only. The suspension devices have to be build and measured so they can withstand for an hour the tenfold of the payload without suffering a permanent detrimental deformation. - Page 6 The maximum drop exceed must not exceed 20cm. A safety rope once exposed to failing load or damaged may not be used furthermore. Adjust the desired inclination angle via the mounting bracket and tighten the screw. 6 / 16...
-
Page 7: Introduction
3. Introduction Thank you for buying the LED PAR 64 floor 12x8W RGBWAUV incl. remote. It is a powerful device. For a successful installation and operation, please read this manual carefully. 4. Connections 4.1. Electrical connections If you wish to change the power supply settings, see the chapter Appendix. Connect the fixture to the mains with the enclosed power cable and plug. -
Page 8: Control
5. Control Press MENU, to get into the menu. With UP/DOWN you can choose the required submenu. Confirm with ENTER. Do your settings with UP/DOWN and confirm with ENTER. To step back press MENU again. 5.1. Structure of the menu Menu Submenu 1 Submenu 2... -
Page 9: Ir Remote
5.2. IR remote Power On/Off You can set the DMX address when this button is pressed. Double click = Channel mode Master/Slave Auto-Mode 1/2 Speed Sound-Mode 1/2 You can choose a program or number. Strobe You can use this number buttons to adjust numerical in any program mode. -
Page 10: Dmx Chart
6. DMX chart 6.1. Mode 1 (1 channel) Channel Value from Value to Function No function Color 1 Color 2 Color 3 Color 4 Color 5 Color 6 Color 7 Color 8 Color 9 Color 10 Color 11 Color 12 Color 13 Color 14 Color 15... -
Page 11: Mode 2 (6 Channels)
Color 41 Color 42 Color 43 Color 44 Color 45 Color 46 Color 47 Color 48 Color 49 Color 50 Color 51 6.2. Mode 2 (6 channels) Channel Value from Value to Function Dimmer red 0-100% Dimmer green 0-100% Dimmer blue 0-100% Dimmer white 0-100% Dimmer amber 0-100% Dimmer UV 0-100%... - Page 12 Automatic program 2 Sound-to-light mode 1 Sound-to-light mode 2 If channel 8 has the value 51-152, you can set the speed of the automatic programs with this channel Slow-fast. If channel 8 has the value 153-255, you can set the sensitivity of the microphone. Low-high. No function.
-
Page 13: Technical Data
7. Technical data Power supply Voltage AC 110-240 V; 50/60 Hz Power consumption max. 110 W Light source LM type LED 6in1 Power Number / Power 6 x 8W Optics Beam angle 25° Connections Strom in Schutzko cable XLR in/out 3pol Controlling Sound-to-light... - Page 14 14 / 16...
- Page 15 15 / 16...
- Page 16 Importer: B & K Braun GmbH Industriestraße 2 D-76307 Karlsbad www.bkbraun.com info@bkbraun.com 16 / 16...
Need help?
Do you have a question about the LED PAR 64 and is the answer not in the manual?
Questions and answers