Table of Contents
Advertisement
Quick Links
Advertisement
Table of Contents

Related Manuals for Varytec LED PAD 7


Summary of Contents for Varytec LED PAD 7
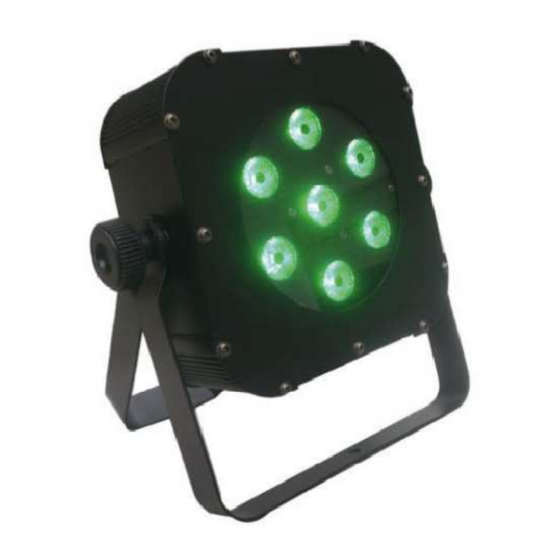
- Page 1 User manual LED PAD 7...
- Page 2 Table of contents Safety instructions ..........................3 1.1. FOR SAFE AND EFFICIENT OPERATION ................3 Technical Data ..........................4 Operation ............................4 3.1. System menü ........................... 4 3.2. DMX Control ..........................5 3.3. Automatic mode........................6 3.4. Sound to Light mode ....................... 6 3.5.
- Page 3 1. Safety instructions • This device is suitable for indoor use only. • All modifications to the device will void the warranty. • Repairs are to carry out by skilled personnel only. • Use only fuses of the same type and original parts as spare parts. •...
- Page 4 Important: Damages caused by the disregard of this user manual are not subject to warranty. The dealer will not accept liability for any resulting defects or problems. Make sure the electrical connection is carried out by qualified personnel. All electrical and mechanical connections have to be carried out according to the European safety standards.
- Page 5 3.2. DMX Control To set up your desired DMX address, first of all push ESC, then use the UP/DOWN buttons until you see “Addr” in the display. Now press ENTER, to enter the menu. Now the display shows “Axxx”. In this case x stands for the set dmx address. Now set up your own desired dmx address by using the UP/DOWN buttons.
- Page 6 Value Function Channel 0 - 255 Dimmer 0- 100% 0 – 255 Dimmer for Red 0 – 100 % 0 – 255 Dimmer for Green 0 – 100% 0 – 255 Dimmer for Blue 0 – 100 % 0 – 255 Speed slow to fast 0 –...
- Page 7 3.5. Set up your fixed colour Push the ESC button first. Then use UP/DOWN buttons until you see “CoLo” in the display. Push ENTER. Now you can see “Colx” or “AtF” in the display. If there is “Colx” the x stands for a number between 1 and 9, which stands for 9 different colors to be choosen by using the up/down buttons.
- Page 8 Importer: B & K Braun GmbH Industriestraße 1 D-76307 Karlsbad www.bkbraun.com info@bkbraun.com 8 / 8...
Need help?
Do you have a question about the LED PAD 7 and is the answer not in the manual?
Questions and answers