Table of Contents
Advertisement
Quick Links
Advertisement
Table of Contents

Related Manuals for Sper scientific 840065


Summary of Contents for Sper scientific 840065
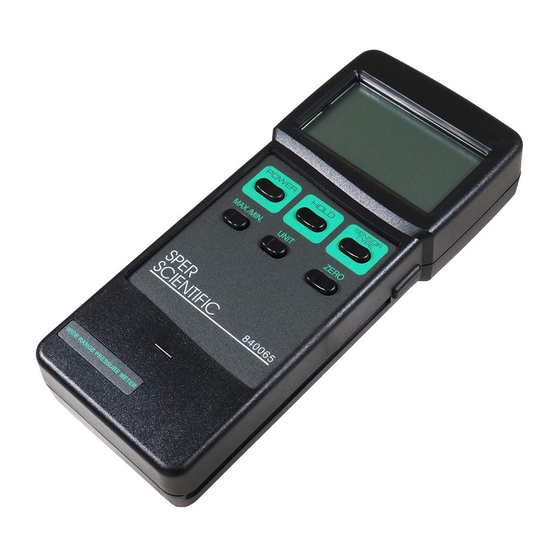
- Page 1 PRESSURE METER 840065 Instruction Manual SPER SCIENTIFIC LTD.
-
Page 2: Table Of Contents
CONTENTS Title Page Introduction ..........Panel Description ........III. Operating Instructions A. Sensor Types ........B. Changing the Sensor ......C. Measuring Procedures ......D. Measuring Considerations ..... E. Auto Power Disable ....... F. Calibration ..........G. RS232 PC Serial Interface ....H. -
Page 3: Introduction
I. INTRODUCTION This unit covers a wide pressure range, 0 ~ 725 PSI, not usually found in a single meter and is compatible with both liquids and gases. Useful in measuring pneumatic pressure, automobile engine vacuum pressure, super heat measurements, hydraulic servo controls, refrigeration, air conditioning, and food processing. -
Page 4: Operating Instructions
III. OPERATING INSTRUCTIONS A. SENSOR TYPES The meter works with optional pressure sensors. When changing the sensor, recalibration is not required. The optional pressure sensor are: • 2 Bar pressure sensor • 5 Bar pressure sensor • 10 Bar pressure sensor •... -
Page 5: Measuring Procedures
C. MEASURING PROCEDURES Connect the Pressure Sensor Plug (Fig. A-13) to the • meter's Sensor Input Socket (Fig. 1-9). Press the POWER Button (Fig. 1-2). • Press the SENSOR TYPE Button (Fig A-7) to check that • the meter's sensor type is correct. Press the UNIT Button (Fig. -
Page 6: Measuring Considerations
MEASURING PROCEDURES OVERVIEW 1. Connect the Sensor Plug to the meter's Input Socket 2. Turn on the meter 3. Select the display unit. 4. Zero the meter by pressing the ZERO Button. 5. Connect the pressure sensor to the object being measured. - Page 7 0.03 0.03 Continue pressing the MAX/MIN and HOLD Buttons and • press the ZERO Button (Fig. A-6). The display will flash once and return to zero. Release all three buttons and the new zero value will be • stored. 0.00 0.00 GAIN CALIBRATION (Span adjust) Turn on the meter and allow it to warm up for two...
-
Page 8: Rs232 Pc Serial Interface
Press the UNIT Button (Fig. A-5) once to decrease the • small digit value by one count. 8.98 9.00 When the desired value is reached (for example 9.00), • release the HOLD and MAX/MIN Buttons. The display will flash. Push the SENSOR TYPE Button (Fig. A-7) within 5 seconds. -
Page 9: Battery Replacement
Each digit indicates the following status: End Word D1 & D8 Display reading, DI " LSD, D8 MSD. For example: If the display reading is 1234, then D8 to D I is: 00001234 Decimal Point(DP), position from right to the left 0 " No DP, 1 "... -
Page 10: Specifications
V. SPECIFICATIONS Circuit Microprocessor LSI circuit. Display 61 mm x 34 mm super large LCD display. 15 mm (0.6") digit size. Sensor type Works with optional 2, 5, 10, 20, 50, 100, 200 bar sensor, new calibration is not necessary when the sensor is changed. - Page 11 - 11 -...
-
Page 12: Warranty
5 YEAR METER WARRANTY Sper Scientific warrants this product against defects in materials and workmanship for a period of five (5) years from the date of purchase, and agrees to repair or replace any defective unit without charge. If your model has since been discontinued, an equivalent Sper Scientific product will be substituted if available.
Need help?
Do you have a question about the 840065 and is the answer not in the manual?
Questions and answers