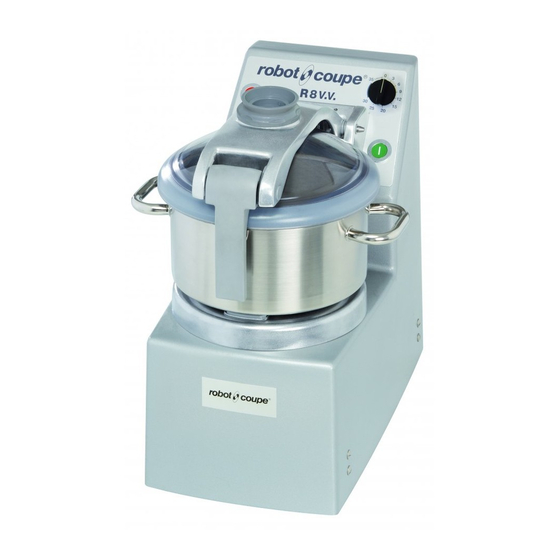
Robot Coupe R 8 Operating Instructions Manual
Up to 3300w output
Hide thumbs
Also See for R 8:
- Manual (34 pages) ,
- Instructions of use (33 pages) ,
- Operation manual (13 pages)

Related Manuals for Robot Coupe R 8


Summary of Contents for Robot Coupe R 8
- Page 1 R 10 R 15 R 20 Robot-coupe USA. Inc. P.O. Box 16625, Jackson, MS 39236-6625 - 264 South Perkins St., Ridgeland, MS 39157 e-mail: info@robotcoupeusa.com - website: www.robotcoupeusa.com - Phone : 1-800-824-1646...
- Page 2 W A R N I N G IMPORTANT WARNING Keep these instructions in a safe place WARNING: In order to limit accidents such as electric shocks or personal injury, and in order to limit material damage due to misuse of the appliance, please read these instructions carefully and follow them strictly. Reading the operating instructions will help you get to know your appliance and enable you to use the equipment correctly.
-
Page 3: Operating Instructions
OPERATING INSTRUCTIONS We reserve the right to alter at any time without notice the technical specifications of this appliance. None of the information contained in this document is of a contractual nature. Modifications may be made at any time. © All rights reserved for all countries by: ROBOT-COUPE S.N.C. -
Page 4: Table Of Contents
SUMMARY WARRANTY MAINTENANCE Blade IMPORTANT WARNING Seal Lid seal INTRODUCTION TO YOUR NEW OPERATING INSTRUCTIONS FOR THE VACUUM KIT R-VAC ® CUTTER MIXER DIAGNOSTIC SYSTEM SWITCHING ON THE MACHINE FITTING AND USING THE BLADE ASSEMBLY ASSEMBLY TECHNICAL SPECIFICATIONS Machine Blade USES AND EXAMPLES Electrical data SAFETY... - Page 5 ROBOT-COUPE U.S.A., INC. LIMITED W ARRAN TY THE FOLLOWING ARE NOT YOUR NEW ROBOT COUPE PRODUCT COVERED BY THE ROBOT-COUPE IS WARRANTED TO THE ORIGINAL PURCHASER FOR A PERIOD OF U.S.A. INC LIMITED WARRANTY: ONE YEAR FROM THE DATE OF PURCHASE.
-
Page 6: Important Warning
W A R N I N G IMPORTANT WARNING Keep these instructions in a safe place WARNING: In order to limit accidents such as electric shocks or personal injury, and in order to limit material damage due to misuse of the appliance, please read these instructions carefully and follow them strictly. Reading the operating instructions will help you get to know your appliance and enable you to use the equipment correctly. -
Page 7: Introduction To Your New
INTRODUCTION TO YOUR ASSEMBLY CUTTER MIXER corresponds to that indicated on the machine rating plate. bowl on the motor shaft left is near the control panel. fine stuffing, mousse, grinding, kneading and skills. 2) Pressing down on the handles, turn the bowl direction until it locks into place. - Page 8 USES AND EXAMPLE W A R N I N G Max processing quantity (in pounds) USES Speed in the correct position. There is a green status indicator light on the R 10 R 15 R 20 control panel of the motor unit. If this green light CHOP does not come on, consult the relevant paragraph.
-
Page 9: Machine
® , patented release. Repeat this pulsing action, allowing the blade Optional extra: 3.5-litre mini bowl for the R 8 and TO PUREE OR MIX Start the machine in Low speed and allow to run until out all those other last-minute tasks or small batches. - Page 10 I M P O R T A N T Check that your detergent is suitable for cleaning with machine the plastic parts. disassemble the mini bowl Certain washing agents are too alkaline (e.g. upwards to free it. high levels of caustic soda or ammonia) will rapidly deteriorate plastic parts.
-
Page 11: Operating Instructions For The Vacuum Kit R-Vac
OPERATING INSTRUCTIONS FOR THE VACUUM KIT R-VAC ® ® N° 3 - Screw part N° 3 N° 3). ® ON THE LID part guide N° 6 which, in turn, should be slotted into the Keep an eye on the positÚn aluminium lid arm N°... -
Page 12: Diagnostic System
DIAGNOSTIC SYSTEM R E M E M B E R button I replaced. test button II and then test button T). The control system requires the lid be opened and closed, once after switching your appliance on. button O This sequence will check the correct operation of Press buttons I and II the lid arm safety switch. - Page 13 and current setting in accordance with the electrical check that the machine is supplied with the correct board are set according to the electrical diagram.
-
Page 14: Fitting And Using The Blade Assembly
FITTING AND USING THE BLADE ASSEMBLY Plastic Narrow Blade Screw Blade Long ring ring spacer support For preparations of this kind, it is recommended using the low speed in order to obtain the best results. Plastic spacer Plastic spacer coarse chopping fine chopping and emulsions. -
Page 15: Technical Specifications
TECHNICAL - a thermal protector insterted in the motor winding that stops the machine if the motor temperature rises SPECIFICATIONS High Output Rated Models Motor speed speed power current (rpm) (rpm) (Watts) (Amp.) 10 to 20 minutes) before attempting to restart it. 220V / 60 Hz - 3 1800 3600... -
Page 16: Technical Data
TECHNICAL DATA... - Page 26 Robot-coupe USA. Inc. P.O. Box 16625, Jackson, MS 39236-6625 264 South Perkins St., Ridgeland, MS 39157 e-mail: info@robotcoupeusa.com website: www.robotcoupeusa.com Phone : 1-800-824-1646...
Need help?
Do you have a question about the R 8 and is the answer not in the manual?
Questions and answers