Sign In
Upload
Download
Table of Contents
Contents
Add to my manuals
Delete from my manuals
Share
URL of this page:
HTML Link:
Bookmark this page
Add
Manual will be automatically added to "My Manuals"
Print this page
×
Bookmark added
×
Added to my manuals
Manuals
Brands
AOC Manuals
LED TV
LE32S5970
User manual
AOC LE32S5970 User Manual
Lcd tv with led backlight
Hide thumbs
1
Table Of Contents
2
3
4
5
6
7
8
9
10
11
12
13
14
15
16
17
18
19
20
21
22
23
24
25
26
27
28
29
30
31
32
33
34
35
36
37
38
39
40
41
42
43
44
45
46
47
48
49
50
51
52
53
54
55
56
57
58
59
60
61
62
page
of
62
Go
/
62
Contents
Table of Contents
Troubleshooting
Bookmarks
Table of Contents
Table of Contents
1 Using Help
2 Troubleshooting
Channels
General
Picture
Sound
HDMI and USB
Wi-Fi and Internet
Wrong Menu Language
3 TV Tour
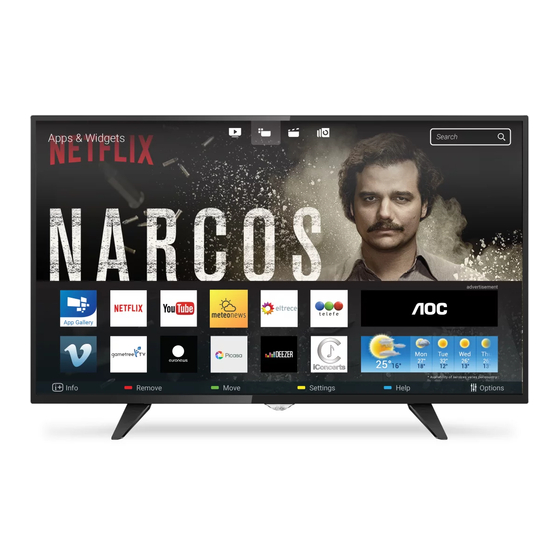
Smart TV
App Gallery
Rental Videos
Social Networks
Pause TV and Recordings
4 Setting up
Read Safety
TV Stand and Wall Mounting
Tips on Placement
Power Cable
Antenna Cable
5 Connect Devices
About Connections
Receiver - Set-Top Box
Home Theater System - HTS
Smartphones and Tablets
Blu-Ray Disc Player
DVD Player
Headphones
Game Console
USB Hard Drive
USB Keyboard
USB Mouse
USB Flash Drive
Photo Camera
Camcorder
Computer
6 Home Menu
About the Home Menu
Open the Home Menu
7 Network
Network and Internet
Network Settings
8 Switching on and off
On or Standby
Keys on TV
Sleep Timer
Switch off Timer
9 Remote Control
Key Overview
IR Sensor
Batteries
Cleaning
10 Channels
Install Channels
Switch Channels
Channel Lists
Watching Channels
Channel Options
Favorite Channels
Closed Captioning (CC) and Language
Menu Language
11 TV Guide
What You Need
TV Guide Data
Using the TV Guide
12 Recording and Pause TV
Recording
Pause TV
13 Utilities
14 Netflix
15 Sources
Switch to a Device
Options for TV Input
Scan Connections
Game or Computer
16 Internet
Start Internet
Internet Options
17 Your Music, Movies and Photos
From a USB Connection
Menu Bar and Sorting
Play Your Music
Play Your Movie
View Your Photos
18 Smartphones and Tablets
Mhl
Smart TV
Reset Smart Tv
19 Settings
Quick Settings
Picture
Advanced Picture Settings
Sound
Sound Settings
Eco Settings
General Settings
Child Lock
Clock
Universal Access
20 Channel Installation
Antenna/Cable Installation
Channel List Copy
21 Software
Update Software
Software Version
Open Source License
22 Specifications
Environmental
Power
Reception
Display Type
Display Input Resolution
Dimensions and Weights
Connectivity
Sound
Multimedia
23 Safety and Care
Safety
Screen Care
24 Copyrights
Mhl
Hdmi
Dolby
Dtvi
Java
Anatel
Microsoft
Wi-Fi Alliance
Kensington
Other Trademarks
Index
Advertisement
Quick Links
1
Wi-Fi and Internet
Download this manual
LCD TV with LED backlight
User Manual
LE32S5970
LE43S5970
LE49S5970
HIGH-DEFINITION MULTIMEDIA INTERFACE
TM
www.aoc.com
2017 AOC. All Rights Reserved.
Table of
Contents
Previous
Page
Next
Page
1
2
3
4
5
Advertisement
Table of Contents
Need help?
Do you have a question about the LE32S5970 and is the answer not in the manual?
Ask a question
Questions and answers
Related Manuals for AOC LE32S5970
LED TV AOC LE32D5210_65 User Manual
Aoc led tv user manual (32 pages)
LED TV AOC LE32K1D7 Service Manual
31.5 & 40 led tv (155 pages)
LED TV AOC LE32D3140 Start Manual
(2 pages)
LED TV AOC LE32W354F Maintenance Service Manual
(32 pages)
LED TV AOC LE32W234DL Maintenance Service Manual
(62 pages)
LED TV AOC LE32W164 Maintenance Service Manual
(26 pages)
LED TV AOC LE32H1461/20 Service Manual
32″&43″&49″led tv (142 pages)
LED TV AOC LE23H062 User Manual
(123 pages)
LED TV AOC LE19A1321 User Manual
(65 pages)
LED TV AOC LE19A1333/30 Service Manual
(77 pages)
LED TV AOC LE22A1331/61 Service Manual
(97 pages)
LED TV AOC LE42H354F Service Manual
(33 pages)
LED TV AOC LE24W234 Maintenance Service Manual
(31 pages)
LED TV AOC LE43F1361 Maintenance Service Manual
(35 pages)
LED TV AOC LE43U7970 User Manual
Lcd tv with led backlight (132 pages)
LED TV AOC LE19W134 After-Sales Service Manual
(31 pages)
This manual is also suitable for:
Le43s5970
Le49s5970
Table of Contents
Save PDF
Print
Rename the bookmark
Delete bookmark?
Delete from my manuals?
Login
Sign In
OR
Sign in with Facebook
Sign in with Google
Upload manual
Upload from disk
Upload from URL


Need help?
Do you have a question about the LE32S5970 and is the answer not in the manual?
Questions and answers