Philips CE233 User Manual
Hide thumbs
Also See for CE233:
- User manual (136 pages) ,
- User manual (22 pages) ,
- User manual (22 pages)
Table of Contents
Advertisement
Quick Links
Advertisement
Table of Contents

Related Manuals for Philips CE233


Summary of Contents for Philips CE233
-
Page 1: User Manual
User manual Register your product and get support at www.philips.com/support... -
Page 2: Table Of Contents
Contents 1 Safety 9 Additional information Charge your USB device Reset the system 2 Your car audio system Replace the fuse Introduction What's in the box 10 Product information Overview of the system 3 Install the car audio system 11 Trouble shooting Connect wires Mount into the dashboard 12 Notice... -
Page 3: Safety
1 Safety Read and understand all instructions before you use this device. If damage is caused by failure to follow instructions, the warranty does not apply. • Modification of the product could result in hazardous radiation of EMC or other unsafe operation. •... -
Page 4: Your Car Audio System
What's in the box audio system Check and identify the contents of the package: Congratulations on your purchase, and welcome to Philips! To fully benefit from the support that Philips offers, register your product at www.philips.com/welcome. Introduction a Main unit (with a sleeve) -
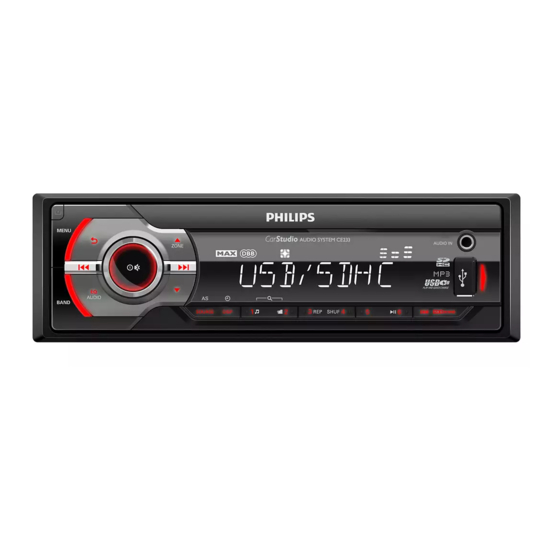
Page 5: Overview Of The System
Overview of the system q p o n m l k j i h e AUDIO IN • Unlock the front panel. • Connect to the audio output socket (usually the headphone socket) of an external device. • Return to the previous menu. •... - Page 6 • In radio mode, press and hold to • Start, pause, or resume the play store the current radio station at of tracks. channel No. 2. • • In radio mode, press to select For .mp3 tracks, press to access the preset radio station of No.
-
Page 7: Install The Car Audio System
3 Install the car • Press repeatedly to select a audio system preset sound equalizer. • Press and hold to activate the setup of bass, treble, balance, and fader. Caution • • Tune to a radio station. Use the controls only as stated in this user manual. -
Page 8: Connect Wires
ISO male Connect to Connect wires connectors White-edged Amplifier relay Note blue strip control lead • Black strip Ground Make sure that all loose leads are insulated with electrical tape. Yellow strip To the +12V car • Consult a professional to connect wires as battery which is instructed below. -
Page 9: Mount Into The Dashboard
Install the sleeve into the Mount into the dashboard and bend the tabs dashboard outward to fix the sleeve. • If the car does not have an on- board drive or navigation computer, disconnect the negative terminal of the car battery. •... -
Page 10: Attach The Front Panel
Attach the trim plate. Detach the front panel Note • Before you insert an SD/SDHC card or reset the system, detach the front panel. • Before you detach the front panel, make sure that the system is turned off. Press to release the front panel. -
Page 11: Get Started
For the first time use menu. Press repeatedly until [CLK] is displayed with time digits blinking. Press to turn on the system. » [PHILIPS] is displayed and then Rotate anti-clockwise to set the [SELECT OPERATING REGION] hour. (select a radio region) scrolls. Rotate clockwise to set the minute. -
Page 12: Mute The Button Beep
5 Listen to • [FRONT-R]: For the front-right seat only radio • [FRONT]: For front passengers only Press repeatedly to select a listening zone. Switch to radio mode Mute the button beep Press AS/SOURCE repeatedly to switch the source to [RADIO]. Press /BAND repeatedly to The beep sound of buttons is enabled... -
Page 13: Search For A Radio Station
» After the search is complete, Rotate to select a setting. • [LOC ON]: Search for radio the first stored radio station is stations with strong signals only. broadcast automatically. • [LOC OFF]: Search for radio • To select a stored radio station, stations with strong and weak press , , or... - Page 14 Select a program type Item Program Description type Before tuning to RDS stations, you can PHONE IN Phone In select a program type to search for TRAVEL Travel programs of the selected category only. LEISURE Leisure Press MENU to access the system JAZZ Jazz Music menu.
- Page 15 Receive traffic announcement • If you want to receive traffic The accuracy of time depends on the RDS station that transmits time signals. announcement, enable the TA (Traffic Announcement) function. Press MENU to access the system menu. repeatedly until [TA ON] Press or [TA OFF] is displayed.
-
Page 16: Play From A Storage Device
6 Play from Connect a compatible USB storage device or SD/SDHC card. a storage • For an SD/SDHC card, detach the front panel first, insert the device card into the slot, and then attach the front panel. Press AS/SOURCE repeatedly to switch the source. -
Page 17: Switch Tracks
7 Listen to Button Function Press repeatedly to select a an external play mode: • [SHU ALL]: play all tracks player randomly, • [SHU FLD]: play tracks in the current folder ran- domly, or You can use the system to amplify the •... -
Page 18: Adjust Sound
8 Adjust sound 9 Additional information The following operations are applicable to all supported media. Charge your USB device Button Function Rotate to increase or You can charge your USB device, decrease the volume level. for example, smart phone, with this Press to mute the product. -
Page 19: Replace The Fuse
10 Product Replace the fuse information If there is no power, check the fuse and replace it if it is damaged. Check the electric connection. Note Remove the damaged fuse from the rear panel. • Specifications are subject to change without prior notice. -
Page 20: Trouble Shooting
If you encounter problems when using this device, check the following points before requesting service. If the problem remains unsolved, go to the Philips Web page (www.philips.com/support). When you contact the Consumer Care, make sure that the product is nearby and the model number and serial number are available. -
Page 21: Notice
Disposal of your old product Philips and the Philips Shield Emblem are registered trademarks of Koninklijke Philips N.V. and are used under license. Specifications are subject to change without notice. Gibson Innovations Your product is designed and reserves the right to change products at... - Page 22 Email: info@ the Supplier for replacement or to the most connoisseur.co.za convenient Philips Authorized Service Centre Australia: Our Goods come with guarantees that for your Goods to be repaired. In some case we cannot be excluded under the Australian Consumer may require that you return to the Goods to us Law.
- Page 23 This product has been manufactured by, and is sold under the responsibility of Gibson Innovations Ltd., and Gibson Innovations Ltd. is the warrantor in relation to this product. Philips and the Philips Shield Emblem are registered trademarks of Koninklijke Philips N.V. and are used under license.
Need help?
Do you have a question about the CE233 and is the answer not in the manual?
Questions and answers