Advertisement
Advertisement
Table of Contents

Summary of Contents for Comtrend Corporation PowerGrid 9141S
- Page 1 Powerline Ethernet Adapter Quick Installation Guide Copyright © 2012...
- Page 2 2 units required for setup. A. Initial Setup The following steps show how to connect a PowerGrid 9141s to a modem or router. 1. Ensure that your modem or router is powered on.
- Page 3 These steps show how to connect a PowerGrid 9141s to any network device. In this case, we use a computer as an example. 1. Turn on your PC (or other network device). 2. Plug a PowerGrid 9141s into the power socket closest to the PC.
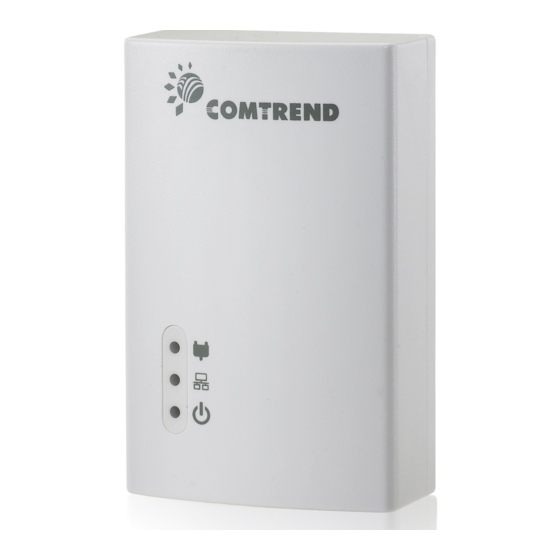
- Page 4 3. Connect the PowerGrid 9141s to the computer with an Ethernet cable. The Ethernet LED and Power LED on the PowerGrid 9141s should light up GREEN. 4. The STATUS LED on the PowerGrid 9141s will be either RED, GREEN or ORANGE, which displays the quality of the network traffic: a.Green indicates excellent.
- Page 5 6. If the status led is not Green, please consult the information in Part D. Troubleshooting. C. Adding a New Device To add additional PowerGrid 9141s devices to your network, repeat steps from section B. Plug the additional PowerGrid 9141s into a socket, and then connect it to the network device (e.g.
- Page 6 D. Troubleshooting The following information should help you diagnose basic setup or installation problems. 1) The POWER LED BLINKS AND OTHER LEDs are OFF: The POWER LED blinks and other LEDs switch off when a PowerGrid 9141s unit enters power saving mode. This occurs 30 seconds after the Ethernet connection is lost (see below).
- Page 7 If the POWER LED on any of the PowerGrid units (in the network) do not light up Green, press the Config button on the problematic PowerGrid 9141s unit for more than 10 seconds to disconnect it from the network. Then, go to section C and complete the installation steps again.


Need help?
Do you have a question about the PowerGrid 9141S and is the answer not in the manual?
Questions and answers