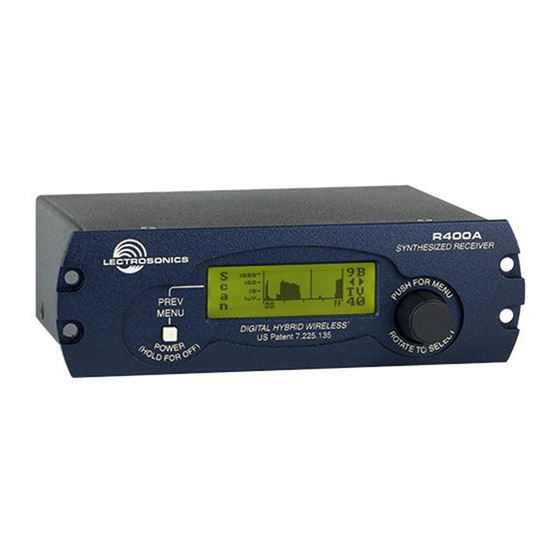
Table of Contents
Advertisement
Quick Links
Q
uick
S
tart
G
uide
Digital Hybrid Wireless
Reciver
R400A
Fill in for your records:
Serial Number:
Purchase Date:
®
This guide is intended to assist with
initial setup and operation of your
Lectrosonics product.
For a detailed user manual, down-
load the most current
version at:
www.lectrosonics.com/manuals
U.S. Patent 7,225,135
15 March 2017
Advertisement
Table of Contents

Summary of Contents for Lectronics R400A
- Page 1 Digital Hybrid Wireless ® Reciver R400A U.S. Patent 7,225,135 Fill in for your records: This guide is intended to assist with initial setup and operation of your Serial Number: Lectrosonics product. For a detailed user manual, down-...
- Page 2 Normal levels should cause the R400A’s audio level bar to fluctuate fully resulting in the best possible signal to noise ratio for the system.
- Page 3 With the test tone running, adjust for the maximum desired peak level using the metering on the connected device. 10. If desired, access the LockSet menu to lock the R400A front panel controls to prevent inadvertently modifying the receiver settings during operation.
- Page 4 R400A Menu Options The R400A Menu functions can be divided into four main areas: setting up the receiver, automatic clear channel selection, locking the receiver and scanning for clear frequencies. SetUpRx The SetUpRx menu accesses the screens used to set up the receiver. These screens include: Freq, Level, Tuning, Compat, Tone, PilotBP, Phase, TxBatt and SmartNR.
- Page 5 Level-U setup screen). PilotBP The R400A always powers up with the pilot tone enabled (a pilot tone is required from the transmitter to unsquelch the receiver). To enable pilot tone bypass mode, in the PilotBP window, rotate the MENU control to select BY- PASS, then press the PREV MENU button.
- Page 6 Menu)” The Scan and SmartTune™ functions are disabled when the unit is in the LOCKED state. To LOCK the R400A - Press the MENU control to enter the TopMenu, then ro- tate the MENU control to select LockSet. Press the MENU control to open the LockSet window, rotate the MENU control to select LOCK, then push either the MENU control or the PREV MENU button to exit to TopMenu.
- Page 7 SmartTune ™ SmartTune™ automates the discovery of a clear operating frequency. It does this by scanning all the available operating frequencies within the system’s fre- quency block range (in 100 kHz increments) and then selecting the frequency with the least amount of RF interference. When SmartTune is complete, it returns to the Main Window displaying the operating frequency and transmit- ter switch settings for the clear channel discovered during scanning.


Need help?
Do you have a question about the R400A and is the answer not in the manual?
Questions and answers