American Dynamics illustra 600 Quick Start Manual
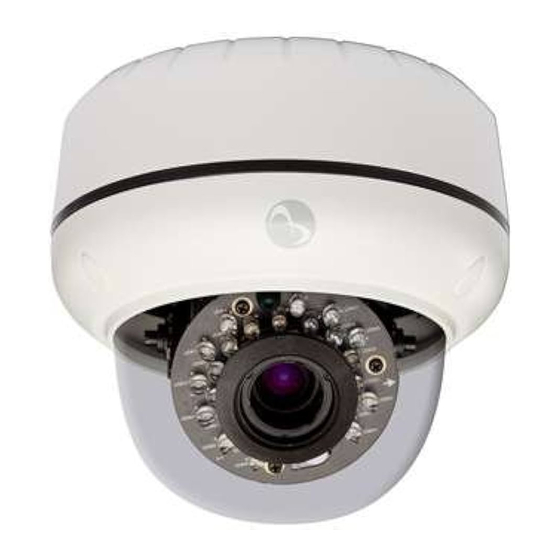
Outdoor wide angle hd mini-dome
Hide thumbs
Also See for illustra 600:
- Installation & operation manual (77 pages) ,
- Quick start manual (109 pages)

Subscribe to Our Youtube Channel
Related Manuals for American Dynamics illustra 600


Summary of Contents for American Dynamics illustra 600
-
Page 1: Quick Start Guide
600/610 Outdoor Wide Angle HD Mini-dome Quick Start Guide Version: 20110902 8200-2755-0700 A0... -
Page 3: Notice Of Use
Tyco International Ltd. © 2010 and its Respective Companies. All Rights Reserved. American Dynamics 6600 Congress Avenue Boca Raton, FL 33487 U.S.A. -
Page 4: Camera Installation
1. Camera Installation 1. Camera Installation Accessory List Security Torx Key Screw hole plug Screw Anchor Guide Pattern Template CD-ROM Quick Start Guide Mounting the Camera Step 1. Preparation – Remove the dome cover, camera liner and back case 1. - Page 5 1. Camera Installation Step 2. Use the template to mark-out and prepare the mounting area Method 1: To flush mount using screws 1. Create a circular opening in the mounting surface with a diameter of 120 mm (4.7”) with tolerances of -0/+5 mm (- 0/.0.2”).
- Page 6 1. Camera Installation Step 3. Connect the wiring and make adjustments AC Power: Connects to AC 24V power adapter. If you are to use power from Ethernet connection, this connector is not used when the power is provided by PoE. ...
- Page 7 1. Camera Installation Micro SD Video System Default Video Out Reset Video System: PAL / NTSC system switch. Default is NTSC. Use a suitable small tool to operate the switch. Note: After switching the video system mode from NTSC to PAL or vice versa, you have to restore defaults to apply the changes.
- Page 8 1. Camera Installation Step 4. Mount the dome enclosure Method 1: To flush mount the dome using screws 1. Fasten the three TP4 screws to the inserted anchors to secure the dome enclosure in place. 2. Adjust the focusing position by rotating and panning the camera base. When rotating the camera base, do not rotate it past the stop point.
- Page 9 1. Camera Installation Method 2: To surface mount 1. According to your needs, use the top or side conduit hole on the back case for cable entry and connect the wiring. Then mount the back case on a surface with screws. 2.
- Page 10 1. Camera Installation 3. Adjust the focusing position by rotating and panning the camera base. Note that the back case side conduit hole is the point where the camera will not rotate past. 4. Loosen the Zoom/Focus lever and adjust the lens. After adjustment is done, re-tighten the Zoom and Focus levers.
- Page 11 1. Camera Installation Method 3: To mount using junction box 1. Tie your wiring into a junction box and feed the leads through the top knock-out on the back case. 2. Tighten the screws to secure the back case to the junction box. Then connect the wiring. 3.
-
Page 12: Network Connection
2. Network Connection 2. Network Connection Connect to a PC directly: Directly connect the camera to a PC using a standard Ethernet cable. Connecting Camera(s) to a Local Area Network (LAN): To add the camera(s) to an existing LAN, just connect the camera(s) to the hub or switch on your network. - Page 13 3. Configure PC Network Settings Step 3: Verify the connection between the PC and the IP Cam 1. Launch the Command Prompt by clicking the Start menu, Programs, Accessories and then Command Prompt. 2. At the prompt window, type ping x.x.x.x, where x.x.x.x is the IP address of the camera (the default is 192.168.1.168).
Need help?
Do you have a question about the illustra 600 and is the answer not in the manual?
Questions and answers